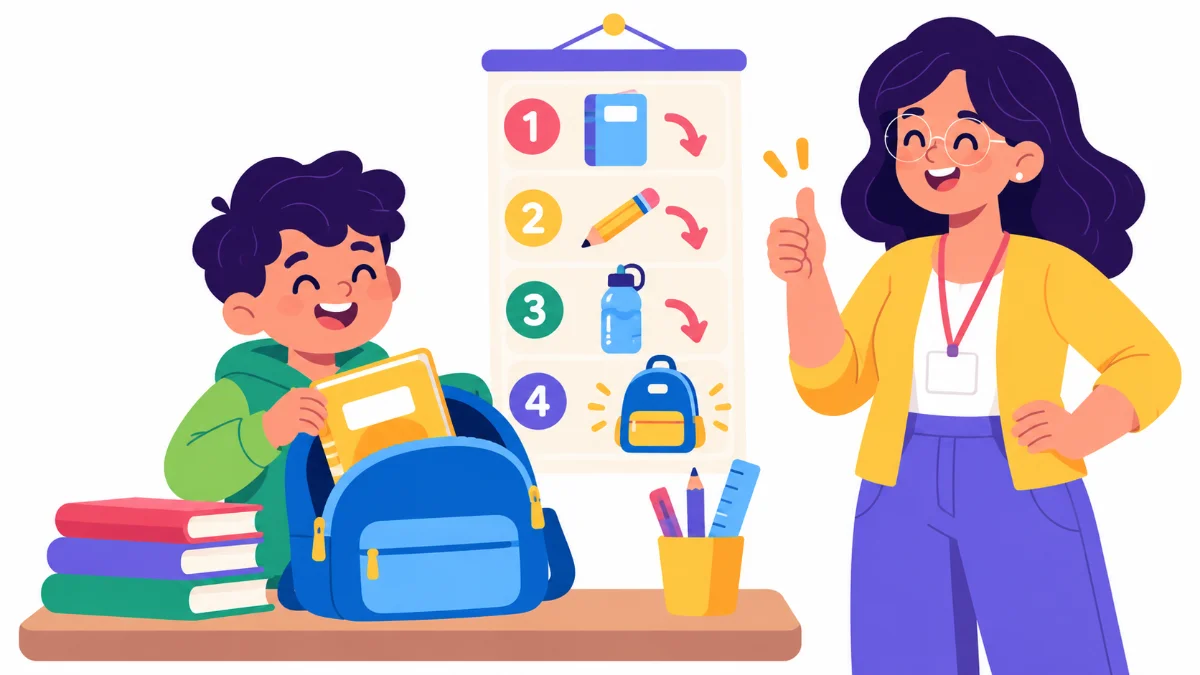

Life skills posters can turn a stressful daily routine into a set of clear, calm steps a student can follow on their own. Picture the last ten minutes of the school day. Backpacks are open, folders are on the floor, and one student is standing still, unsure what to do first, while an adult repeats the same reminders for the fourth time.
This guide shows you how to use life skills posters in five practical steps: choose the routines that matter most, break each routine into short steps, teach with the poster, place it where the routine happens, and track independence over time. By the end, you will have a simple plan you can start next week.
Examples are fictional. Adapt to the student’s goals and agreed supports. This is guidance, not a diagnosis.
At a glance
- Start with routines that happen often and cause the most stress.
- Break each routine into a few short, numbered steps with pictures.
- Teach the poster directly before you expect students to use it alone.
- Hang each poster where the routine actually happens.
- Count independent steps each week and fade adult prompts slowly.
1. Choose routines for your life skills posters
First, decide which routines deserve a poster. Not every part of the day needs one. Instead, look for routines that happen often, cause confusion, or lead to many adult reminders. These are the places where a visual guide saves the most time and builds the most independence.
For example, common school routines include packing a backpack, lining up, using the bathroom, ordering food in the cafeteria, and getting on the school bus. Each one happens daily, and each one has a clear start and finish. That structure makes them a good fit for life skills posters.
Next, watch the routine for two or three days. Write down where students get stuck and how many prompts they need. A quick tally on a sticky note is enough. This short observation tells you which routine to start with and which steps need the most support.
Think about dignity
Also, think about dignity. Routines like using the bathroom or asking for help in the lunch line can feel personal. A poster that shows the steps calmly, without singling anyone out, lets students check what to do without asking an adult in front of peers.
In addition, ask the student and family. Families often know which routines are hardest at home and at school. Older students can tell you which part of the day feels most confusing. Their answers help you choose routines that matter to them, not only to the adults.
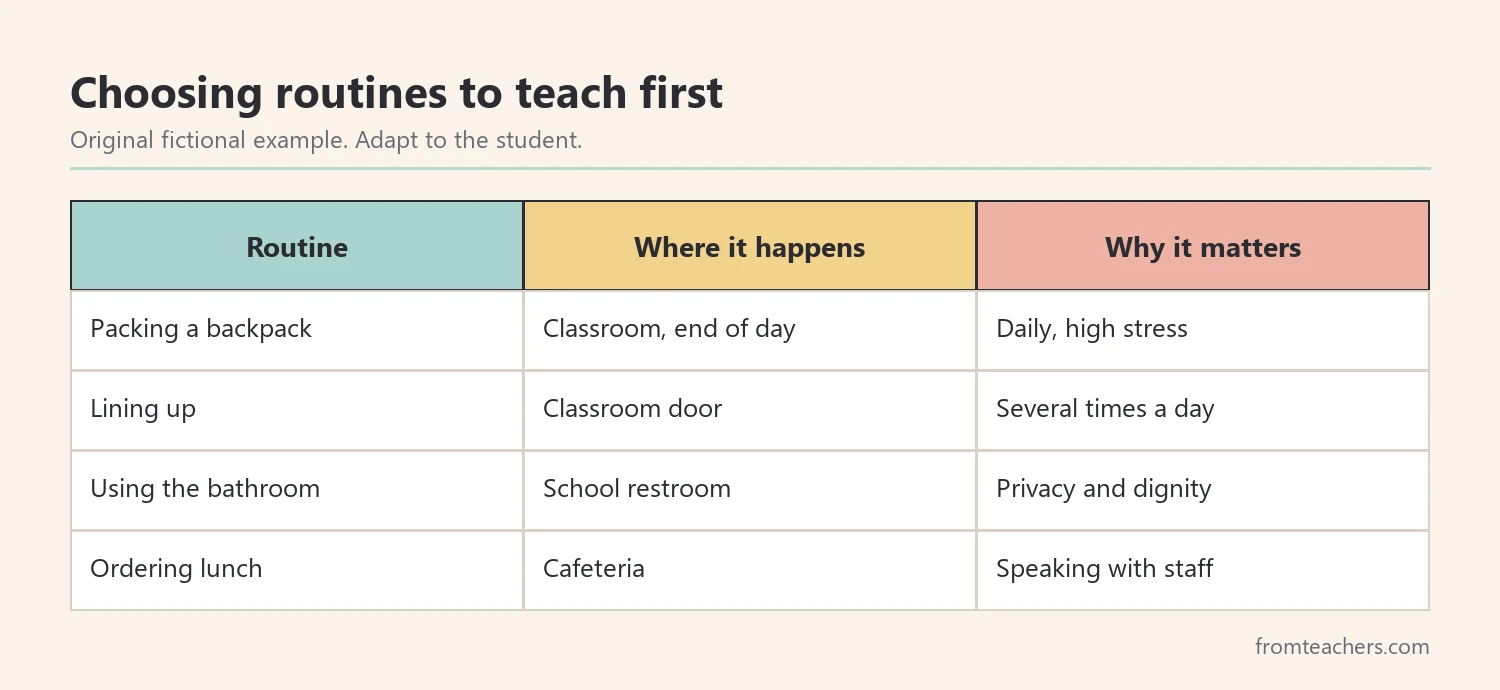
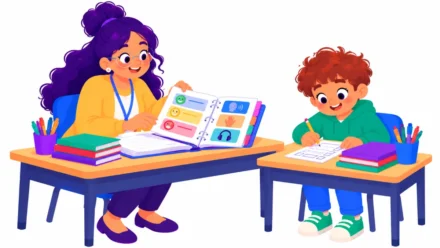
Worked example. Maya is a fictional grade 5 student in a resource room. Her teacher, Mr. Ruiz, watches the end-of-day routine for three days. Maya needs about eight reminders each afternoon to pack her backpack. He decides that packing up will be the first routine he supports with life skills posters.
2. Break each routine into clear steps
Next, turn the routine into a short sequence. Teachers often call this a task analysis: listing the small steps that make up a bigger task. Keep the list short. Five to eight steps is usually enough for a daily school routine.
Then, write each step as a simple action. Start with a verb, such as “Put,” “Zip,” or “Walk.” Use the same words every adult will use when prompting. If one adult says “pack your folder” and another says “get your homework,” the student has to translate, which slows learning.
Also, match each step to a picture. On life skills posters, a clear illustration helps students who are still learning to read, and it helps every student scan the poster quickly. Numbered steps with pictures are easier to follow than a paragraph of directions.
Meanwhile, test the steps yourself. Walk through the routine using only the poster. If you skip a step or need to guess, the student will too. Adjust the order, combine tiny steps, or split a step that has two actions in it.
Plan for problems inside the routine
In addition, plan for problems inside the routine. What should a student do if the lunch box is missing or the zipper sticks? Some posters include a short tip or helpful phrase for these moments, such as “Can you help me, please?” A single line like this can prevent a small problem from turning into a bigger one.
Finally, keep the language positive. Describe what to do, not what to avoid. “Walk to your spot” is clearer than “Don’t run.” Positive steps tell the student exactly what success looks like.
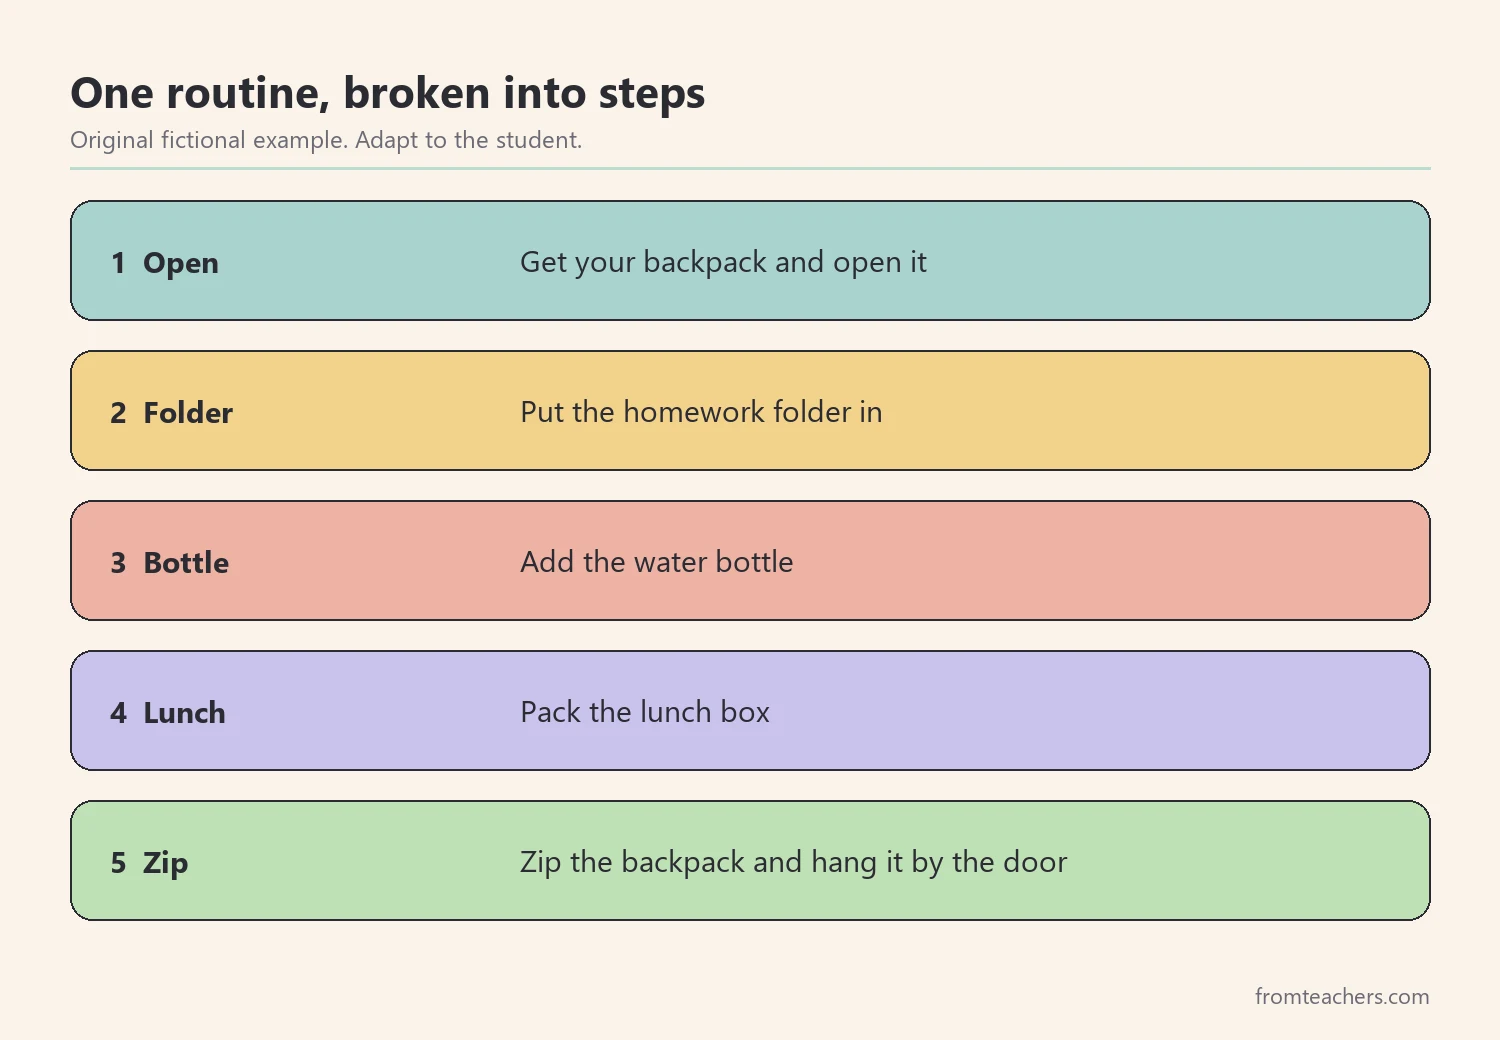
Worked example. Mr. Ruiz writes Maya’s backpack routine in five steps: get the backpack, add the homework folder, add the water bottle, pack the lunch box, and zip the backpack. He walks through the steps himself and notices that Maya usually forgets the folder, so he places it second, before the bigger items.
3. Teach the routine with life skills posters
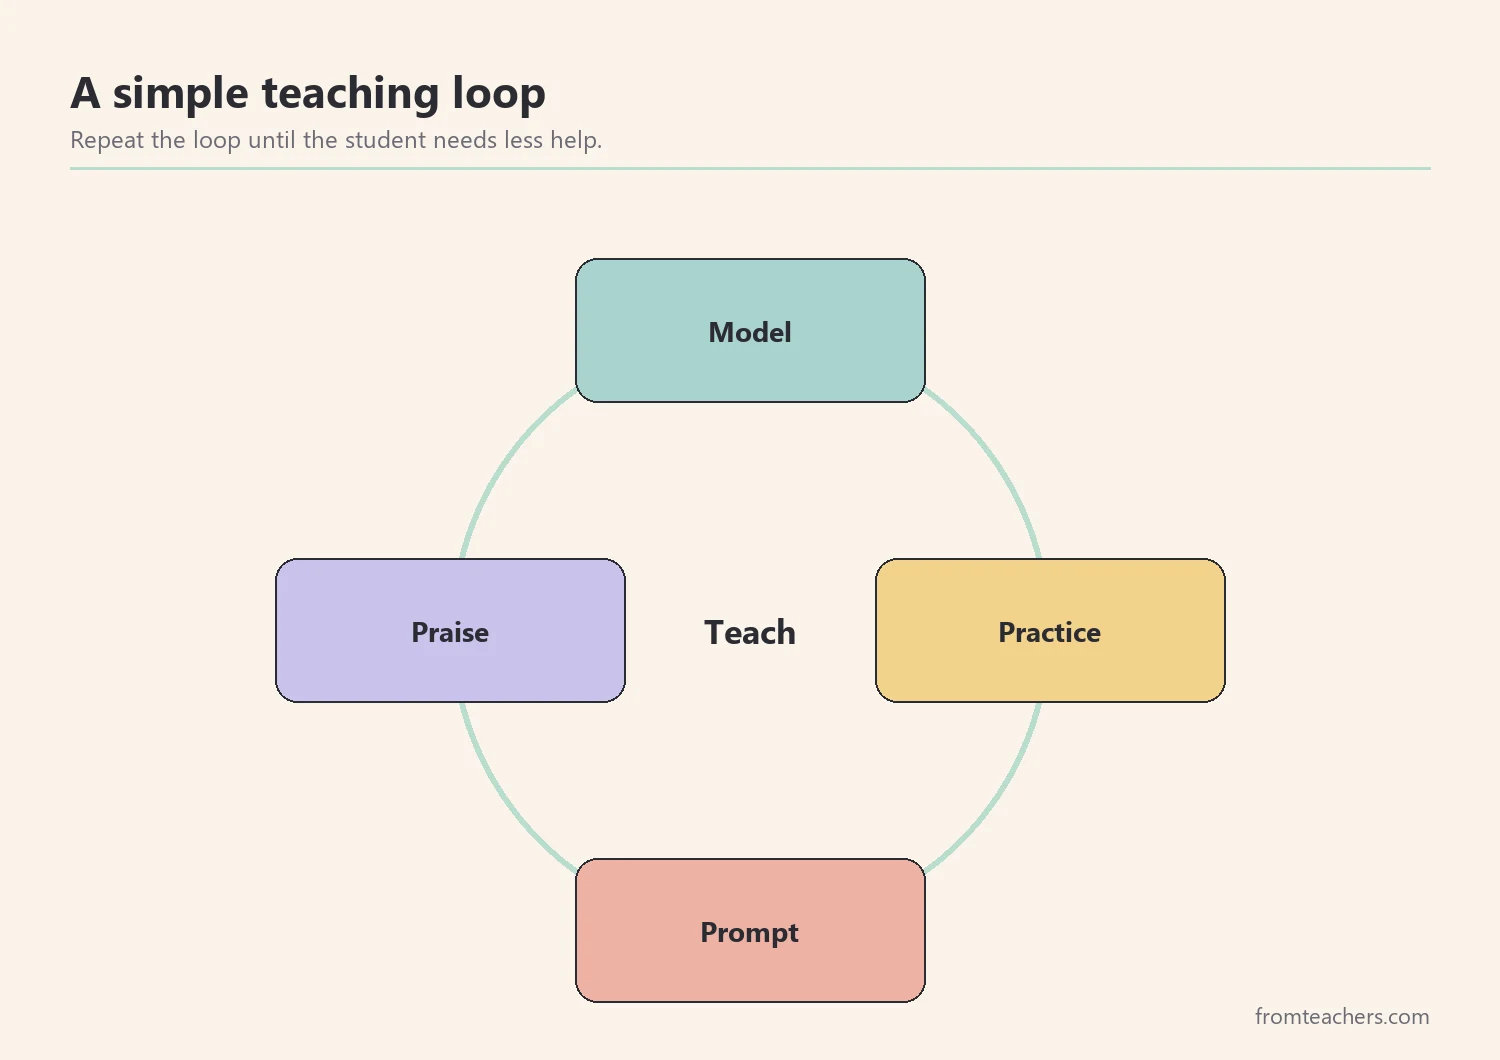
Next, teach the poster on purpose. Hanging a poster is not the same as teaching it. Students need to see the routine modeled, practice it with support, and learn how to look at the poster when they forget a step.
First, model the whole routine. Stand next to the poster and point to each step as you do it. Say the step out loud in the same words printed on the poster. Then let the student watch you do it a second time, more slowly.
Then, practice together. Have the student do each step while you point to the poster. At this stage, you can give gentle prompts: a point, a gesture, or a short phrase. Praise specific actions, such as “You zipped your backpack, nice work.”
Also, teach the student how to use the poster when stuck. Say, “If you forget, check the poster.” Practice this on purpose by pausing and asking, “What comes next? Check the poster.” This small habit is what makes life skills posters useful when no adult is nearby.
Start during calm times
In addition, use the posters during calm times first. Practicing the cafeteria routine during a quiet moment is easier than learning it during a busy lunch. Once the student knows the steps, move practice into the real setting.
If you would rather not design every routine from scratch, the set of ten how-to daily life skills posters gives students step-by-step guides for everyday school routines, with numbered, illustrated steps you can teach right away.
Meanwhile, keep sessions short. Five minutes of focused practice is better than a long lesson. Short, frequent practice fits naturally into the school day and helps the steps stick.
Worked example. Mr. Ruiz models the backpack routine twice on Monday, pointing to each picture. On Tuesday and Wednesday, Maya practices with him beside her. When she pauses after step one, he says, “Check the poster,” and she points to the folder picture and adds it.
4. Place posters where the routine happens
Next, put each poster in the right place. A poster works best at the point of action: the backpack poster near the cubbies, the line-up poster by the door, the bathroom poster near the sinks. Students should be able to see the next step without walking away from the task.
Also, hang life skills posters at the student’s eye level. Many classroom walls are covered from top to bottom, so a new poster can disappear. Choose a calm spot with little clutter around it. If the wall is busy, move other items or use the side of a cabinet.
In addition, protect the posters. Life skills posters near sinks, lunch areas, or doors get touched often. Laminating or using a plastic sleeve helps them last through the year.
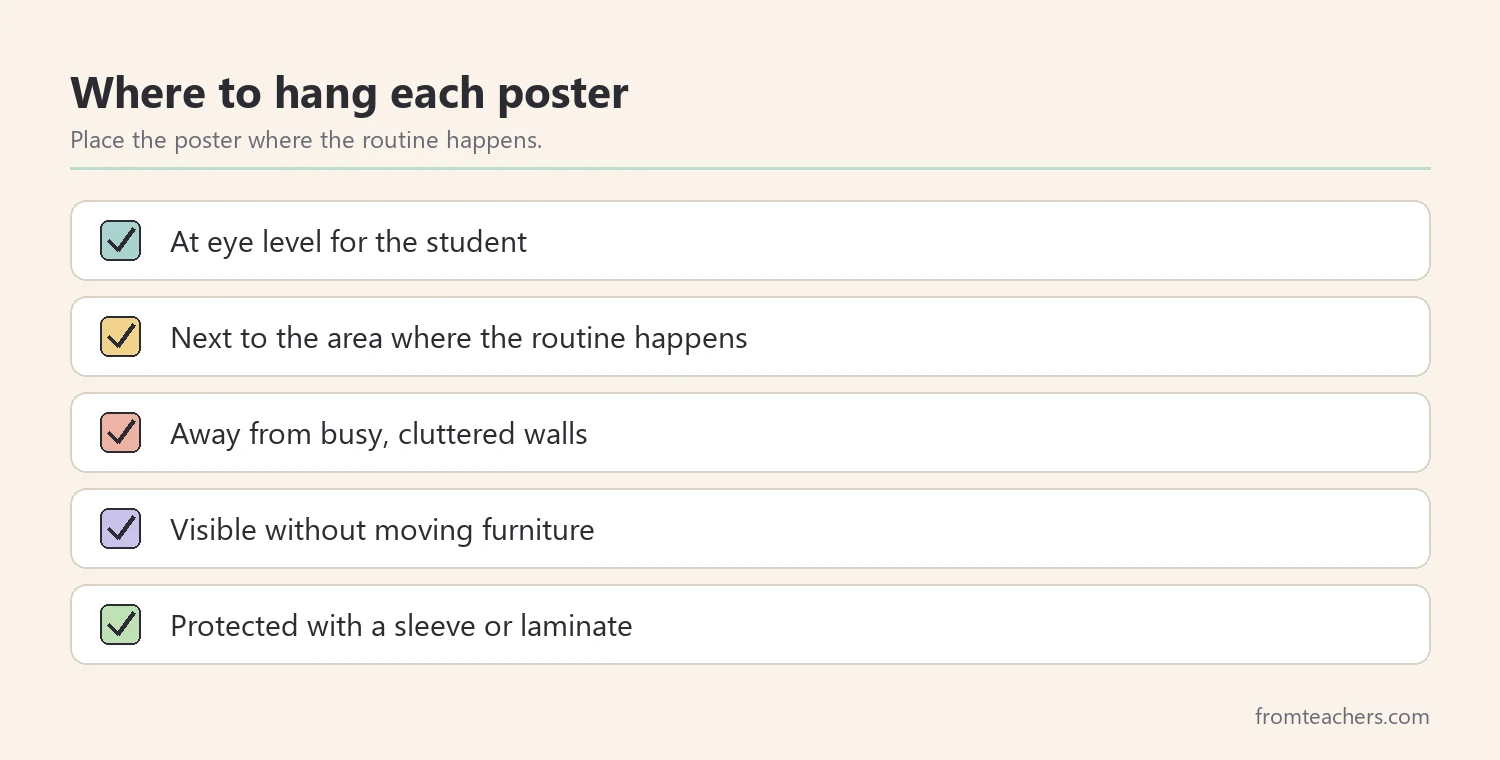
Make portable versions
Then, think about portable versions. Some routines happen outside the classroom, such as riding the bus or moving through the hallway. A small printed copy on a ring, in a folder, or on the back of a lanyard card lets the student take the steps along.
Meanwhile, start fading prompts. Once the student knows the routine, step back. Point to the poster instead of saying the step. Later, just glance at the poster. The goal is for the student to check the poster on their own, without any adult cue.
Finally, share placement with every adult. Paraprofessionals, specialists, and substitutes should know where each poster hangs and what words to use. Consistent adults help the student succeed in every part of the day.
Worked example. Mr. Ruiz hangs Maya’s poster on the side of the cubby shelf, at her eye level. He tells the paraprofessional to point to the poster instead of giving verbal reminders. By the second week, Maya glances at the poster herself before zipping her backpack.
5. Track independence with your life skills posters
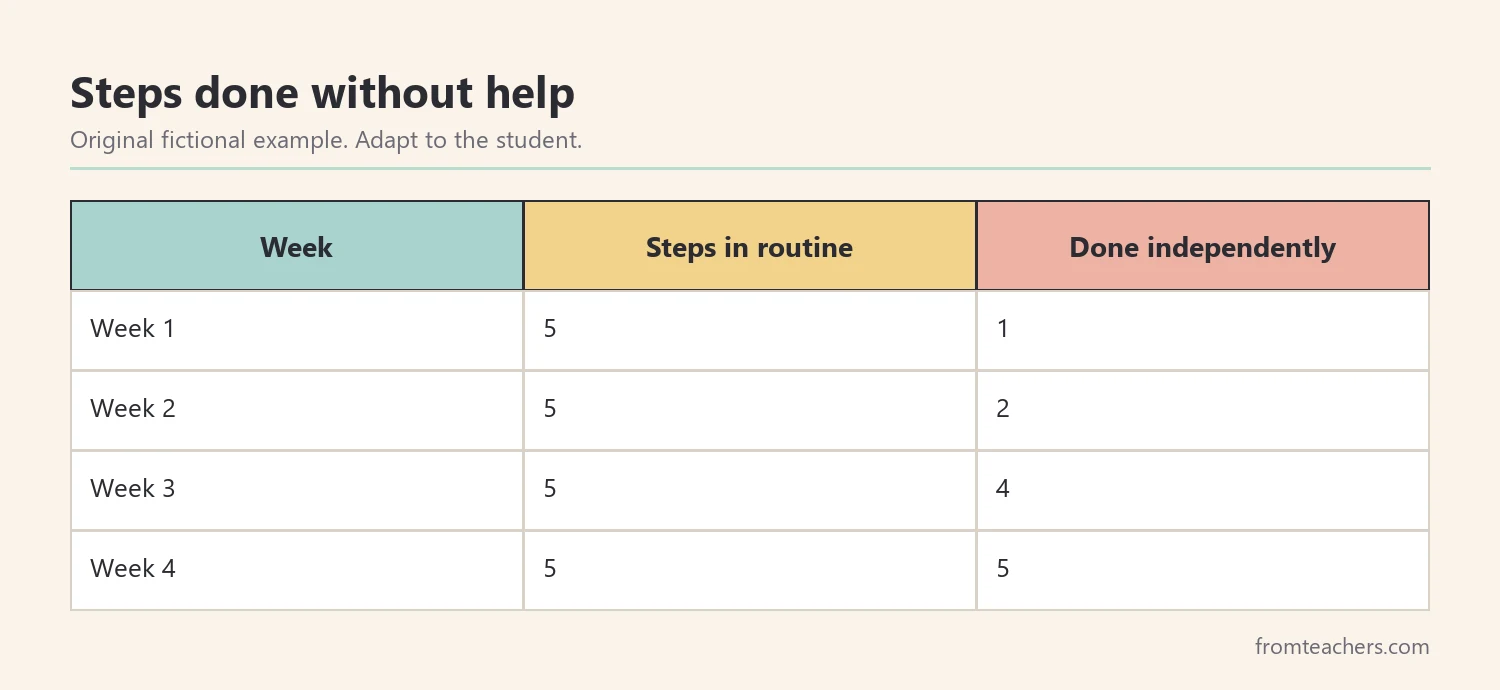
Finally, measure progress in a simple way. Count how many steps the student completes without help each day or each week. You do not need complex forms. A small chart with the routine steps and a check for each one done independently is enough.
Next, look at the trend, not one day, to see whether your life skills posters are doing their job. Every student has hard days. A steady rise over several weeks shows that the life skills posters and teaching are working. A flat line tells you to reteach a step, change the picture, or move the poster.
Also, celebrate progress with the student. Show them the chart. Older students often enjoy tracking their own steps, which builds ownership. Share wins with the family in plain words, such as “Maya packed her backpack on her own three times this week.”
In addition, add new routines slowly. When one routine is steady, introduce the next poster. Adding several new life skills posters at once can overwhelm students and adults. One new routine every week or two is a comfortable pace for many classrooms.
Then, review the posters each term. Routines change when schedules change. Check whether each poster still matches what students do, and update steps if the bus line moves or the cafeteria process changes.
Worked example. Mr. Ruiz counts Maya’s independent steps every Friday. In week 1, she completed 1 of 5 steps on her own. By week 2, she completed 2. In week 3, she completed 4. By week 4, she completed all 5 steps without help, so he adds a second poster for lining up.
Using posters at home
Families can use life skills posters at home, too. Morning routines, getting ready for bed, and packing for school all have clear steps. When home and school use similar steps and words, students practice the same skills in more places.
Also, keep it simple. Families do not need a poster for every task. One or two routines that cause the most stress are a good start. Ask the family which ones matter most, and offer a copy of the school poster if the routine is the same.
Common mistakes and how to avoid them
- Hanging posters without teaching them. Students may never look at them. Fix: model, practice, and teach students to check the poster.
- Too many steps. Long lists overwhelm. Fix: keep most routines to five to eight steps.
- Posters in the wrong place. A poster across the room is not useful during the task. Fix: hang it where the routine happens.
- Adults using different words. The student has to translate. Fix: use the exact words printed on the poster.
- Fading too fast. Removing support too soon leads to errors. Fix: move from verbal prompts to pointing, then to a glance, step by step.
- Never updating. Routines change. Fix: review life skills posters each term.
Questions teachers and parents ask about life skills posters
Which students benefit from life skills posters?
Many students benefit, including students in special education, students learning English, and young students still building routines. Clear, numbered steps with pictures help anyone who needs a reminder of what comes next. Adapt the number of steps and the pictures to each student.
How many posters should I use at once?
Start with one or two routines that cause the most stress. Add more once those are steady. Too many new posters at once can make the classroom feel busy and make each poster less noticeable.
Should the posters use pictures or words?
Both work well together. Pictures help students who are still learning to read, and short words help students connect speech to print. Keep both simple and consistent across posters.
How do I know when to remove a poster?
You may not need to remove it. Many adults still use checklists for routines. If a student completes the routine independently for several weeks, you can stop prompting and leave the poster as a quiet backup.
Can these posters support IEP goals?
They can support goals related to independence and daily routines when the IEP team agrees. Track progress in the way the team decides, and share your data at meetings. The posters are a tool, and the goals belong to the team and the student.
Related reading: Navigating the Path to Adulthood: Building Essential Life Skills, Special Education Strategies: 10 Powerful Ways Teachers Can Succeed, and The Power of Data Tracking in Special Education.
A companion resource for life skills posters:
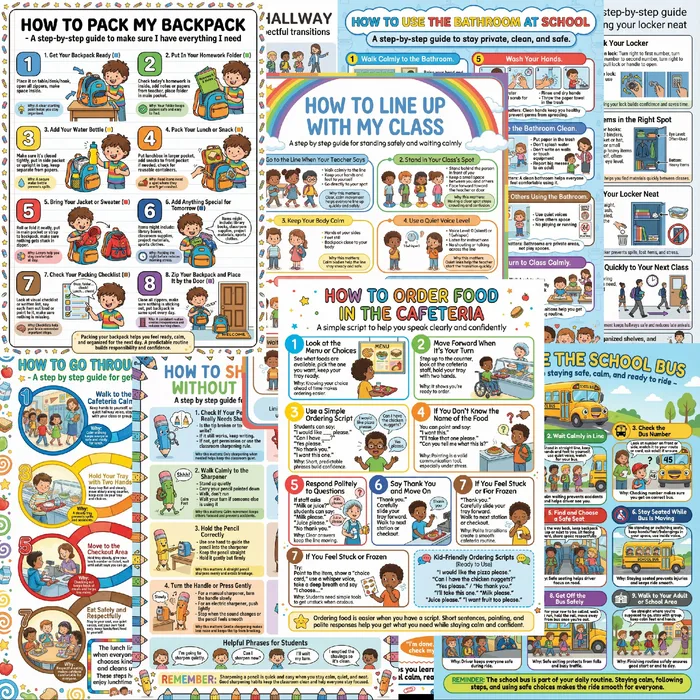
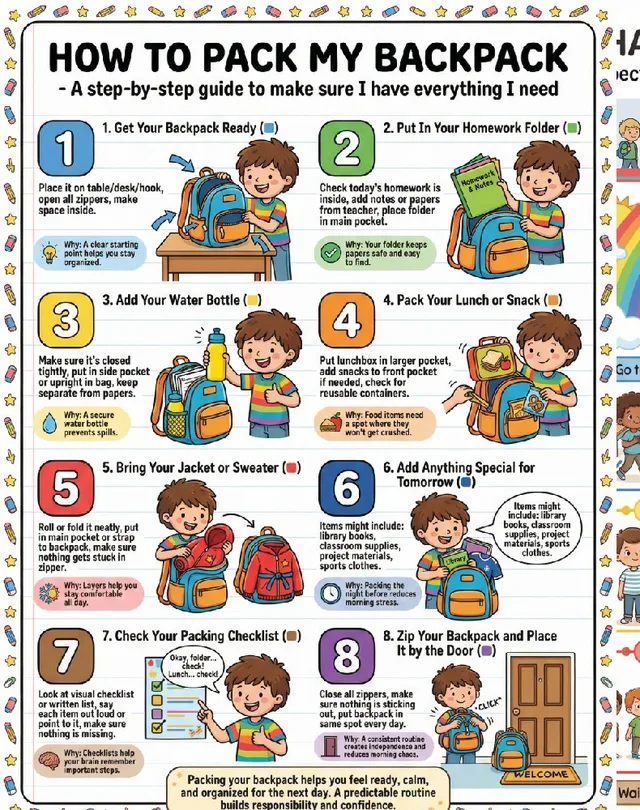
Practical How-To Daily Life Skills Posters: 10 classroom posters with numbered, illustrated steps for everyday school routines, a practical visual support for building independence.
Sources and scope
- IRIS Center, Vanderbilt University: free modules on classroom routines, visual supports, and evidence-based practices.
- IDEA, U.S. Department of Education: the law behind special education, IEPs, and transition planning.
- Understood.org: family-friendly information on learning differences and building independence.
- CAST UDL Guidelines: a framework for offering information in more than one format, including visuals.
This guide covers using visual step-by-step posters to teach everyday school routines. It does not replace a student’s IEP, therapy services, or the decisions of the student’s support team.
Key takeaways
- Choose routines that happen often and cause the most stress.
- Write short, numbered steps with clear pictures and verbs.
- Teach each poster directly, then teach students to check it.
- Hang posters where routines happen and fade prompts slowly.
- Track independent steps weekly and add new routines gradually.


Leave a Comment