

Using calm voices is a skill that helps a whole classroom feel safe, kind, and focused, and like any skill, it can be taught step by step. Picture a fourth-grade group project. One student’s voice rises, then another’s. Within a minute, three students are shouting over each other, and nobody remembers what the project was about. Now picture the same group with one student who lowers her voice and says, “Wait, let’s take turns.” The temperature drops.
This guide gives you five steps for using calm voices with students: define what a calm voice is, teach volume and pace, teach kind words and listening, use calm voices during conflicts and big feelings, and practice every day. By the end, you will have a clear routine you can introduce this week.
Examples are fictional. Adapt to the student’s goals and agreed supports. This is guidance, not a diagnosis.
At a glance
- A calm voice has four parts: volume, pace, word choice, and listening.
- Students learn voice skills best through modeling and short practice.
- Match voice volume to the setting instead of demanding silence.
- Conflicts and overwhelm are the most important times to use a calm voice.
- Some students need extra support with volume, so adapt with care.
1. Define what using calm voices means
First, make the idea concrete. “Be calm” is vague. Students need to know exactly what a calm voice sounds like. Break it into four parts: a comfortable, quiet volume; a slower pace; kind and respectful words; and listening before responding.
Next, explain why it matters. A calm voice helps everyone feel safe and ready to learn. It also helps the speaker think. When students slow down, they tend to choose better words and make fewer hurtful comments in the heat of the moment.
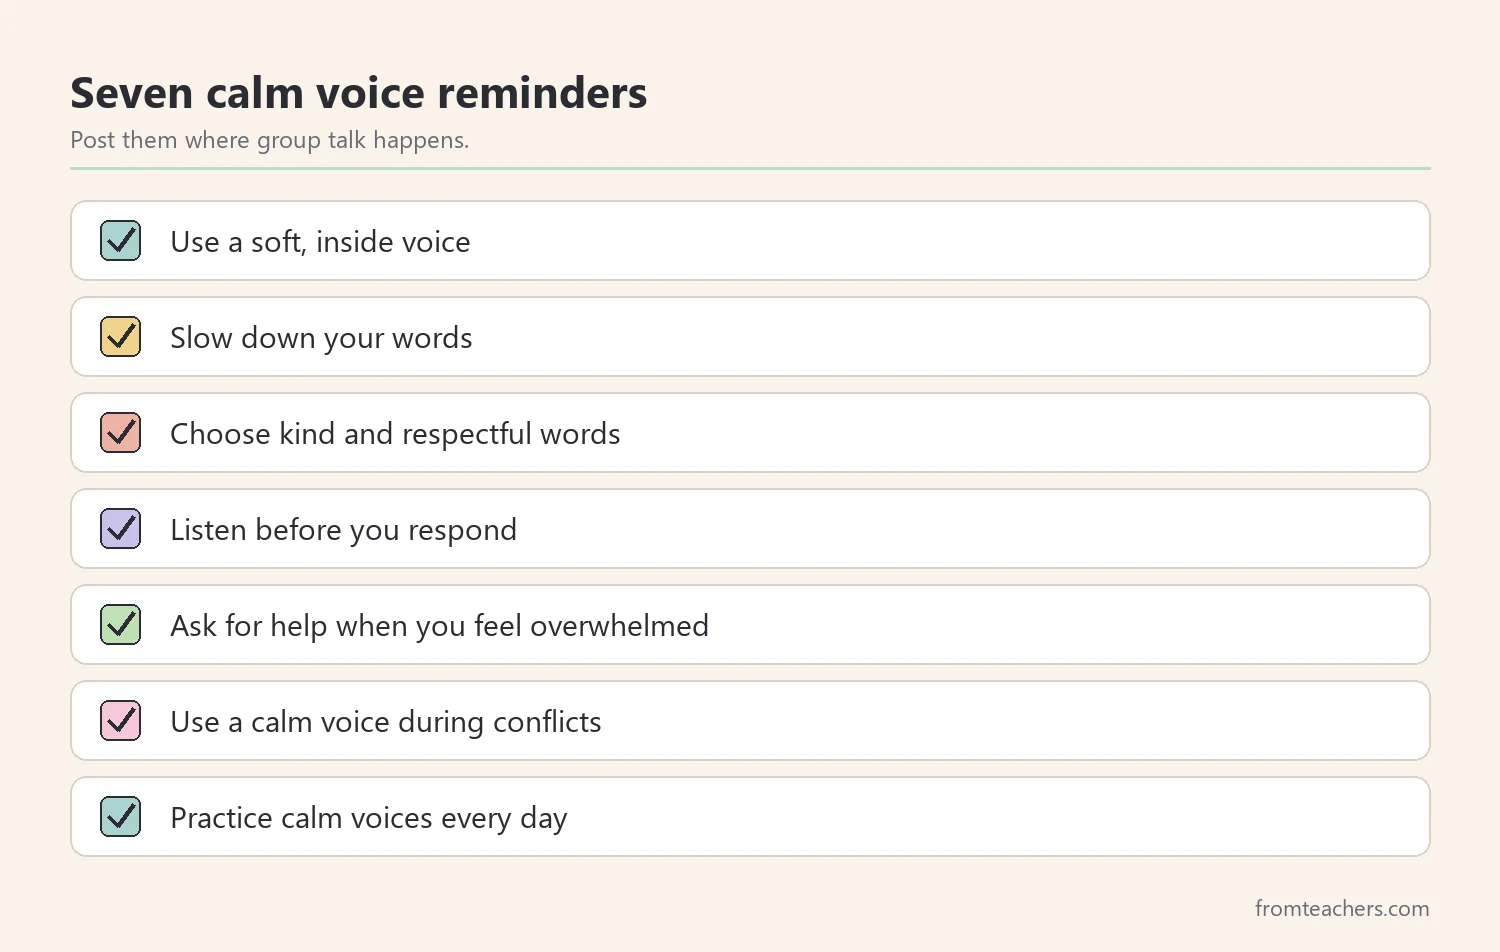
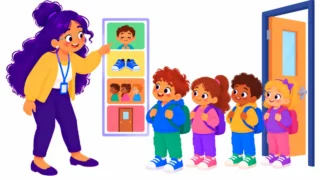
Also, make the reminders visible. Seven short reminders cover most situations: use a soft inside voice, slow down your words, choose kind and respectful words, listen before you respond, ask for help when you feel overwhelmed, use a calm voice during conflicts, and practice calm voices every day.
Meet Noah
Consider Noah, a fictional student in grade 4. Noah is enthusiastic and funny. However, when he gets excited, his voice gets loud and fast, and classmates sometimes feel talked over. His teacher, Mrs. Grant, does not want to dim his energy. Instead, she wants to help Noah learn when and how to bring his volume down.
Then, introduce the ideas slowly. Teach one or two reminders a week instead of all seven at once. Start with the reminder that matches your biggest daily challenge, such as volume during centers or interrupting during discussions. When students master that one, add the next. A slow rollout gives every student time to connect the words to real moments, and it keeps using calm voices from becoming just another poster on the wall.
Finally, frame calm voices as a tool, not a rule. “Your voice is a tool, and you can choose how to use it” lands better than “Stop being loud.” Students who feel in control of their voice are more likely to use it well. In other words, using calm voices becomes something students choose, not something done to them.
2. Teach volume and pace for using calm voices
Volume and pace are the easiest parts to see and hear, so start there. Many students genuinely do not know how loud they are. Teaching volume is not about silence; rather, it is about matching your voice to the setting.
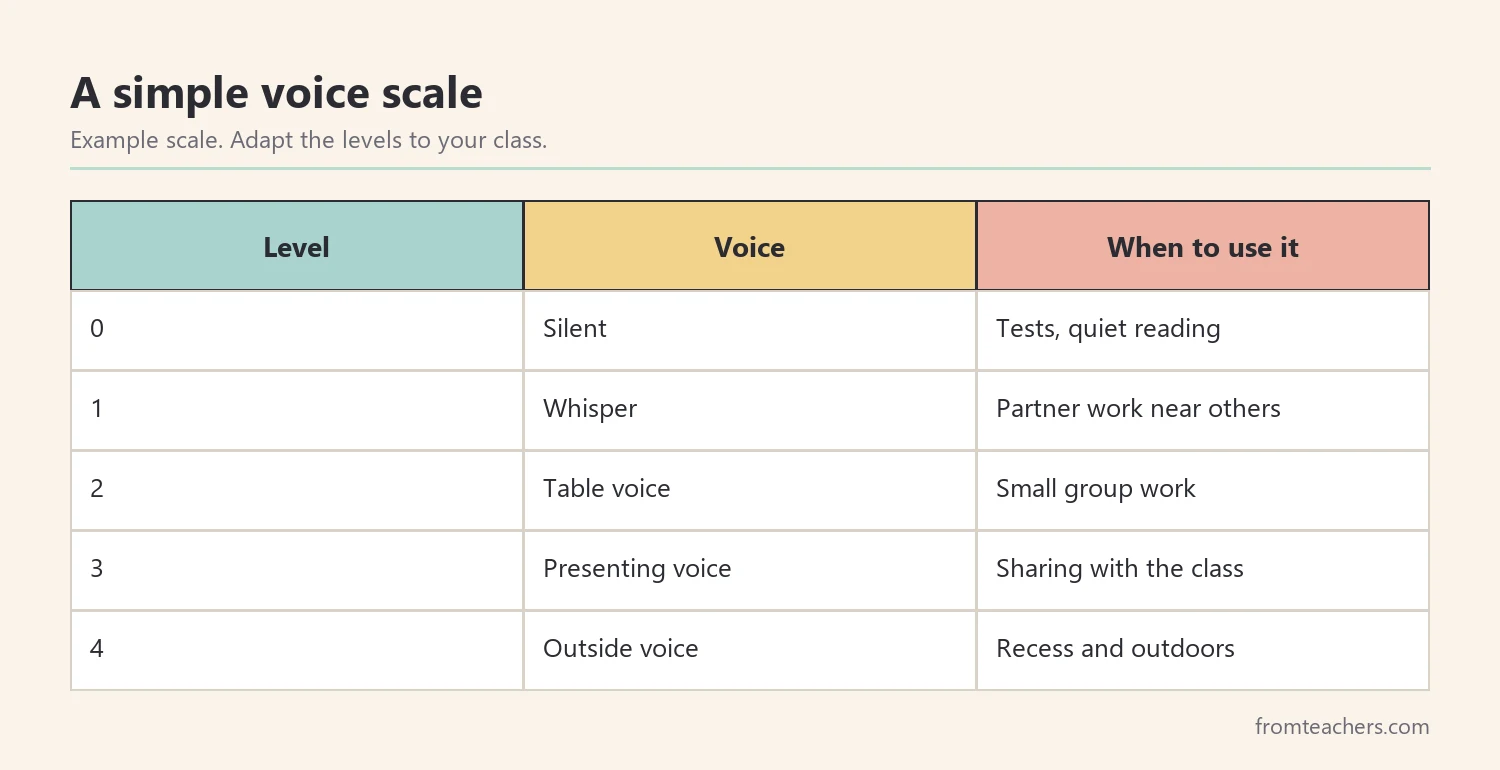
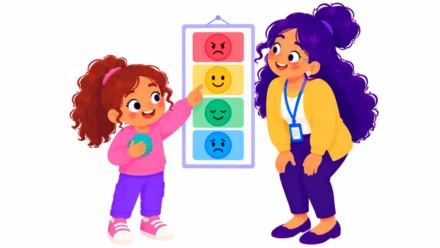
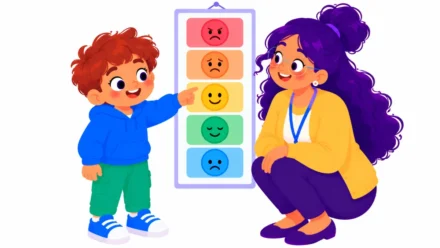
Use a simple voice scale. Many classrooms use a numbered scale, from silent to outside voice. Define each level with a setting and an example. Keep the scale short and post it where students can see it.
Next, practice pace. Ask students to say a sentence fast, then slowly. Discuss which one was easier to understand. Speaking slowly so others can understand, and taking a breath between sentences, helps listeners and calms the speaker at the same time.
Moreover, model volume constantly. Lower your own voice when the room gets loud. Many teachers find that a quieter adult voice draws students in more than a raised one. Students notice and often copy the change.
How it worked for Noah
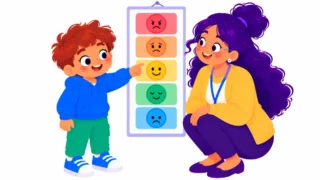
For Noah, Mrs. Grant used a small card on his desk showing the voice scale. Before group work, she pointed to “table voice” and asked him to show it. When his voice rose during the project, she tapped the card instead of calling across the room. Noah usually adjusted within seconds.
In addition, give students time to practice without pressure. A quick game works well: say the same sentence at each level on the scale. Students laugh, but they also learn what each level actually sounds like. As a result, using calm voices starts to feel like a skill they own.
Also, remember that volume control is harder for some students. Students with hearing differences, ADHD, autism, or sensory needs may need visual cues, extra practice, or a different goal. Work with the student’s team before setting expectations.
3. Teach kind words and listening
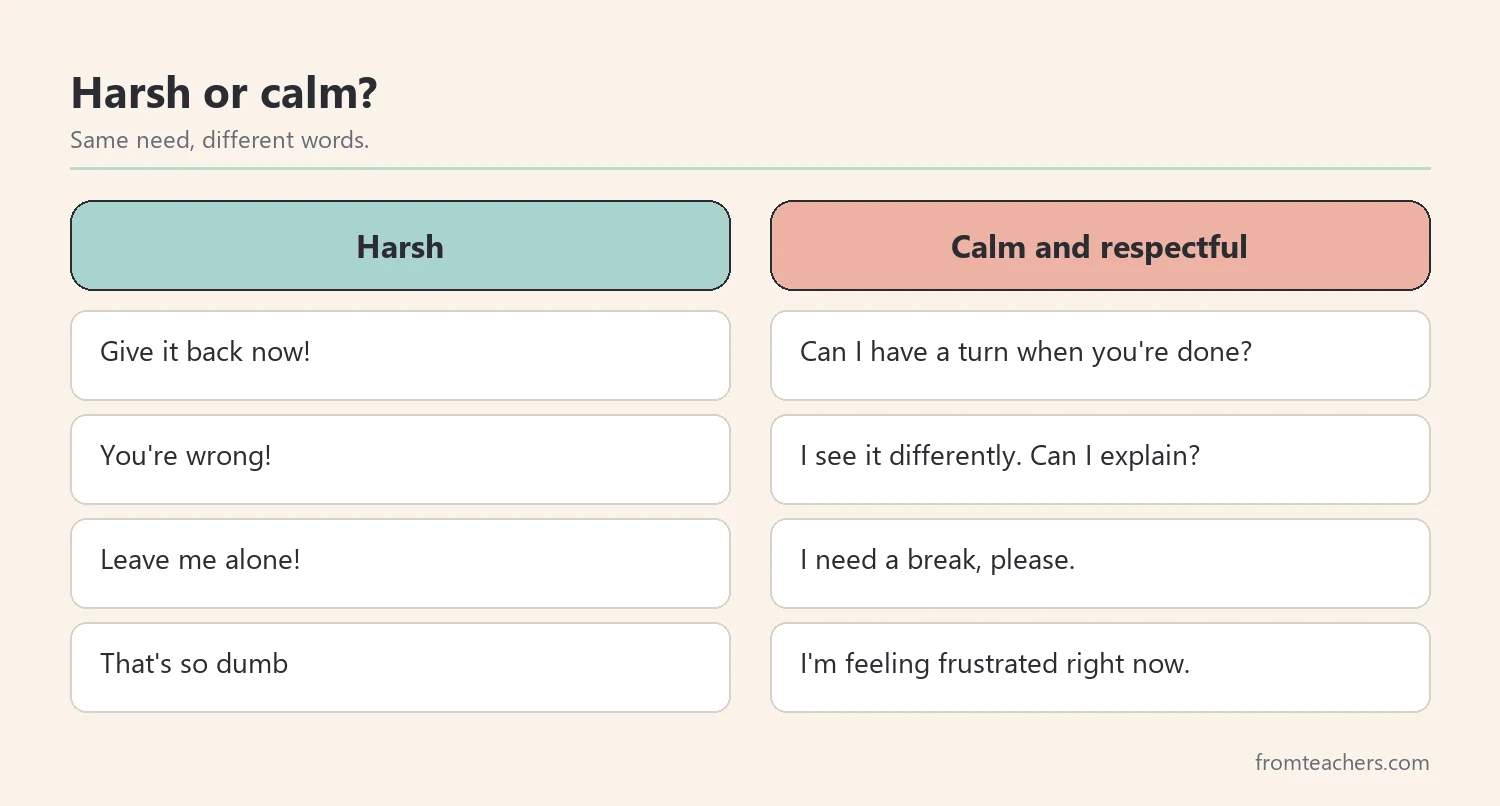
Volume is only part of the picture. A quiet voice can still deliver hurtful words. Therefore, teach students that using calm voices also means choosing kind and respectful words, even when upset.
Start with sentence starters. “I feel…” and “Can we talk about this later?” help students express frustration without blame. Being polite, even when upset, and thinking before you speak are skills that take practice.
Next, teach listening as part of calm talk. Let the other person finish. Wait for the right moment to talk. Remind students that listening helps everyone stay calm, because people who feel heard are less likely to raise their voices.
Then, practice with role-play. Give pairs a small disagreement, such as who goes first at a game. One student practices a harsh response, and then both practice a calm one. The class discusses how each version felt.
For Noah, listening was the bigger challenge. He often jumped in before classmates finished. Mrs. Grant taught him a small trick: count two seconds in his head after someone stops talking. It felt slow to him at first. Within a few weeks, classmates commented that group work felt fairer.
Also, for ready-made visuals, a using calm voices poster with illustrated reminders for volume, pace, kind words, and listening can hang near group tables as a quick reference.
4. Use calm voices during conflicts and big feelings
The real test of using calm voices comes when emotions run high. During a disagreement, voices naturally rise. So, teach a short sequence students can follow when they feel their voice getting loud.
First, take a breath. Then, lower your volume. Next, say how you feel in simple words. Finally, focus on solving the problem, not on winning. These four steps give students a predictable path out of a heated moment.
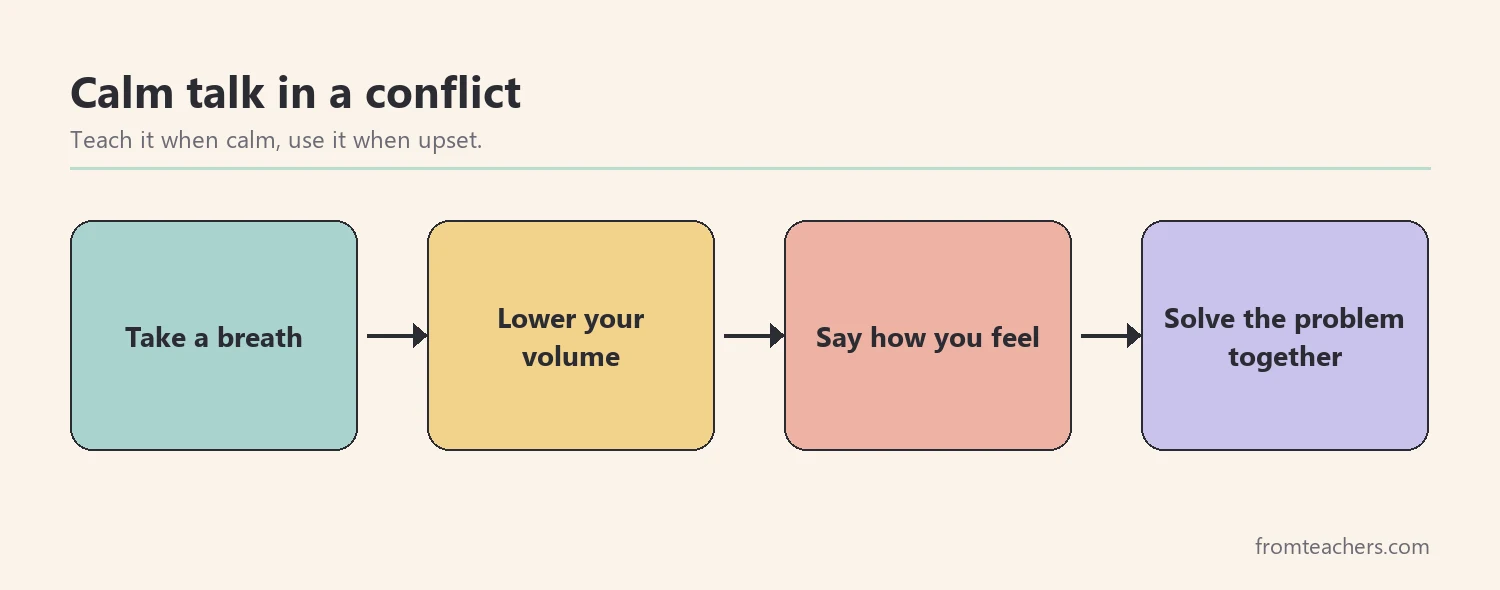
Next, teach students to ask for help when they feel overwhelmed. Phrases like “I need a break,” “I’m feeling frustrated,” and “Can we talk about this later?” are calm ways to signal that a feeling is getting too big. Asking for help is a strong choice, not a weakness.
In addition, stay calm yourself. When adults raise their voices during conflict, students usually follow. A low, steady adult voice is one of the most effective tools you have. Model the exact phrases you want students to use.
Noah’s turning point
For Noah, the turning point came during a soccer argument at recess. Instead of shouting, he walked to the duty teacher and said, “I’m feeling frustrated. Can you help?” Mrs. Grant made sure to notice and name it later: “You used a calm voice when you were upset. That took real strength.”
Moreover, plan a reset routine for after a conflict. Once both students are calm, bring them together briefly. Ask each one to say what happened in a calm voice, name one thing they could try next time, and agree on a fresh start. This short repair conversation teaches that relationships can recover. It also gives students another chance to practice using calm voices when the stakes are lower and feelings have settled.
Also, accept that some moments are too big for words. A student in a meltdown cannot follow a four-step plan. In those moments, focus on safety and calm. Teach and practice using calm voices later, when the student is regulated.
5. Practice using calm voices every day
Skills fade without practice. So, build calm voice practice into daily routines: transitions, group work, and morning meetings are natural moments to rehearse.
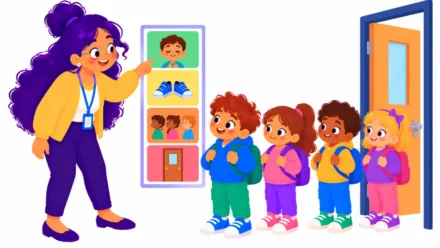
During transitions, remind students of the expected voice level before moving. In group work, check in on volume halfway through. During morning meeting, practice one reminder from the poster with a quick role-play or a game.
Next, give specific feedback. “Your group used table voices the whole time. I could hear everyone’s ideas.” Specific praise tells students exactly what to repeat, and it shows that using calm voices makes a difference.
Then, track progress lightly. A simple tally of how many times you needed to cue a student, or a group, during one daily activity is enough. Watch the trend over several weeks.
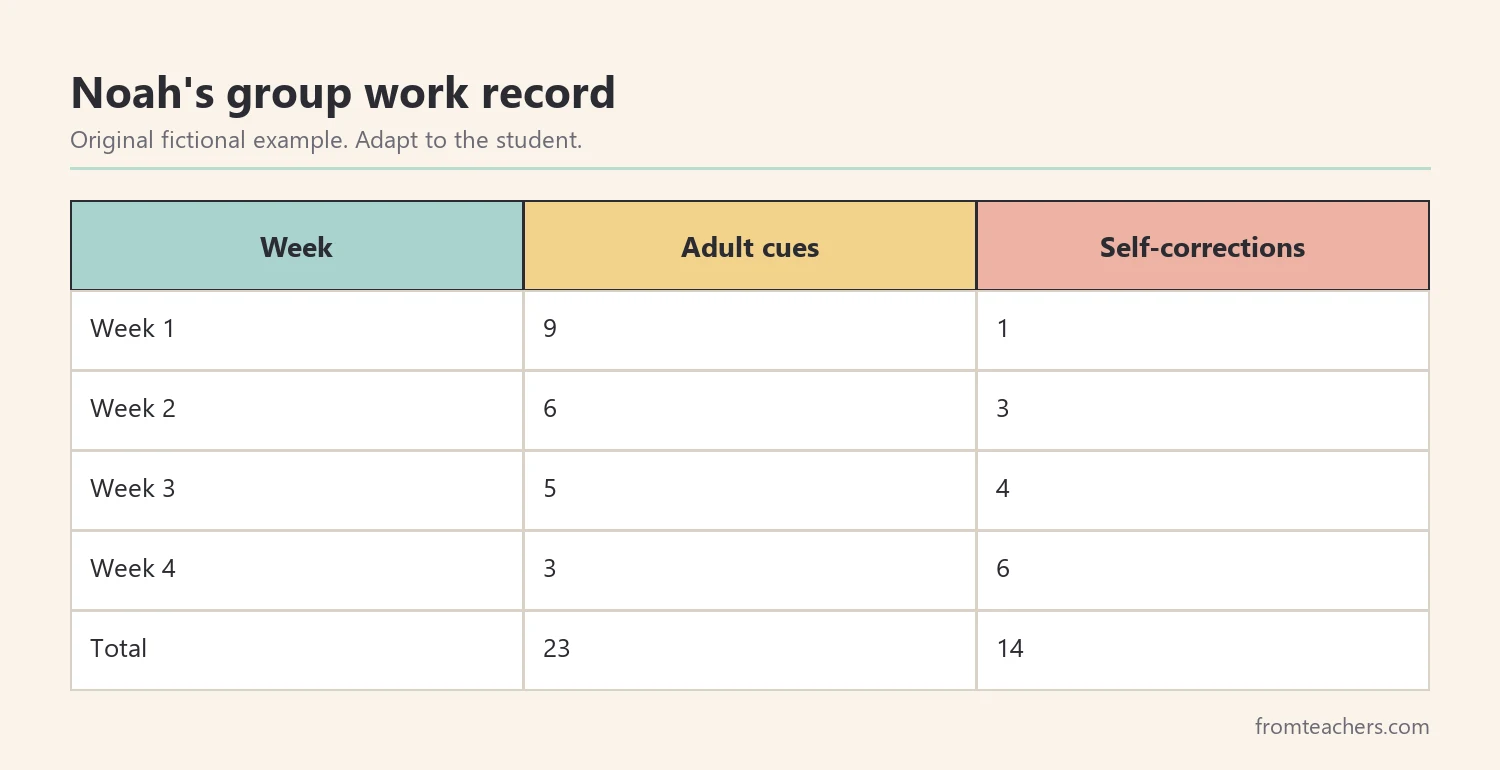
In Noah’s fictional record, adult cues during group work dropped from 9 in week one to 3 in week four, for a total of 23. Meanwhile, self-corrections grew from 1 to 6, a total of 14. Mrs. Grant shared these numbers with Noah, and he was proud to see the change.
Moreover, share the routine with families. Parents can use the same voice scale at home, during dinner or car rides. Consistent words make using calm voices easier to remember across settings.
Finally, celebrate the class, not just individuals. A short comment like “Our room felt calm and focused today” reinforces that everyone contributes to the climate. Calm voices help the classroom feel safe, kind, and focused for all.
Common mistakes and how to avoid them
- Demanding silence instead of calm. Students stop collaborating. Fix: match voice level to the setting.
- Shouting to stop shouting. Students copy the adult. Fix: lower your own voice and use visual cues.
- Teaching volume but ignoring words. Quiet put-downs still hurt. Fix: teach kind phrases and listening too.
- Expecting the same from every student. Some students need adapted goals. Fix: plan supports with the student’s team.
- Practicing only after problems. Skills never get rehearsed calmly. Fix: practice daily in low-stakes moments.
Questions teachers and parents ask about using calm voices
What is the difference between a calm voice and a quiet voice?
A quiet voice is about volume. Calm voices also include a slower pace, kind words, and listening. A student can be quiet and still unkind, so teach all four parts.
How do I help a student who doesn’t notice how loud they are?
Use a visual voice scale, private cues, and short practice games. Some students benefit from recording and listening to their own voice. If volume stays a concern, consult the school team.
Is using calm voices realistic for young children?
Yes, with simple language and lots of modeling. Young children can learn “inside voice” and “outside voice” early, then add pace and kind words over time.
What should I do when a whole class gets loud?
Lower your voice, use an agreed attention signal, and name the expected level. Then, briefly practice before continuing. Avoid raising your voice over the noise.
How long does it take for students to learn this?
It varies. Some students adjust their volume within days, while others need many weeks of cues and practice. Watch for small changes, such as quicker self-corrections, rather than expecting perfect calm right away.
Can families use the same approach at home?
Absolutely. A shared voice scale and the same phrases at home and school help children practice in more settings and understand that calm voices matter everywhere.
Related reading: Managing Sensory Overload: Practical Strategies for Autism and ADHD, Meltdowns vs Tantrums: A Guide to Understanding and Responding, and Moving Beyond Shame and Behavior Charts: Positive Alternatives for Effective Classroom Management.
A companion resource for using calm voices:
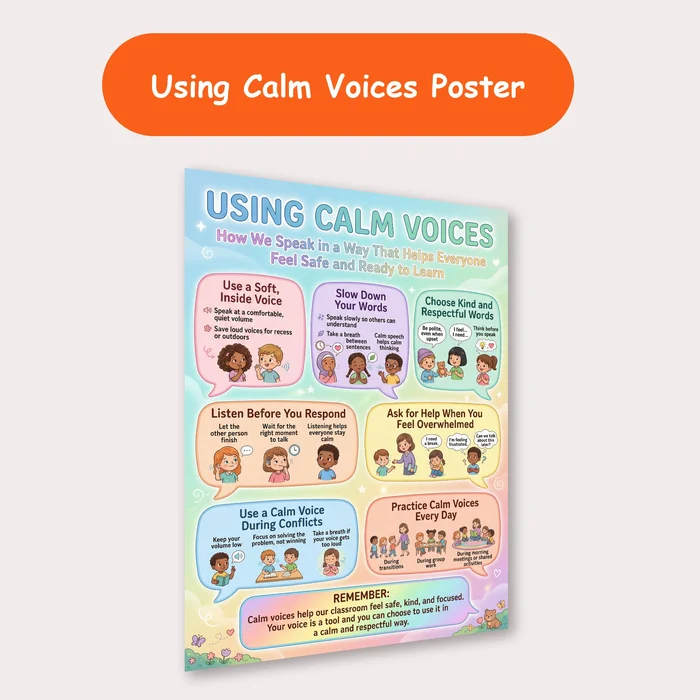
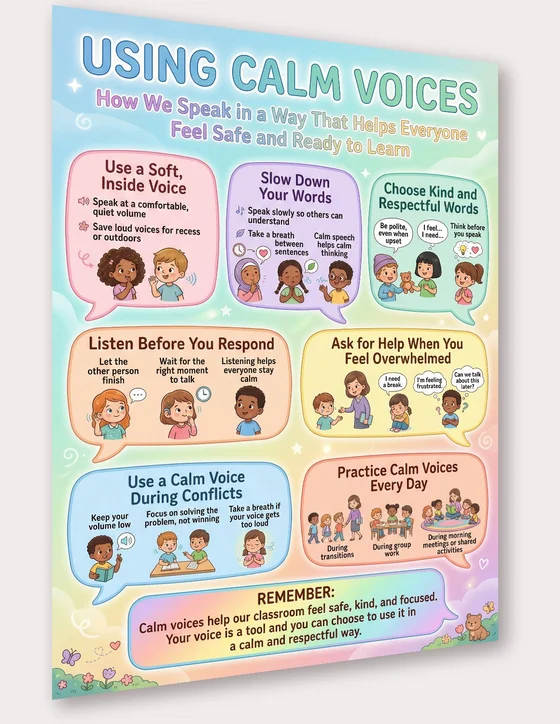
Using Calm Voices Poster: seven illustrated reminders on voice level and respectful speaking, showing students how to speak in a way that helps everyone feel safe and ready to learn.
Sources and scope
- CASEL: a framework for social and emotional learning, including relationship skills and self-management.
- Center on PBIS: guidance on teaching and acknowledging expected classroom behavior.
- American Speech-Language-Hearing Association (ASHA): information on voice, speech, and communication.
- IRIS Center, Vanderbilt University: free modules on classroom management and routines.
This guide covers everyday teaching of voice level and respectful speaking. It does not address voice disorders, hearing loss, or other needs that require evaluation by a qualified professional.
Key takeaways
- A calm voice combines volume, pace, kind words, and listening.
- Use a simple voice scale to match volume to the setting.
- Teach respectful phrases and a short conflict sequence.
- Model a low, steady voice, especially in tense moments.
- Practice daily and track cues and self-corrections over time.




Leave a Comment