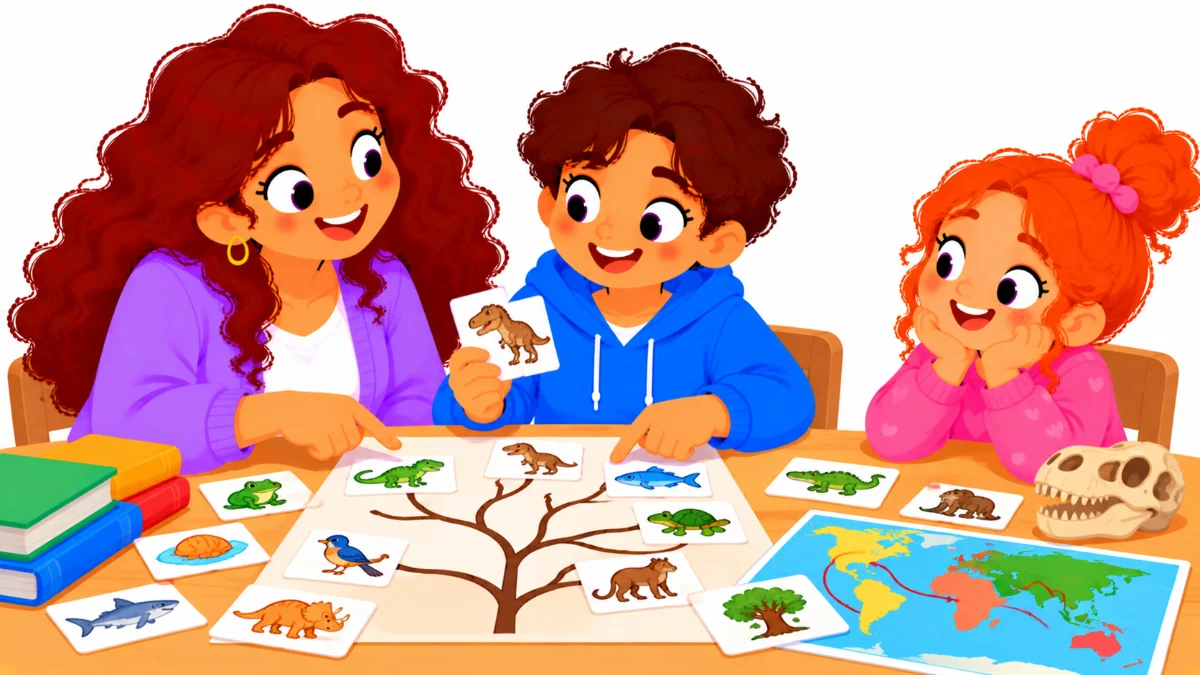

A human evolution homeschool unit can be one of the most memorable things you teach at the kitchen table, if it is planned well. Picture a twelve-year-old who asks, “Did people really come from monkeys?” over breakfast. You want to give an accurate, respectful answer, but you are not a science teacher and you do not know where to begin.
This guide is for homeschool parents and co-op leaders teaching children around ages 11 to 13. It shows you how to plan a four-week unit, explain big ideas simply, use evidence instead of stories, handle tough questions, and check what your child has learned. By the end, you will have a week-by-week plan you can adapt to your family’s pace.
Examples are fictional. Adapt to your learner’s age, interests, and needs. This is general teaching guidance.
At a glance
- Plan the unit in four short weeks with one big question per week.
- Start with natural selection before any fossils or species names.
- Teach how scientists know, not only what they found.
- Answer hard questions calmly and separate science from belief.
- Check learning with discussion, a short project, and a quiz.
1. Plan your human evolution homeschool unit in four weeks
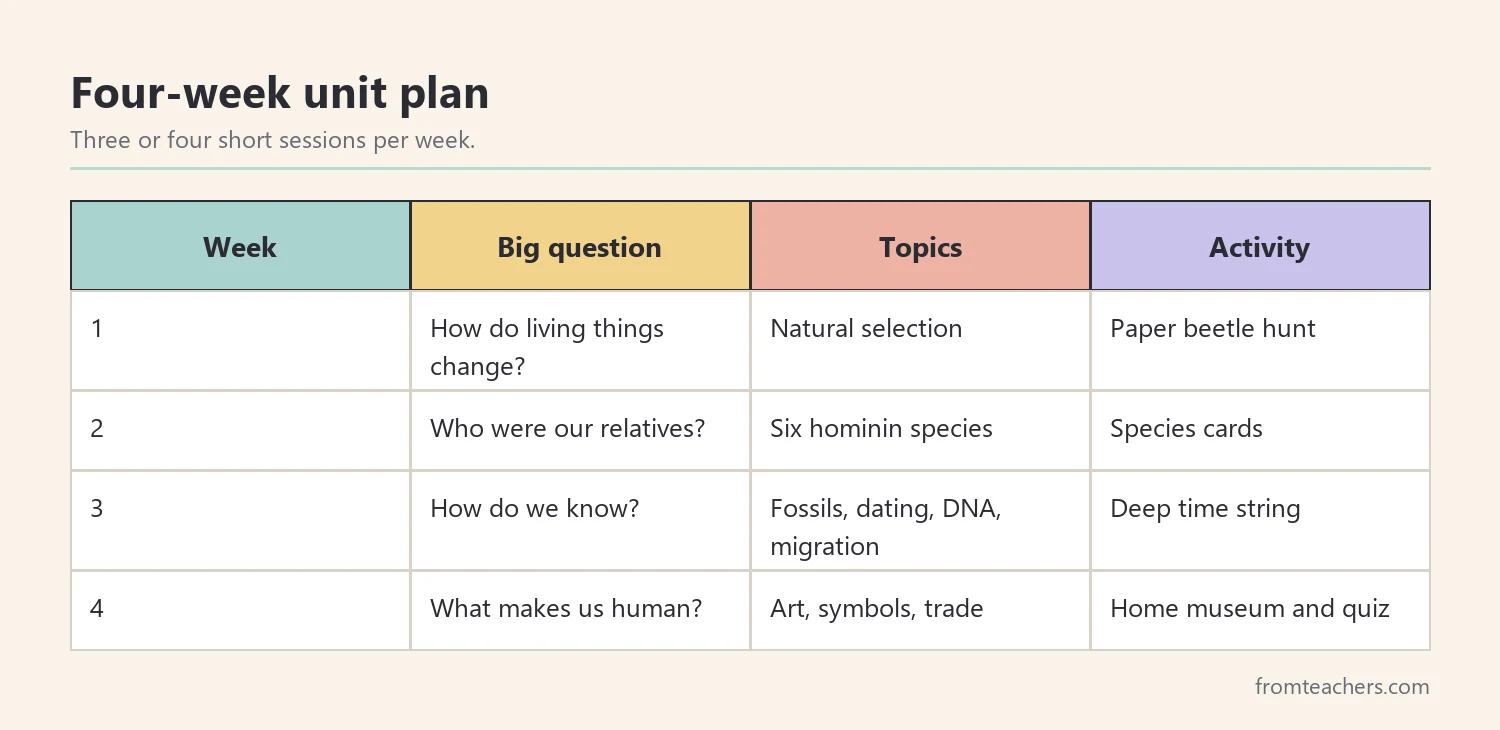
First, decide how long the unit will run. Four weeks, with three or four short sessions per week, works well for many homeschool families. It is long enough to go beyond facts, yet short enough to keep a twelve-year-old interested.
Next, give each week one big question. Big questions keep a human evolution homeschool unit focused and give your child something to think about between lessons. They also make it easy to explain the plan to your learner on day one.
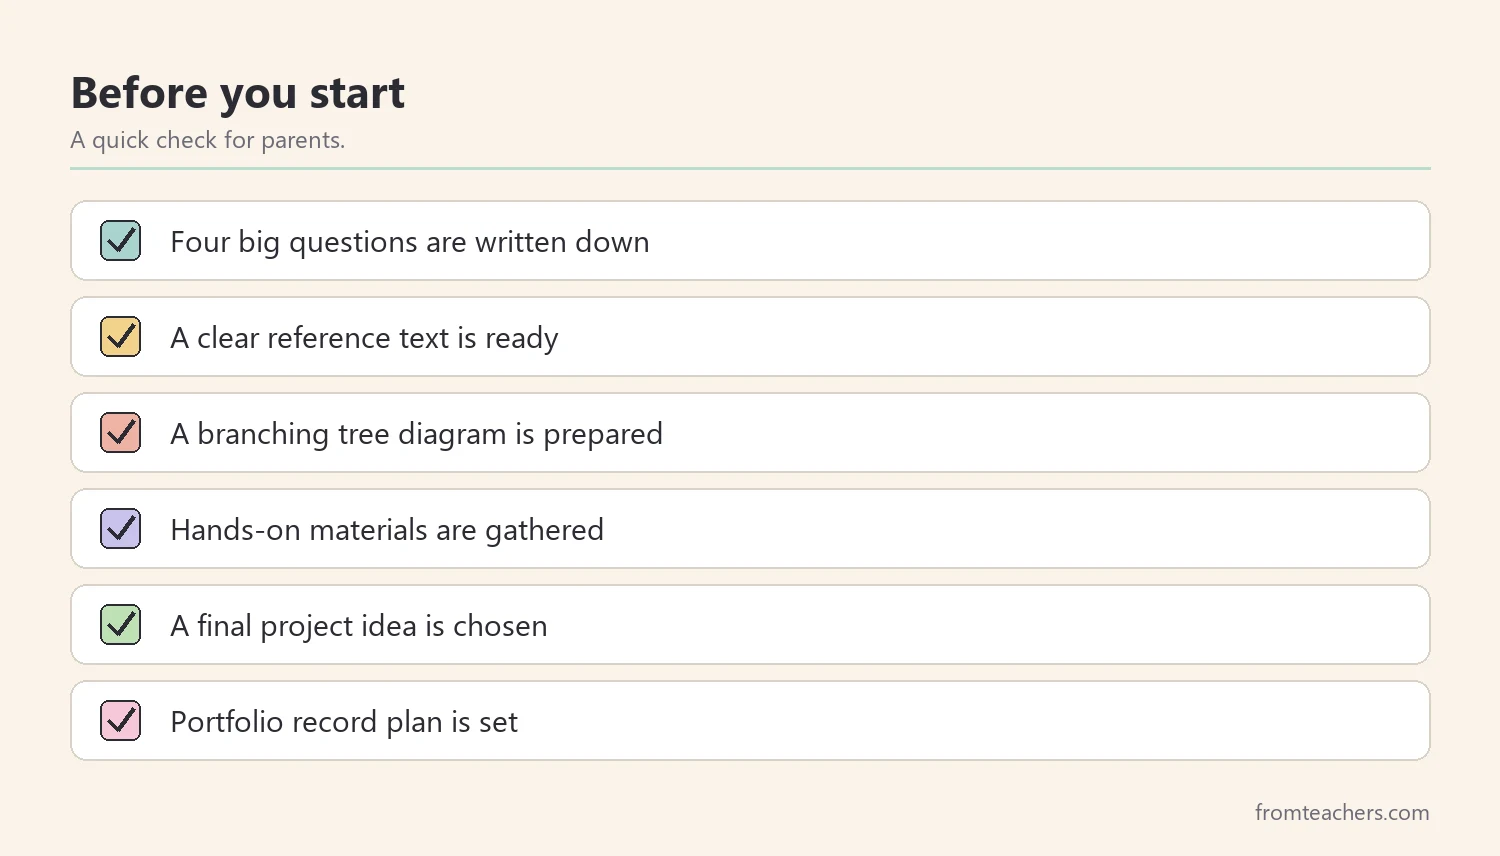
Then, gather your materials before you start. You will want a clear reference text with diagrams, a world map, paper for a timeline, and a few hands-on materials such as clay, string, or printed images of skulls. A library trip or a virtual museum visit can add a lot.
Elias (fictional, age 12) is homeschooled with his younger sister. His mother, Ms. Lindqvist, planned the unit for October. She printed a four-week calendar, wrote one question at the top of each week, and pinned it to the kitchen wall so Elias could see where the unit was going.
Also, keep sessions short. Thirty to forty-five minutes of focused work is often enough at this age. Many homeschool families find that a short reading, a discussion, and one hands-on task make a balanced session.
Teaching siblings or a co-op group together
Many homeschool families teach more than one child at once. A human evolution homeschool unit adapts well to mixed ages. Keep the big question the same for everyone, then change the depth of the task.
For example, during the species week, a nine-year-old might draw one species and name one feature, while a twelve-year-old completes a full species card with evidence. Older learners can also lead part of a discussion or explain a diagram to a younger sibling, which strengthens their own understanding.
In a co-op, assign each child or small group one species to research and present. Then, build a shared branching tree on the wall as each group reports. In this way, the human evolution homeschool unit becomes a collaborative project, and every learner contributes a piece of the bigger picture.
Finally, keep one shared vocabulary list for the whole group. Words such as fossil, species, ancestor, and natural selection can go on a wall chart that everyone uses across the four weeks.
2. Start your human evolution homeschool unit with natural selection
Before any fossils or species names, make sure your child understands natural selection. Without it, human evolution becomes a list of strange names. With it, every fossil and every species makes more sense.
Explain the idea in three simple parts. Living things vary. Some variations help survival and reproduction in a particular environment. Over many generations, helpful variations tend to become more common. That is the core of the idea, and your child can explain it back to you in their own words.
Then, use a quick hands-on activity. For example, scatter paper “beetles” of two colors on a patterned cloth and let your child “hunt” them for thirty seconds. The color that blends in survives more often. Repeat a few rounds and talk about what changed in the population.
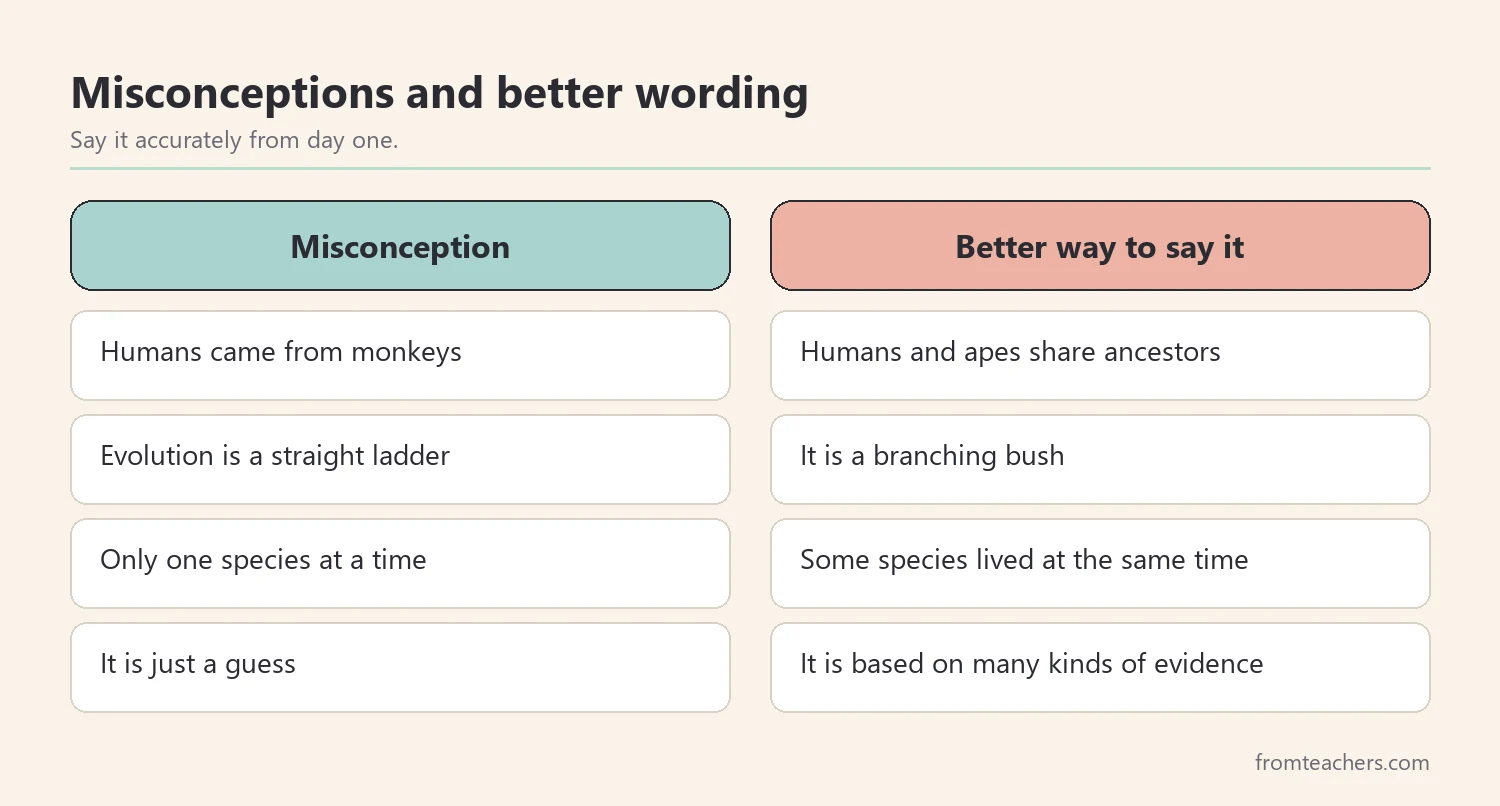
Next, address the most common misconception right away. Evolution does not mean that humans descended from today’s monkeys or apes. Instead, humans and other apes share common ancestors that lived long ago. A simple branching tree drawing makes this much clearer than a line of figures walking from left to right.
Ms. Lindqvist asked Elias to draw a family tree of his own cousins first. Then, she showed him a simple branching diagram of primates. He said, “So chimps are more like cousins than grandparents.” That single sentence showed he had grasped the key point.
3. Meet the hominin species through evidence
Once natural selection is clear, introduce a small number of hominin species. Six well-known examples cover a lot of ground: Australopithecus afarensis, Homo habilis, Homo erectus, Homo heidelbergensis, Homo neanderthalensis, and Homo sapiens. For each, focus on a few features and what evidence tells us.
A useful structure for each species is the same four questions: Where were fossils found? What did their bodies look like? What tools or behaviors are linked to them? How do we know? Repeating the same questions builds a routine and makes comparison easier.
For a complete reference, Ms. Lindqvist used a complete scientific guide to human evolution for ages 11 to 13, which covers natural selection, the human family tree, these six species, migration, fossil dating, ancient DNA, and what makes us human, with discussion questions, a quiz, and a glossary.
Then, make a species card for each one. On an index card, your child writes the name, one or two features, one piece of evidence, and a small sketch. By the end of the week, the cards can be laid out on a table and arranged on the branching tree.
In addition, emphasize that the tree is a branching bush, not a ladder. Some species lived at the same time, and not every species is a direct ancestor of us. This idea surprises many learners and leads to great discussions.
| Species card field | Example entry (simplified) |
|---|---|
| Name | Homo neanderthalensis |
| Feature | Strong, stocky build |
| Evidence | Fossils and stone tools found in Europe and Asia |
| How we know | Fossils, tools, and ancient DNA |
4. Teach how scientists know
A strong human evolution homeschool unit teaches the methods behind the story. Children at this age are ready to ask, “How do we know that?” and they deserve a real answer.
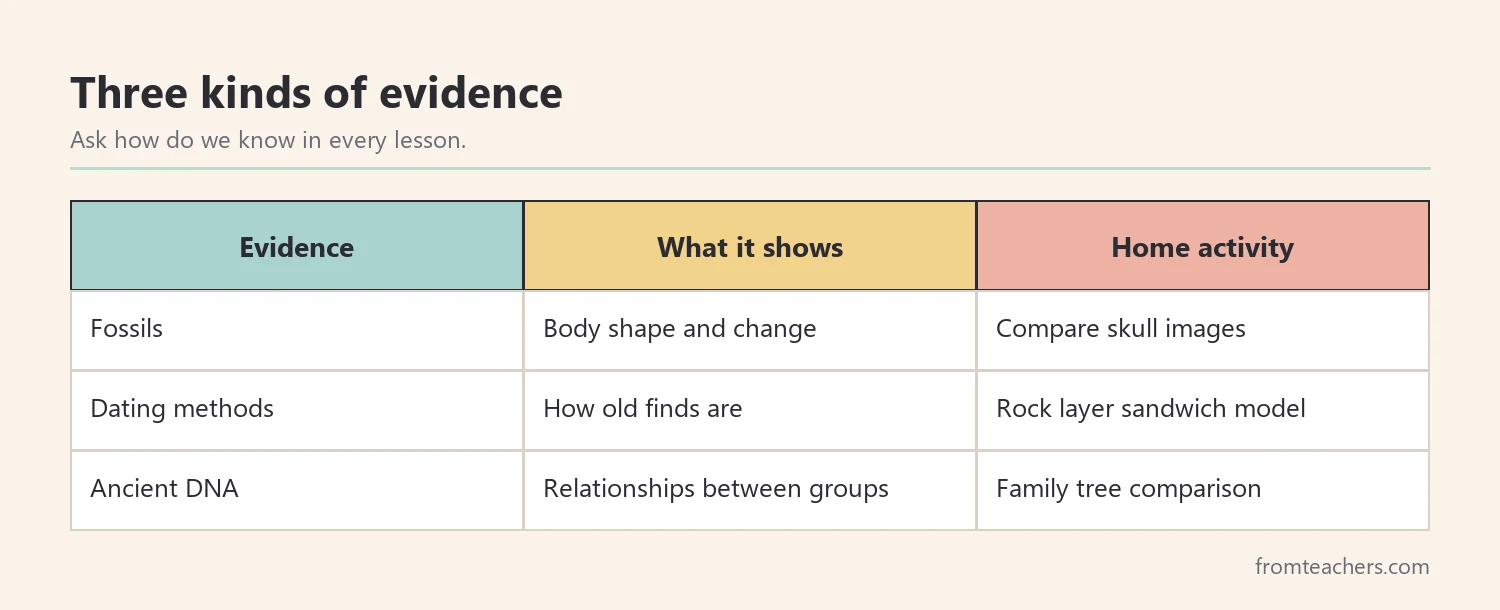
Introduce three main kinds of evidence. Fossils show the shape of bodies and how they changed. Dating methods help scientists estimate how old fossils and the rocks around them are. Ancient DNA, where it can be recovered, shows relationships between populations and species.
Then, make deep time visible. Roll out a long strip of paper or string across the hallway and mark major events at scale. Your child will be amazed at how short human history is compared with the history of life. This activity sticks in memory far longer than any number.
Next, trace the global journey of early humans on a world map. Use a simple map and arrows to show how Homo sapiens spread from Africa to other continents over a long period. Ask your child what challenges people might have faced crossing deserts, mountains, or seas.
In addition, invite your child to compare their own family tree with the species tree from week two. Ask where the two drawings are similar and where they differ. Comparisons like this help learners see that relationships, not a straight line, are at the heart of the story.
Finally, talk about uncertainty. Scientists sometimes disagree, and new fossils can change ideas. Explain that this is how science works: evidence is gathered, ideas are tested, and conclusions are revised. That message is valuable far beyond one unit.
5. Close the human evolution homeschool unit and check learning
In the last week, explore the behaviors linked to modern humans: art, cave paintings, symbols, trade, and abstract thought. This week often becomes a favorite, because it connects science with history, art, and big questions about who we are.
For example, look at images of cave paintings together and ask: Why might people have made these? What do they tell us about how those people thought? Your child might create their own “cave wall” with charcoal or chalk on brown paper and explain the symbols they chose.
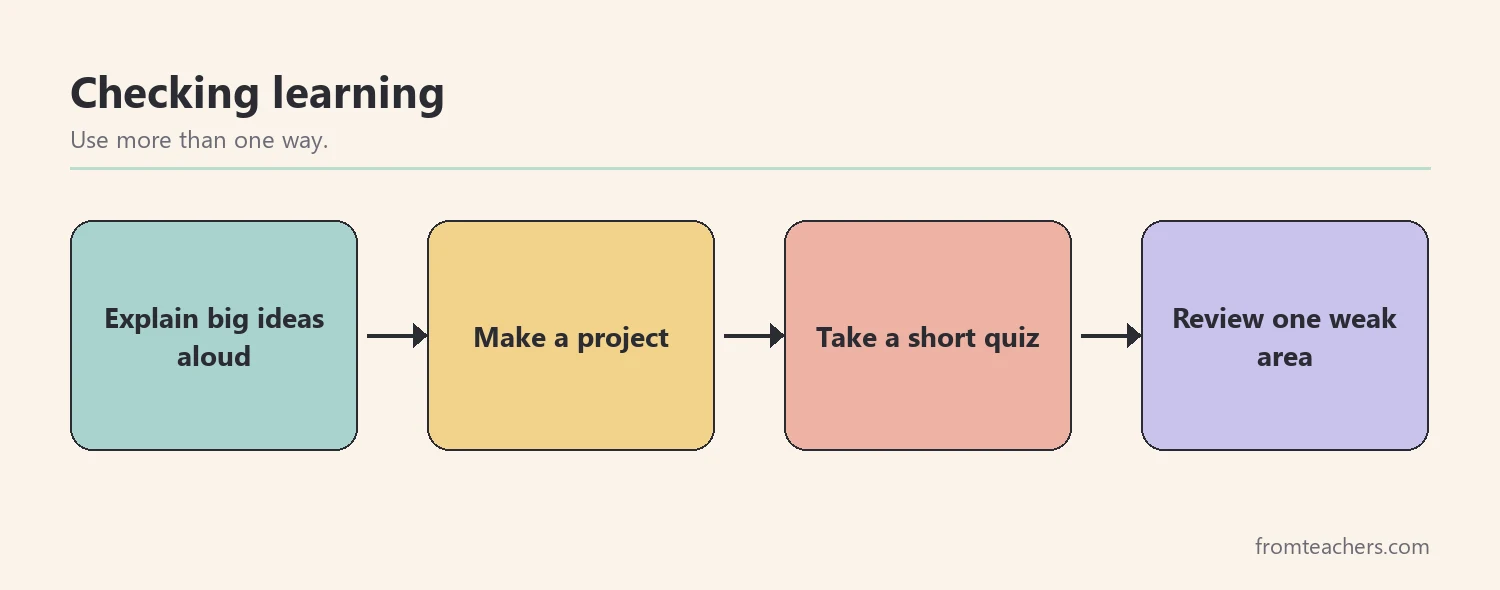
Then, check learning in three ways. First, a discussion where your child explains the big ideas in their own words. Second, a short project, such as an illustrated timeline, a species poster, or a museum-style display for the family. Third, a short quiz to check key vocabulary and facts.
Elias chose to build a “museum” on the dining table, with his species cards, a clay skull model, and a map of the migration. He gave a ten-minute tour to his grandparents. His quiz results showed he was confident on natural selection and species names, and less sure about dating methods. So, Ms. Lindqvist planned one extra review session on that topic.
Also, keep a simple record for your homeschool portfolio. Photos of projects, the completed quiz, and a short note on what was covered show progress and meet record-keeping needs in many places.
Common mistakes and how to avoid them
- Starting with fossils. Species names without natural selection feel random. Fix: teach natural selection first.
- Using a ladder picture. The march-of-progress image suggests a straight line. Fix: use a branching tree or bush.
- Teaching only facts. Lists of dates and names fade quickly. Fix: ask “How do we know?” in every lesson.
- Avoiding hard questions. Ignoring questions about beliefs can confuse children. Fix: answer calmly and separate scientific evidence from personal faith.
- No final check. Without a review, gaps go unnoticed. Fix: use a discussion, a project, and a short quiz.
Questions parents ask about a human evolution homeschool unit
What age is right for a human evolution homeschool unit?
Many families teach it around ages 11 to 13, which matches middle school life science. Younger children can enjoy parts of it, such as fossils and cave art, with simpler explanations.
How do I handle questions about religion?
Be honest and respectful. Explain that science describes evidence about the natural world, while many families also hold religious beliefs. Many families find ways to discuss both in their own way.
Do I need a science background to teach this unit?
No. A clear, well-organized guide, a few hands-on activities, and a willingness to learn alongside your child are enough. Saying “Let’s find out together” is a powerful teaching move.
How can I adapt the unit for a child who struggles with reading?
Read aloud together, use diagrams and videos, and let your child show learning through drawings, models, or spoken presentations. The big ideas matter more than the amount of reading.
Does this unit align with school standards?
Human evolution and natural selection are part of middle school life science in many standards, including NGSS. If you follow a specific curriculum or state requirement, check which topics it lists.
Related reading: Homeschooling vs. Public Schooling: Which Educational Path Is Right for Your Child?, Learning Styles Student Success Guide, and 5 Practical Teaching Tips to Boost Classroom Focus and Learning.
You may also need: Homeschooling Special Education: A Family Guide.
A companion resource for a human evolution homeschool unit:
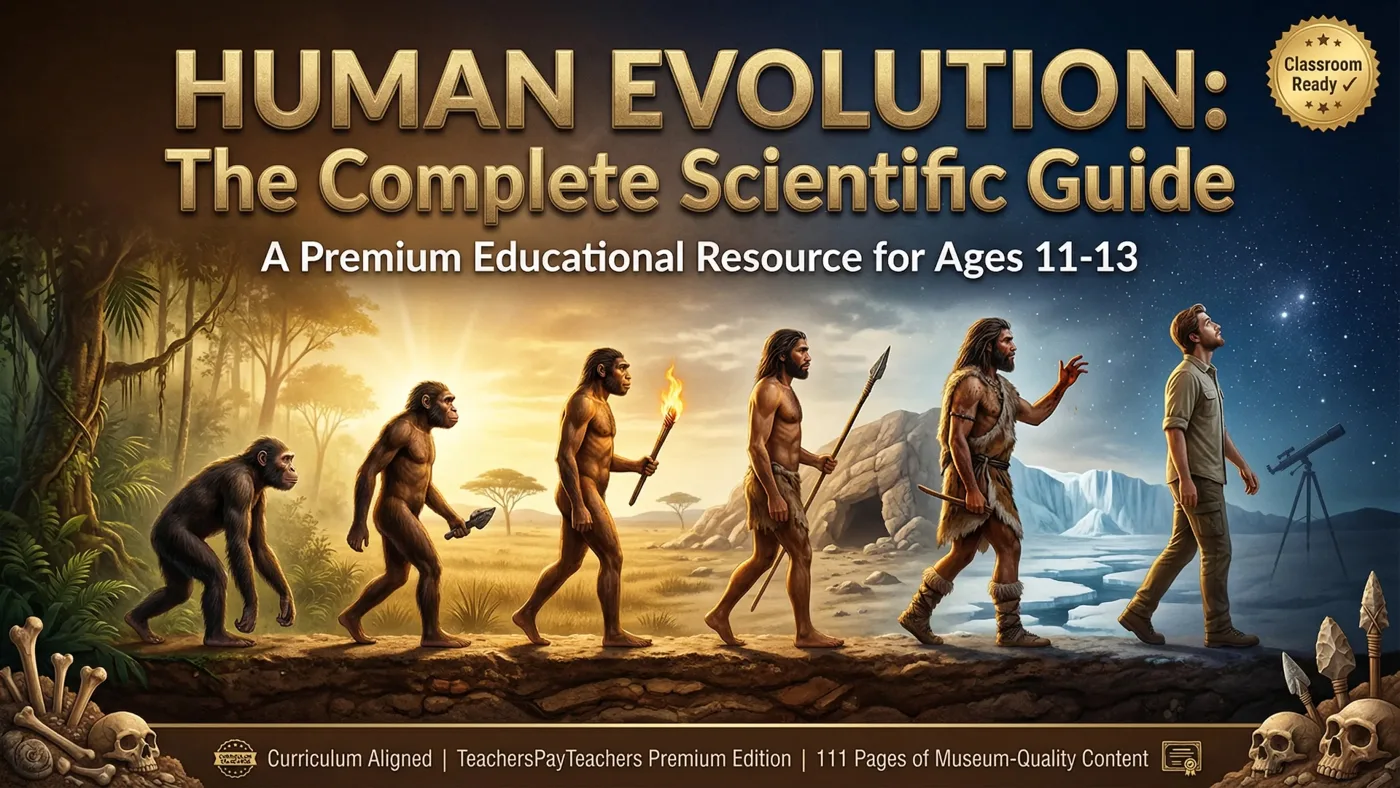
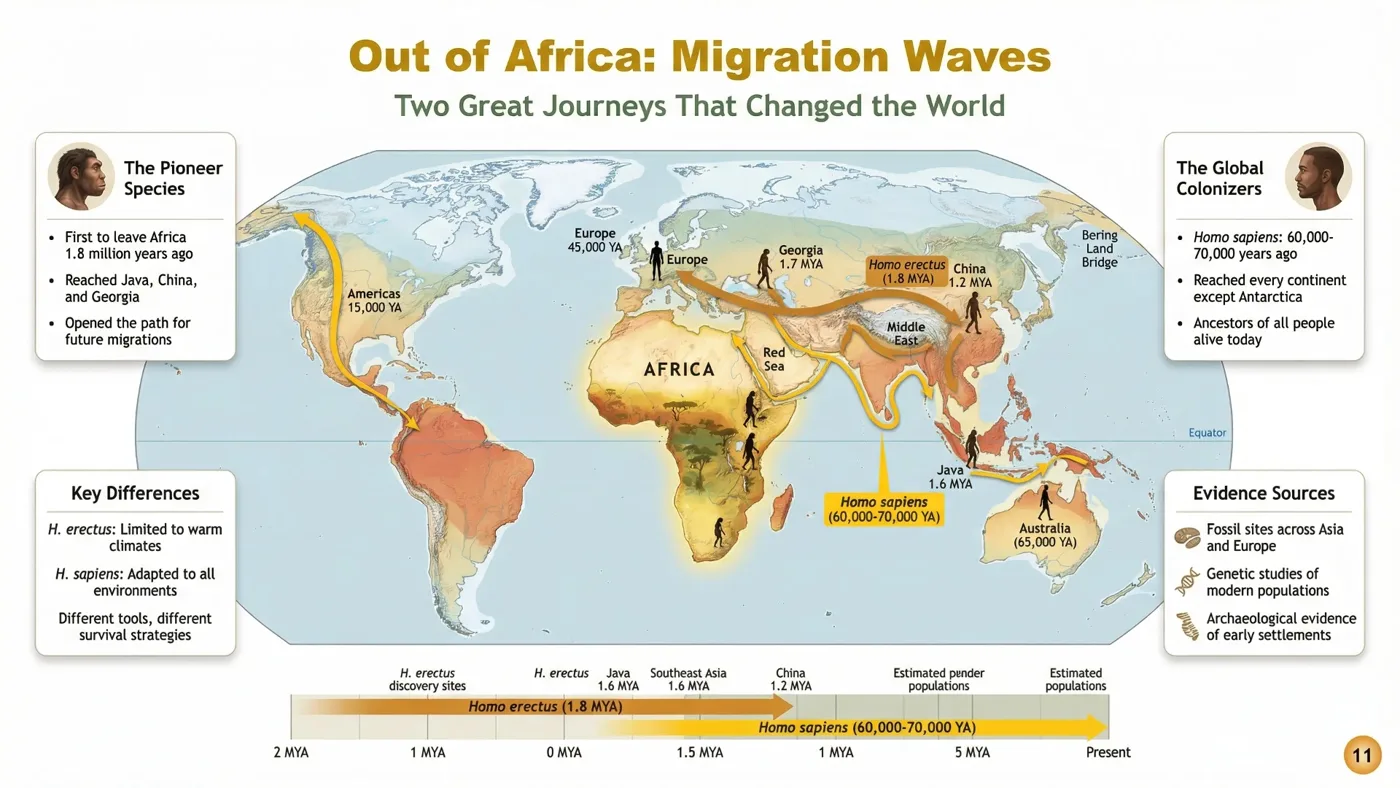
Human Evolution: The Complete Scientific Guide: 111 pages on natural selection, the human family tree, six hominin species, the Out of Africa journey, fossil dating, ancient DNA, and what makes us human, with discussion questions, a quiz, and a glossary for grades 6 to 8.
Sources and scope
- Smithsonian National Museum of Natural History, Human Origins Program: species profiles, fossil evidence, and educational resources.
- Understanding Evolution, University of California Museum of Paleontology: clear explanations of natural selection and common misconceptions.
- Next Generation Science Standards: middle school life science standards related to natural selection and evolution.
- CAST UDL Guidelines: ideas for making lessons accessible to different learners.
This guide covers planning and teaching a human evolution unit at home for ages 11 to 13. It does not cover advanced scientific debates in depth or religious instruction, which families approach in their own ways.
Key takeaways
- A human evolution homeschool unit works well in four weeks with one big question each week.
- Natural selection comes first; species and fossils make sense after it.
- Teaching how scientists know builds lasting understanding.
- A branching tree avoids the most common misconceptions.
- Discussion, a project, and a short quiz show what your child learned.







Leave a Comment