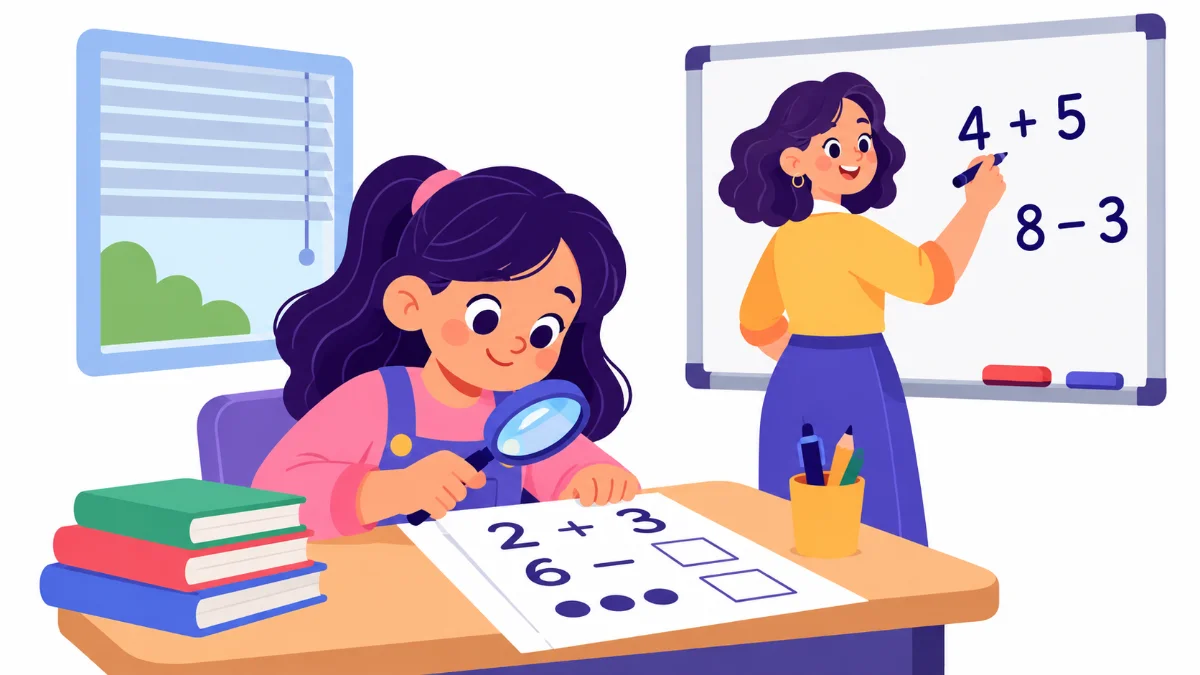

Low vision classroom accommodations decide whether a student spends the day learning or spends it squinting, guessing, and waiting for help. Picture a grade 4 math lesson. The teacher writes a problem on the board, the class copies it, and Priya, who has low vision, leans forward, then quietly asks her neighbor what the second number was. By the time she has it, the class has moved on.
This guide is for general education teachers and support staff who have a student with low vision in an upper elementary or middle school class. By the end, you will know how to work with the teacher of students with visual impairments (TVI), set up the room, prepare accessible materials, and check whether the accommodations are actually working.
Examples are fictional. Follow the student’s IEP or 504 plan and the advice of the TVI and O&M specialist. This is guidance, not a diagnosis or medical advice.
At a glance
- Every student with low vision sees differently, so start with the TVI.
- Seating, lighting, and glare often matter as much as large print.
- Prepare materials ahead so the student starts with everyone else.
- Say what you write and describe what you show.
- Check regularly whether each accommodation still helps.
1. Start with the student’s vision profile and the TVI
First, remember that low vision is not one thing. Two students with low vision can see very differently. One may struggle with small print but move easily around the room. Another may read well up close but miss things at the edges of their vision. So, general rules only go so far.
Therefore, your most important first step is a conversation with the teacher of students with visual impairments, often called the TVI. The TVI usually knows how the student uses their vision, which tools they use, and which accommodations the IEP or 504 plan lists. If the student also works with an orientation and mobility (O&M) specialist, ask what they recommend for moving safely around the classroom and school.
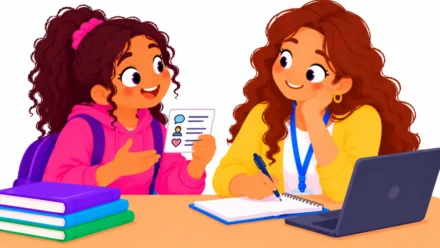
Next, ask the student. Older elementary and middle school students often know a lot about what helps them. Questions like “Where can you see the board best?” or “Which worksheets are hardest to read?” can save weeks of guessing.
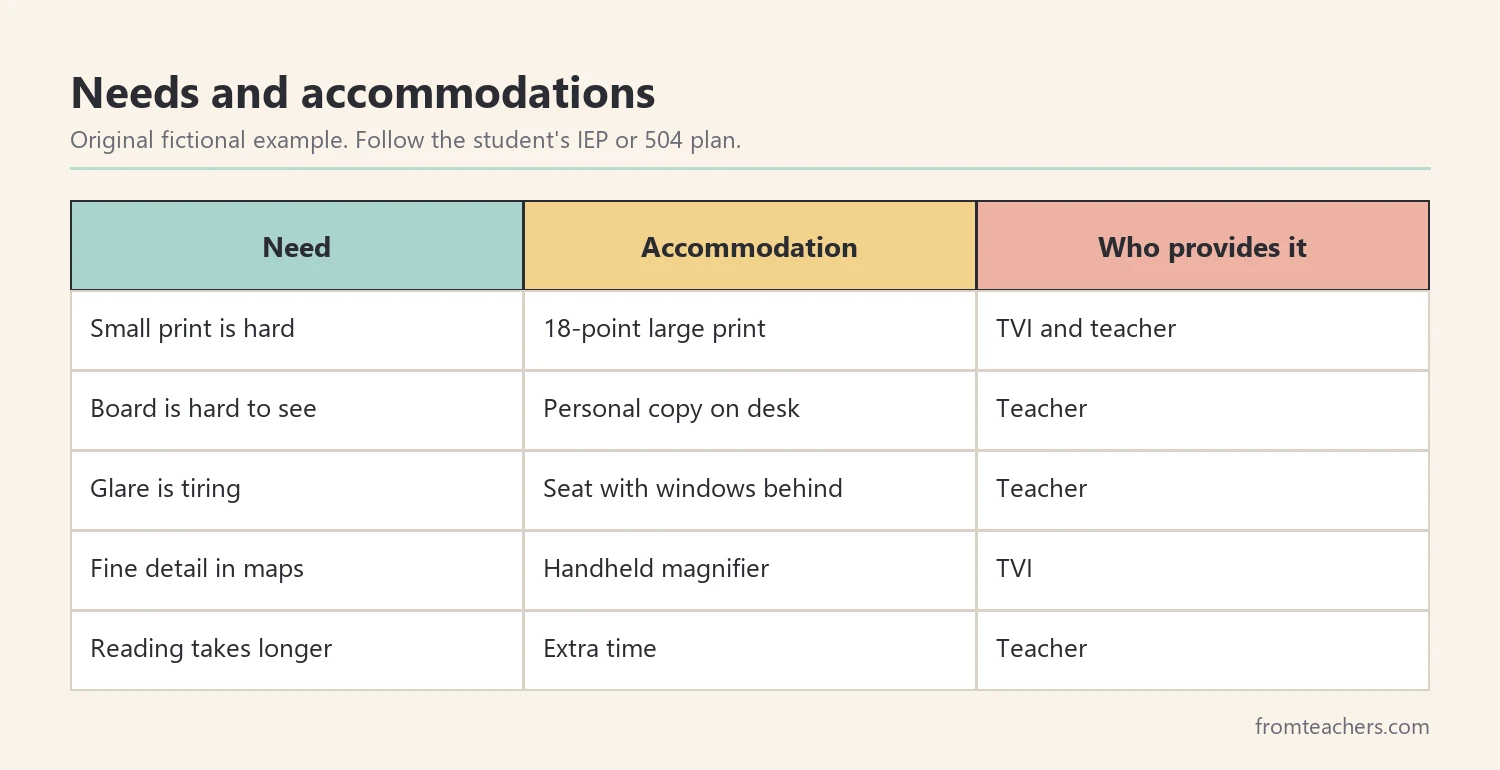
Meet Priya (fictional, grade 4). Her IEP lists large print materials, preferential seating, a handheld magnifier, and extra time. Her teacher, Mr. Owens, met with the TVI in the first week. He learned that Priya reads comfortably with 18-point print, finds glare from the windows tiring, and prefers not to have her magnifier pointed out in front of the class.
Finally, write down a short profile on one page: what helps, what makes things harder, which tools the student uses, and who to contact. Keep it where substitutes and support staff can find it. That single page makes low vision classroom accommodations consistent even on days you are absent.
2. Set up the room for access and independence
The physical room can quietly help or hinder a student with low vision. Fortunately, many changes are simple and cost nothing.
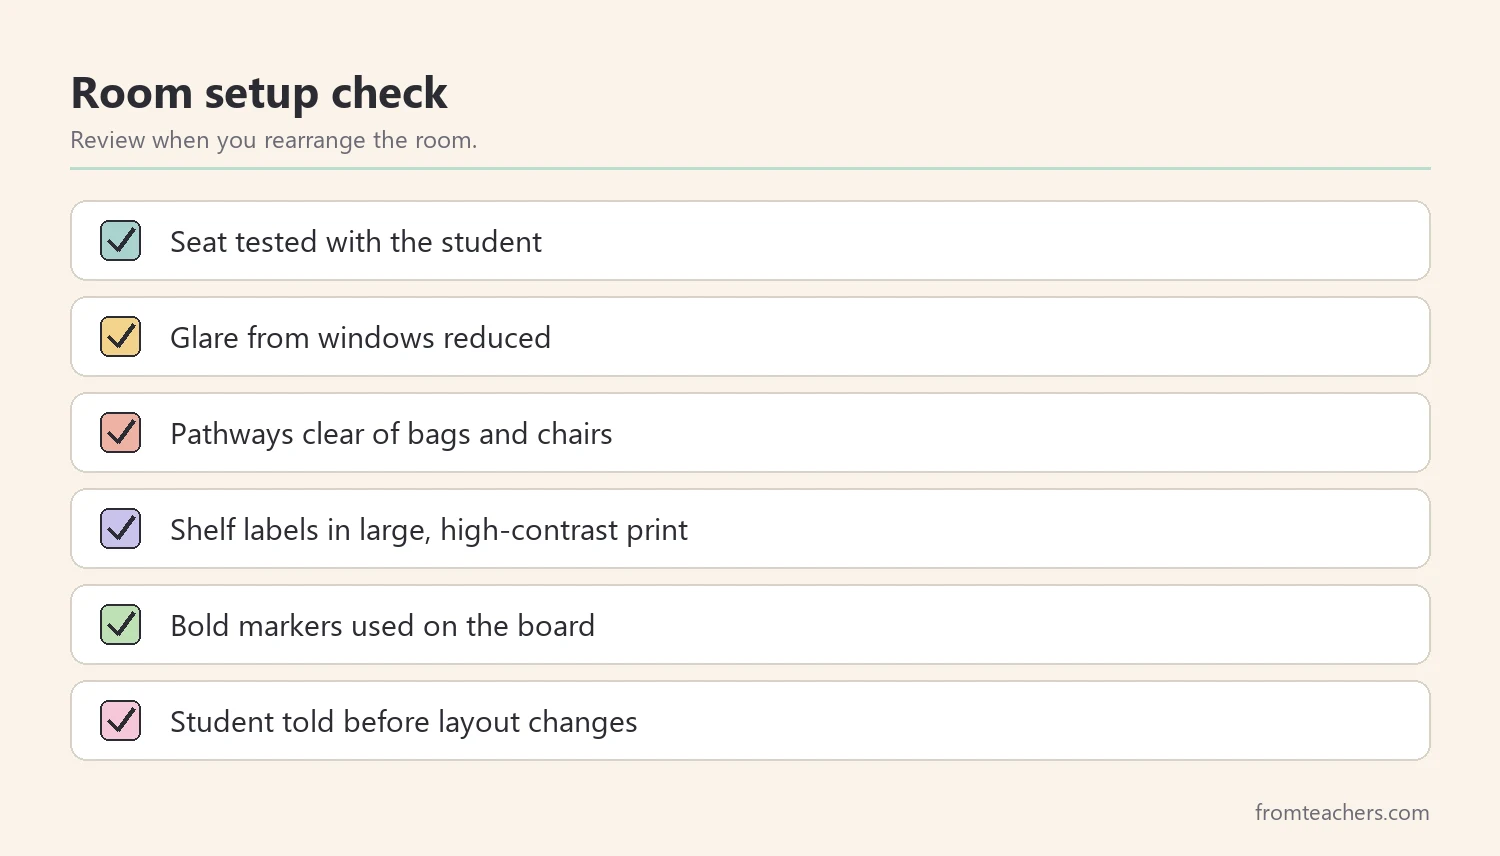
Start with seating. “Front row” is a common accommodation, but the best seat depends on the student. Some need to be close to the board, others need a clear view of the teacher’s face, and others need to sit away from bright windows. Try a seat for a week, then ask the student how it went.
Next, look at light and glare. Glossy paper, shiny whiteboards, and direct sunlight can all make reading harder. Blinds, matte paper, and a desk lamp, if the TVI suggests one, can help. In Priya’s class, Mr. Owens moved her desk so the windows were behind her rather than in front.
In addition, keep pathways clear and predictable. Bags on the floor, chairs left out, and furniture that moves without warning can be tripping hazards. Tell the student before you rearrange the room, and give them time to explore the new layout.
Also, think about contrast. Dark text on a light background is often easier to read. Bold markers on the whiteboard work better than thin or pale ones. Labels on shelves in large, high-contrast print help the student find materials independently.
The Visual Impairment Toolkit: Classroom Access and Braille includes a classroom access setup section focused on safety and independence, along with guidance on high contrast, large print, and tactile ideas. It is a helpful checklist when you set up or rearrange a room.
3. Prepare accessible materials ahead of time
When materials arrive late, the student starts behind. Therefore, the goal is for the student to receive accessible materials at the same moment as classmates.
Plan with the TVI. Many TVIs need lead time to enlarge, adapt, or produce materials in other formats. Agree on a simple schedule, such as sending next week’s worksheets every Thursday. Mr. Owens and the TVI used a shared folder, so materials were ready each Monday.
When you create materials yourself, a few habits make a big difference:
- Use a clear, simple font and the print size the TVI recommends.
- Leave plenty of white space between items.
- Avoid putting text over pictures or busy backgrounds.
- Use bold lines for tables and answer boxes.
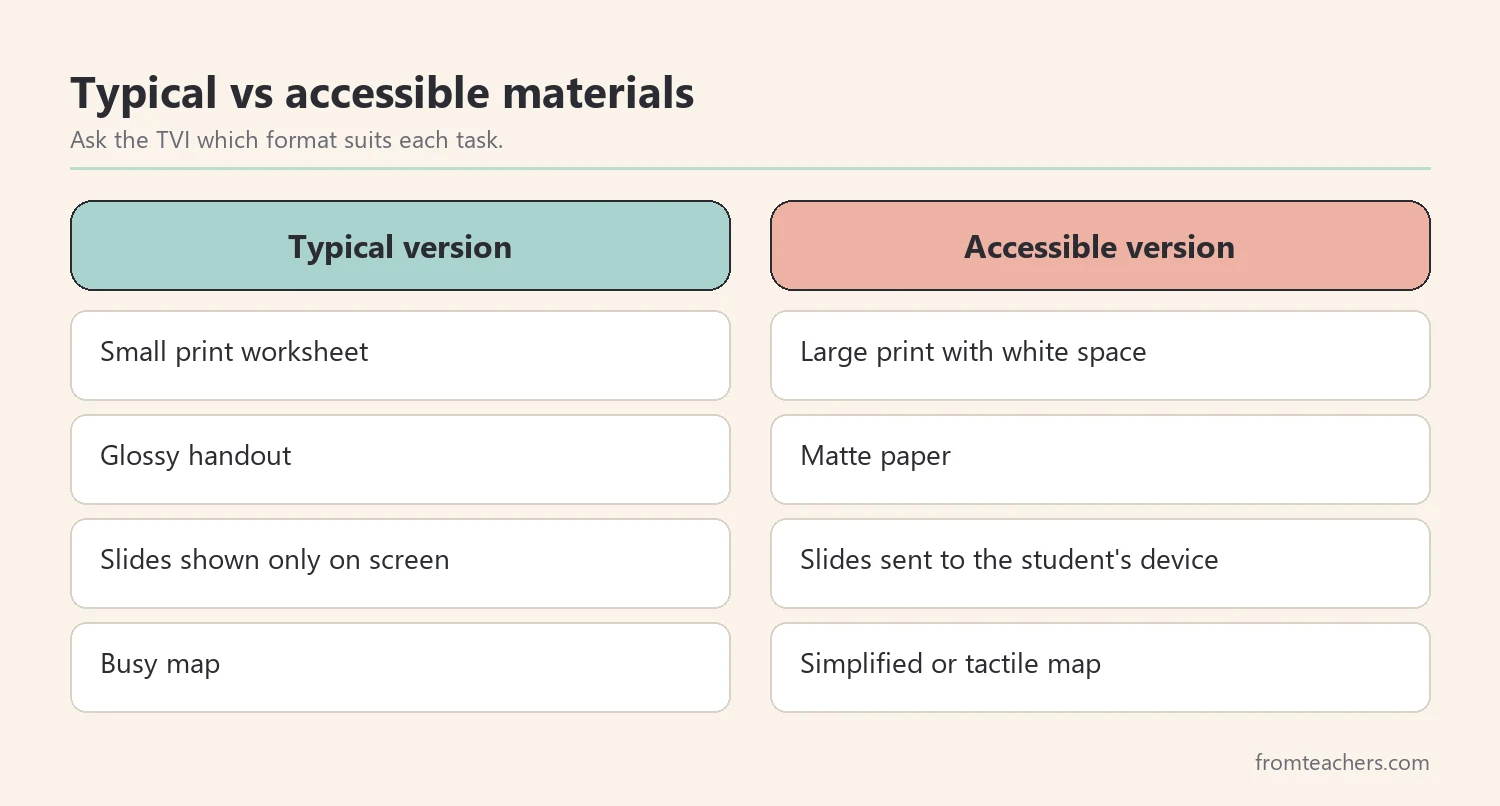
- Print on matte, not glossy, paper.
In addition, consider digital versions. Some students use tablets or computers with zoom, screen readers, or adjustable contrast. A digital copy of a worksheet may be more flexible than a printed enlargement. Ask the TVI which format the student prefers for each task.
Moreover, think about the whole lesson, not just worksheets. Slides, videos, posters, and maps all need a plan. Send slides in advance so the student can view them on their own device. For maps and diagrams, ask the TVI whether a tactile or simplified version would help.
Here is how common materials compare before and after simple low vision classroom accommodations:
4. Teach in ways that include everyone
Many small teaching habits help a student with low vision, and most of them help the whole class too.
First, say what you write. When you write “24 x 3” on the board, say “twenty-four times three” aloud. When you point, name the thing: “Look at the second column, the one labeled Weight.” Words like “this” and “over there” are hard to follow without clear sight.
Next, describe visuals briefly. If you show a picture, chart, or video, give a short description of what matters. “The graph shows sales going up each month, with the biggest jump in July” is enough. Students who can see the graph benefit from the summary as well.
In addition, give the student their own copy. A personal copy of what is on the board, in the right print size, means the student does not have to copy from a distance. Priya’s copy of each math problem appeared on her desk while Mr. Owens wrote it on the board.
Also, protect the student’s dignity. Many students with low vision do not want their tools pointed out. Hand out large-print copies quietly, let the student choose when to use a magnifier, and avoid comments like “Can you see this?” in front of the class. Instead, agree on a private signal for when something is hard to see.
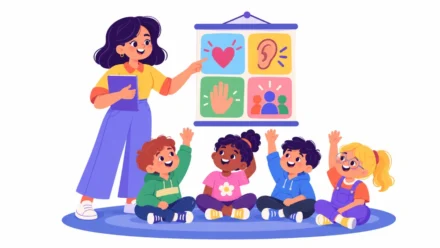
Furthermore, plan for social inclusion. Group work, games, and recess can be harder when visual cues are missed. Give clear roles in group tasks, and help classmates learn simple habits like saying their name when they approach. These small steps support friendships as well as learning.
Low vision classroom accommodations work best when they become part of how you teach, not something you remember only for one student. Over time, many of these habits will feel natural.
5. Check whether accommodations are working
Accommodations should make a measurable difference. However, it is easy to keep an accommodation in place for months without checking whether it still helps. A light, regular check keeps the plan useful.
Choose two or three things to watch. For example: does the student start tasks at the same time as peers, how often do they need to ask a neighbor for information, and how tired do they report feeling at the end of the day? These signs are simple to note and easy to discuss with the TVI.
Keep the tracking light. A sticky note on your planner with three tally columns is enough for most weeks. For tiredness, many teachers use a simple scale from 1 to 5 that the student fills in at the end of the day, either on a card or by holding up fingers. Because visual fatigue is not always visible to adults, the student’s own rating often reveals strain that would otherwise go unnoticed.
In addition, note what was different on unusual days. A day with a long assembly, a new seating plan, or a substitute teacher may show different results. A short comment next to the tally keeps one unusual day from changing your view of the whole week.
Here is Mr. Owens’s record for Priya across the first six weeks:
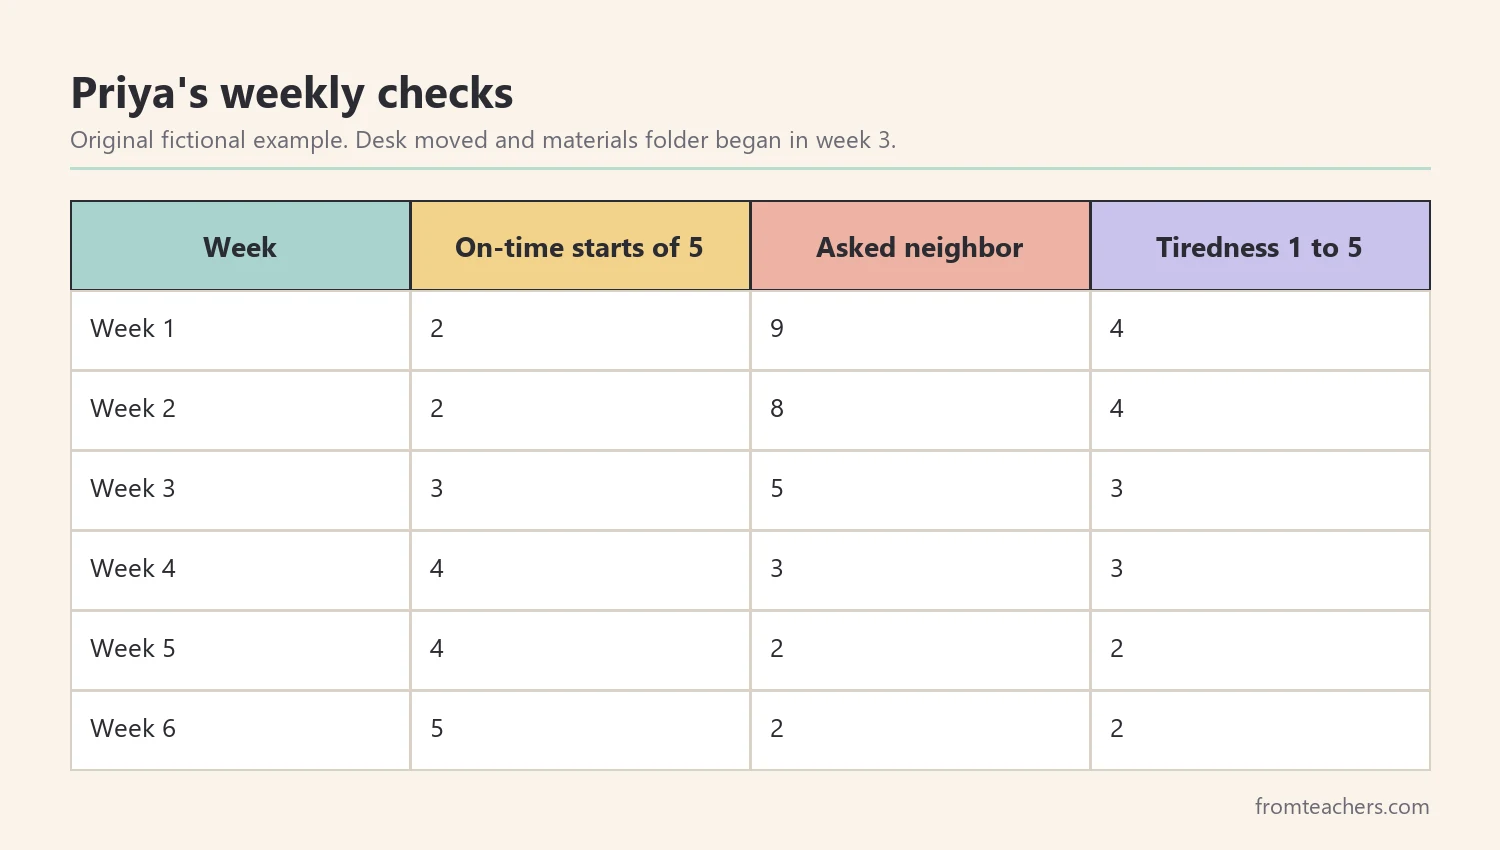
The pattern was clear. After the desk move and the shared materials folder in week three, Priya started tasks on time more often and asked her neighbor less. Her self-rated tiredness also dropped. Those numbers gave Mr. Owens and the TVI a clear reason to keep the changes.
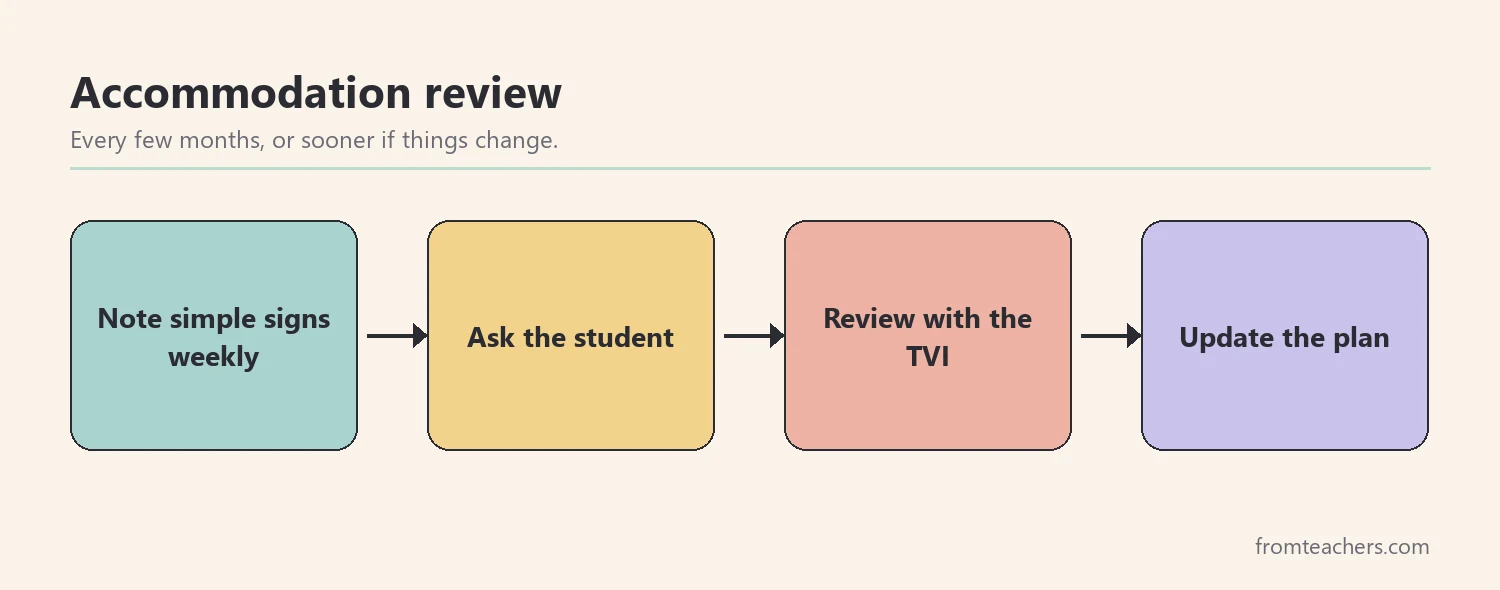
Also, review the plan with the team every few months, or sooner if something changes. Vision needs, tasks, and classrooms change, so accommodations may need updating. The student’s own view is an important part of every review.
Finally, share good news with the family. A short note, such as “Priya is starting math with the class every day now,” shows that the team is paying attention and gives the family something positive to celebrate.
Common mistakes and how to avoid them
- Assuming one size fits all. Low vision varies widely. Fix: ask the TVI and the student what helps this student.
- Handing out enlarged materials late. The student starts behind every time. Fix: agree on a weekly materials schedule with the TVI.
- Relying only on front-row seating. Glare and angle matter too. Fix: test seats and ask the student.
- Pointing out tools in public. Students may feel singled out. Fix: provide supports quietly and agree on a private signal.
- Never reviewing the plan. Needs change over time. Fix: check simple signs regularly and review with the team.
Questions teachers and parents ask about low vision classroom accommodations
Who decides which accommodations a student gets?
Accommodations are usually agreed by the IEP or 504 team, which includes the family, teachers, and specialists such as the TVI. Classroom teachers play a key role in putting them into practice and reporting how they work.
Is large print always the answer?
Not always. Some students prefer magnifiers, digital zoom, or audio. The right choice depends on the student and the task. The TVI can help you choose.
How can I support a student with low vision during tests?
Use the same accommodations listed in the IEP or 504 plan, such as large print, extra time, or a specific seat. Practice with these supports before the test so nothing is new on the day.
What should I tell classmates?
Follow the student’s and family’s wishes. Some students like to explain their vision to the class; others prefer privacy. Either way, teaching simple habits like saying your name helps everyone.
Can parents help at home?
Yes. Families can share what works at home, such as lighting or reading tools, and support homework with the same formats. Regular communication between home and school keeps supports consistent.
Related reading: Accommodations vs Modifications in Special Education, Best Assistive Technology for Special Education Classrooms, and Special Education Accommodation and Modification Tracker.
You may also need: Assistive Technology: Practical Classroom Guide.
A companion resource for low vision classroom accommodations:
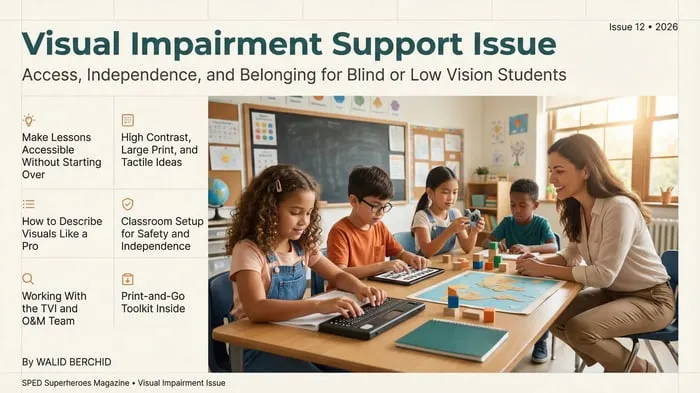
Visual Impairment Toolkit: Classroom Access and Braille: a 49-page guide covering classroom access setup, accessible materials with large print and tactile ideas, assistive technology, social inclusion, teamwork with the TVI and O&M team, and printable data trackers.
Sources and scope
- American Printing House for the Blind (APH): educational materials and guidance for students who are blind or have low vision.
- American Foundation for the Blind (AFB): information for families and educators on vision loss and education.
- Paths to Literacy: practical ideas for literacy with students who are blind or visually impaired.
- Individuals with Disabilities Education Act (IDEA), U.S. Department of Education: the federal law covering IEPs and related services, including for visual impairment.
This guide covers everyday classroom accommodations for students with low vision. It does not cover eye conditions, medical treatment, braille instruction, or formal assessment, which belong to eye care professionals and certified specialists.
Key takeaways
- Low vision classroom accommodations start with the TVI and the student.
- Seating, glare, contrast, and clear pathways make a large difference.
- Accessible materials should arrive at the same time as everyone else’s.
- Saying what you write and describing visuals helps the whole class.
- Simple regular checks show whether accommodations still work.


Leave a Comment