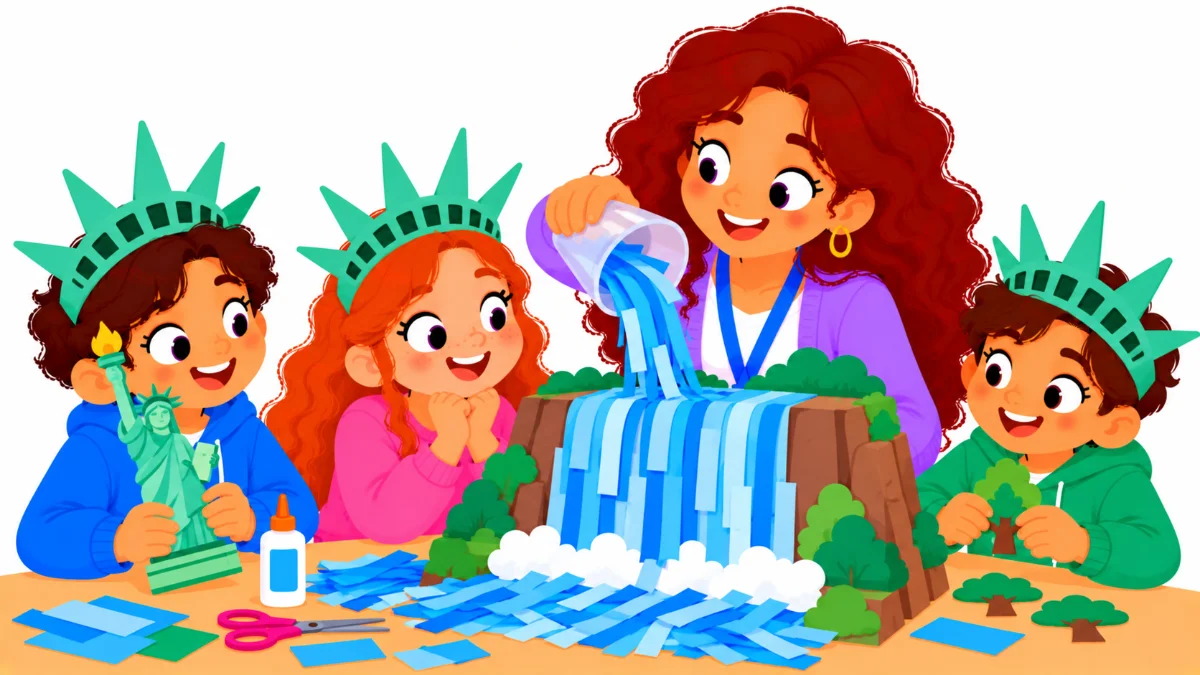

New York facts can open a whole unit on geography, symbols, and history, yet many children only picture tall buildings when they hear the name. Imagine a third grade class asked to draw New York. Almost every picture shows skyscrapers and taxis, and nobody draws a waterfall, a maple forest, or the capital city.
This guide walks you through a five-step state study that moves children from that single image to a fuller picture of the Empire State. By the end, you will be able to plan a short unit, teach the core facts clearly, compare landmarks with real numbers, and check what students remember.
Examples are fictional. Adapt to your students’ grade level and goals.
At a glance
- Start with a map so children see that the state is much bigger than one city.
- Teach five or six core facts first, then add landmarks and symbols.
- Use real numbers, such as heights, for simple and memorable comparisons.
- Connect each symbol to a story, a sketch, or a hands-on task.
- Finish with a small project and a quick, friendly check.
1. Map the state before teaching New York facts
First, give children a sense of place. A blank outline map of the state, a classroom globe, or a projected map works well. Ask students to find New York on a map of the United States, then zoom in on the state itself.
Next, point out what surrounds it. New York touches two Great Lakes, Lake Erie and Lake Ontario, and it also reaches the Atlantic Ocean. That mix of lakes and coast makes it a rich state for early geography lessons. Then mark a few cities with sticky dots so children can see how far apart they are.
After that, ask one simple question: “Where do you think the capital is?” Most children will point to New York City. Let them guess before you reveal the answer, because a surprise makes the right fact easier to remember later.
Also, keep the first lesson short. Ten to fifteen minutes of map work is enough for young learners. The goal is curiosity, not memorization.
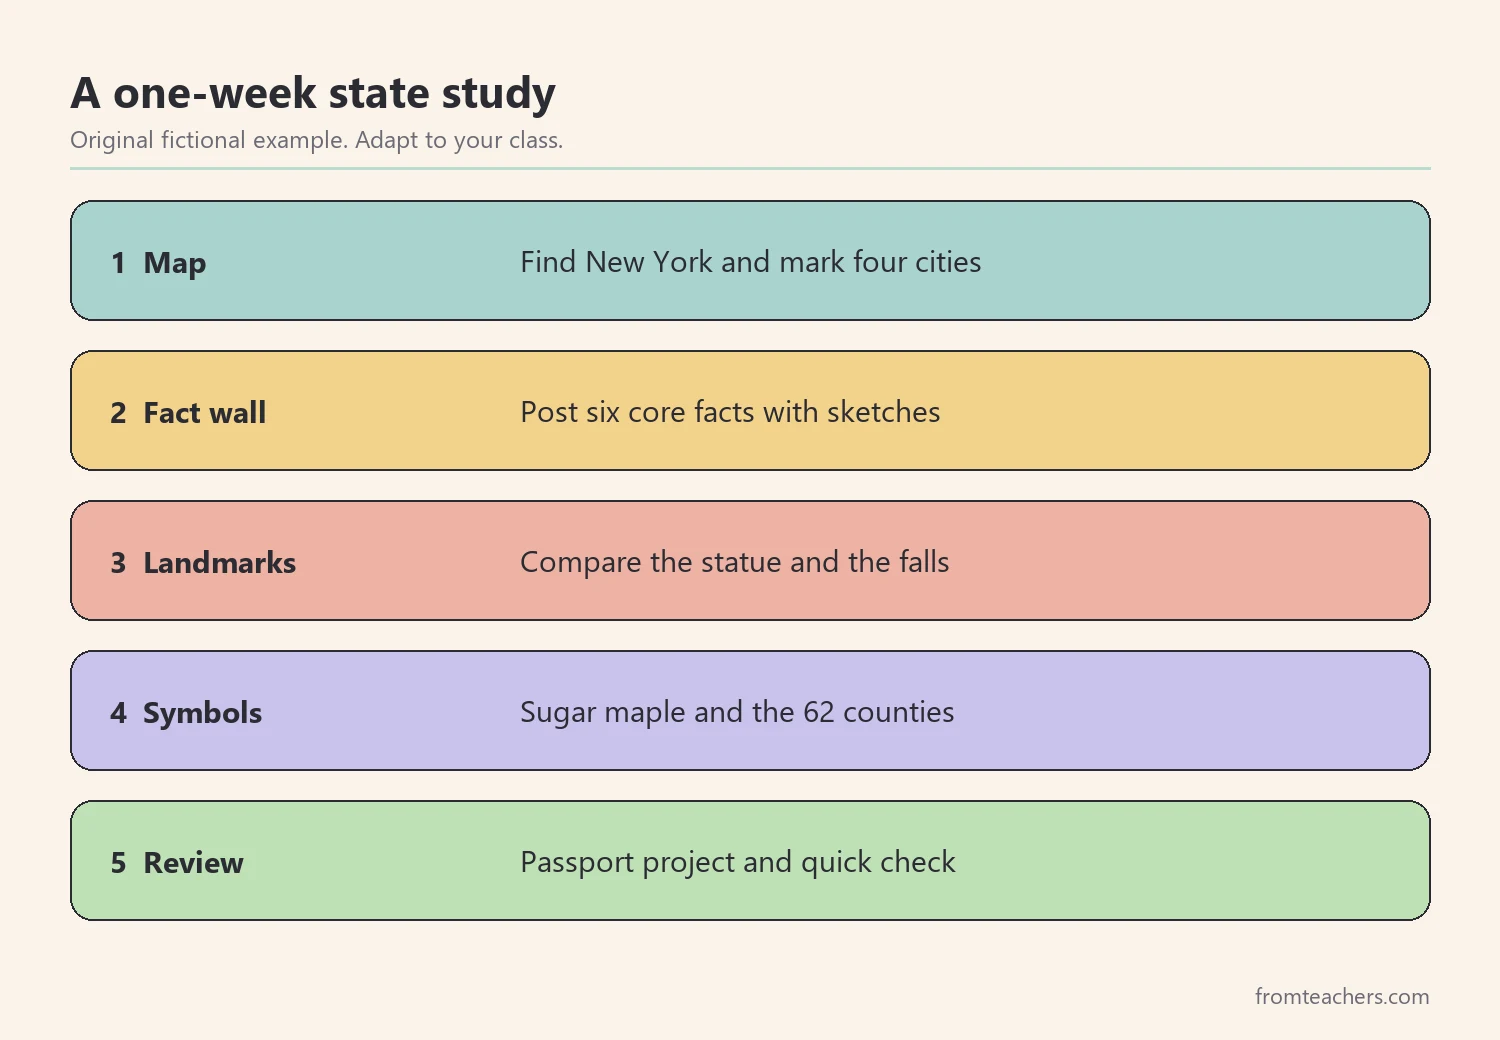
Worked example. Ms. Ortiz teaches a fictional grade 3 class. On day one, she shows a United States map and asks Leo, one of her students, to find New York. He points to the right corner of the country. Together, the class places four dots on the state outline: New York City, Buffalo, Rochester, and Syracuse. Then Ms. Ortiz asks where the capital is. Leo says New York City, and so do most of his classmates. She smiles and says, “We will find out tomorrow.”
Meanwhile, keep a large class map on the wall for the whole unit. Each time you add new New York facts, pin a small label or picture to the right spot. By the end of the week, the map becomes a visual summary that children can walk up to and explain in their own words.
In short, a map lesson turns a list of facts into a real place. As a result, every later fact has somewhere to live in the child’s mind.
2. Teach the core New York facts with a fact wall
Once children know where the state is, introduce a small set of core facts. Keep the list short at first. Five or six clear facts are easier to learn than twenty loose ones.
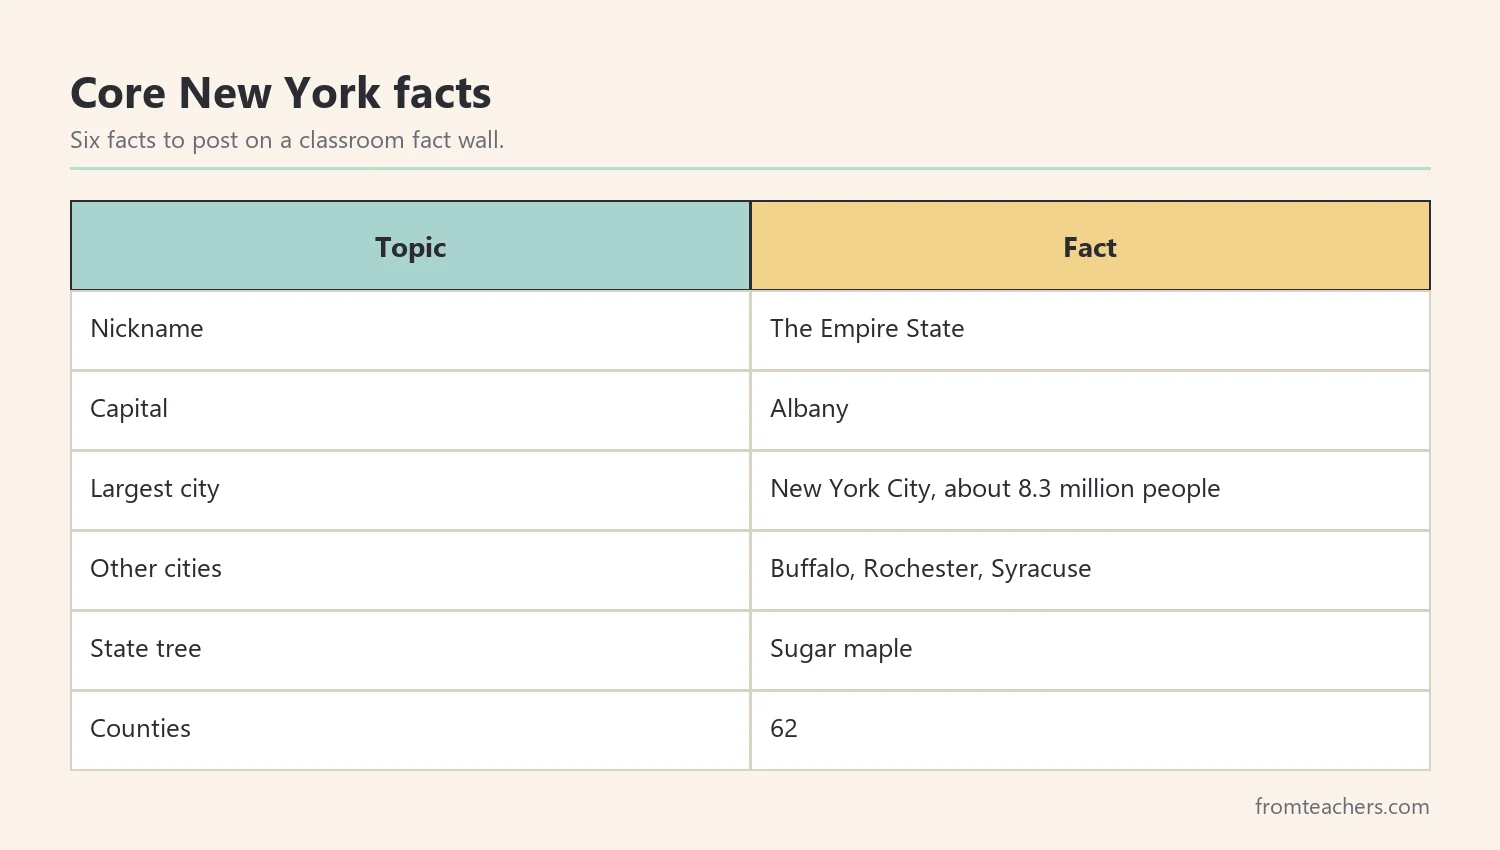
For example, start with these New York facts for a fact wall:
| Topic | Fact |
|---|---|
| Nickname | The Empire State |
| Capital | Albany |
| Largest city | New York City, about 8.3 million people |
| Other cities | Buffalo, Rochester, Syracuse |
| State tree | Sugar maple |
| Counties | 62 |
Next, read the facts aloud as a group. Then ask children to add a quick sketch next to each one. A small drawing of a maple leaf or a crown helps the fact stick, especially for students who learn best through pictures.
In addition, use a simple routine to review. Point to a card, cover the answer, and let the class say it together. Choral review is quick, low pressure, and gives quieter children a safe way to join in.
For students who need more support, offer a word bank or a fact card with pictures. Similarly, for fast finishers, add a challenge card such as “Find one more city on the map.”
Also, revisit the fact wall for a minute or two at the start of each lesson. Short, repeated review works better than one long session, and it gives every child another chance to remember the New York facts that slipped away the day before.
Worked example. On day two, Ms. Ortiz reveals that the capital is Albany. Leo is surprised and writes “Albany, not NYC!” on his fact card. The class builds a wall with six cards, each with a sketch. By Friday, Leo can name the capital, the nickname, and three cities without looking.
3. Compare landmarks with real numbers
Next, bring in the famous landmarks. Children love big numbers, and landmarks give you real numbers to compare. Two favorites are Niagara Falls and the Statue of Liberty.
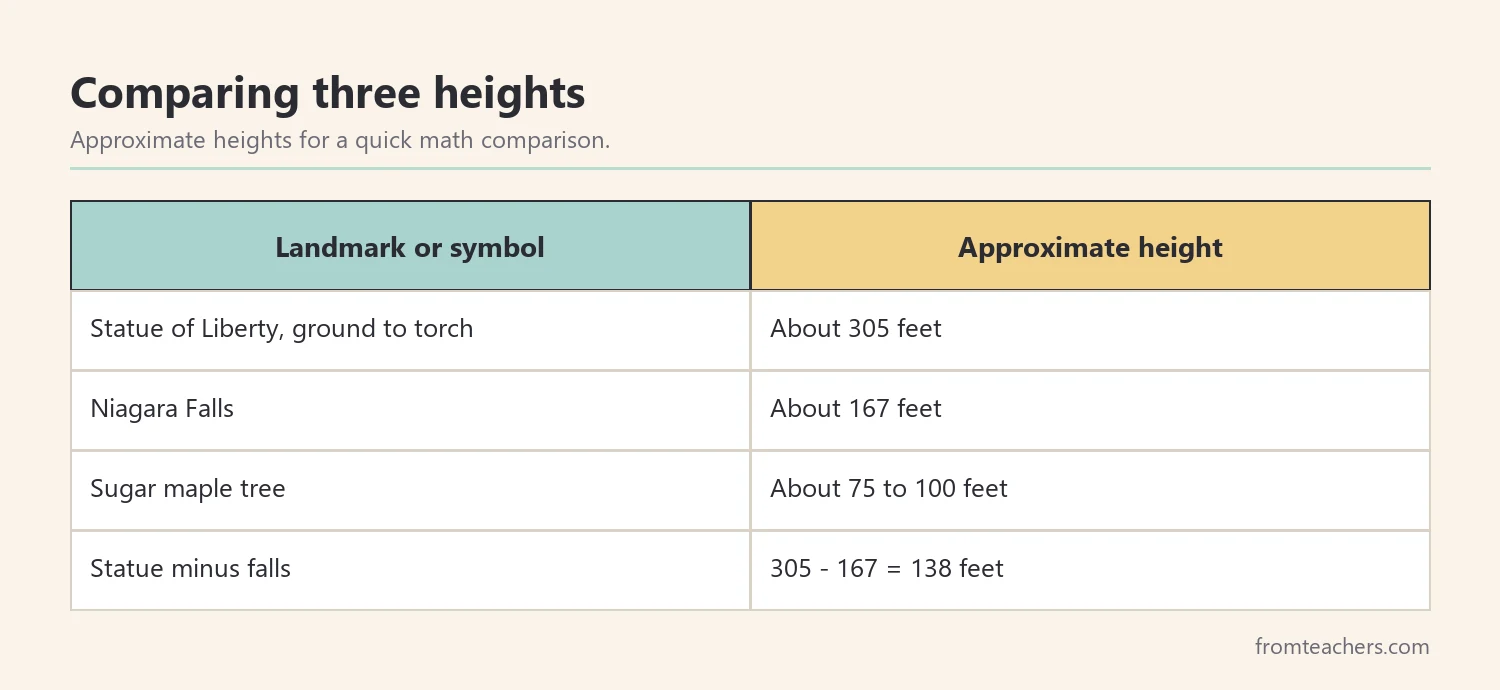
Niagara Falls sits on the border between New York and Canada. It is one of the largest waterfalls in North America, and it is about 167 feet tall. Meanwhile, the Statue of Liberty stands in New York Harbor. It was a gift to the United States in 1886, and it reaches about 305 feet from the ground to the tip of the torch.
Then turn those New York facts into a math moment. Ask, “Which is taller, and by how much?” The statue is about 305 feet and the falls are about 167 feet, so the statue is about 138 feet taller. Children can check the subtraction on a whiteboard.
Also, make the numbers feel real. Ask children how tall their classroom is, or how many of them would need to stand on each other’s shoulders to reach the torch. Exact answers matter less than the sense of scale.
In addition, remind children that these heights are approximate. That small word is a useful habit for young researchers, because it shows that New York facts with numbers often come from measurements that can be rounded.
If you want a ready-made visual, the illustrated All About New York slideshow includes a slide for Niagara Falls and a slide for the Statue of Liberty, each with simple facts and did-you-know moments.
Worked example. Ms. Ortiz writes 305 and 167 on the board. Leo works out 305 minus 167 and gets 138. His partner checks it by adding 167 and 138, which makes 305. The class then decides that the Statue of Liberty is “a lot taller than the falls,” and Leo draws both side by side on his fact card.
4. Connect New York facts to state symbols
After landmarks, move to symbols. State symbols help children see that a state has its own identity, and they are easy to link to art and science.
Start with the state tree, the sugar maple. A sugar maple can grow about 75 to 100 feet tall, and its sap is used to make maple syrup. So this one symbol connects to plants, seasons, and food in a single lesson. Show a picture of maple leaves, then let children trace or press a leaf shape.
Next, introduce the counties. New York has 62 counties, and many of them are named after rivers or people. Show the county outlines on a map and ask children to notice how many small shapes make up the whole state. Older students can look up the name of their own county or a county they have visited.
In addition, link symbols to the flag and the nickname. The Empire State nickname gives children a phrase they will hear often, and it is a good hook for a short class discussion: “What do you think a nickname tells us about a place?”
For mixed-ability groups, give each station two levels of task. One child might label a picture, while another writes a full sentence about why the symbol matters. That way, everyone works with the same New York facts at a level that fits.
Symbol station checklist
- One picture and one sentence for each symbol.
- A hands-on task, such as tracing a leaf or coloring a county.
- A question card that asks “why” or “how.”
- A word bank for students who need language support.
Worked example. Ms. Ortiz sets up two stations. At the tree station, Leo traces a maple leaf and writes “Sugar maple, makes syrup.” At the county station, he colors three counties and counts the total on the class map with a partner. They agree on 62, matching the fact wall.
5. Review New York facts with a project and a quick check
Finally, bring everything together. A small project lets children show what they learned, and a quick check tells you what stuck.
For example, students can make a mini “New York passport.” Each page holds one stamp: the capital, a big city, a landmark, a symbol, and one surprising fact. Alternatively, they can build a fact fan, a folded strip with one fact on each fold. Both projects work for mixed abilities because children can draw, label, or write full sentences.
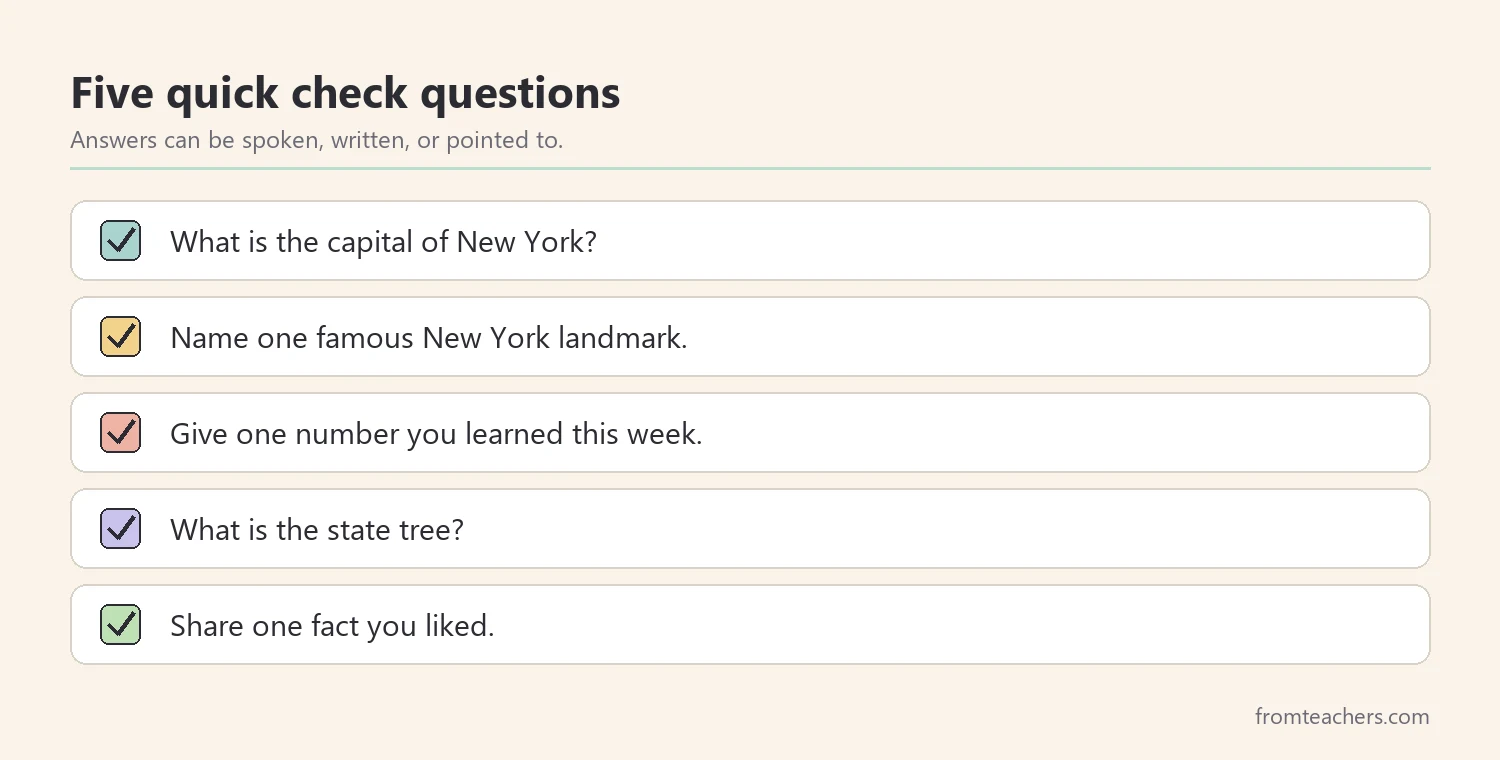
Then use a short, friendly check. Five questions are enough: name the capital, name one landmark, give one number, name the state tree, and share one fact you liked. Let children answer orally, in writing, or by pointing to the fact wall.
Also, invite children to share their projects with a partner or a younger class. Explaining New York facts to someone else is one of the best ways to check real understanding, and it builds speaking confidence at the same time.
After that, note which New York facts most children remembered and which they mixed up. The capital and the landmark heights are common trouble spots, so plan a short review for those.
Worked example. Leo’s passport has five stamps, and his favorite page shows the Statue of Liberty next to Niagara Falls. On the quick check, he answers four of five questions correctly. He mixes up the height of the falls, so Ms. Ortiz plans a two-minute review the next morning using the comparison chart.
Adapting the unit for different learners
Every class has a range of readers and writers. So, plan supports from the start rather than adding them later. Picture cards, read-aloud facts, and partner work help many students take part in New York facts lessons with confidence.
For students who need more challenge, add an extension question each day. For example, ask them to compare the number of counties in New York with their own state, or to find out which Great Lake is closer to Buffalo. Small research tasks keep fast learners curious without pulling them away from the class.
Finally, keep the tone playful. When New York facts feel like discoveries instead of a list to memorize, children remember more and ask better questions.
Common mistakes and how to avoid them
- Teaching only the big city. Children leave thinking New York is one place. Fix: start with the full state map and include lakes, forests, and smaller cities.
- Too many facts at once. Long lists blur together. Fix: begin with five or six core facts and add more each day.
- Numbers without meaning. Heights are hard to picture alone. Fix: compare them to each other or to the classroom.
- Skipping the “why.” Facts fade without a story. Fix: ask why a city might grow by water, or why a tree matters.
- One way to show learning. Writing alone excludes some learners. Fix: allow drawing, speaking, and pointing as well.
Questions teachers and parents ask about New York facts
Which New York facts should young children learn first?
Start with the nickname, the capital, the largest city, and one landmark. These give children a simple frame. Then add symbols and numbers once the basics feel familiar.
Why is Albany the capital instead of New York City?
Many states have capitals that are not their largest city. For young learners, the main point is simply that the capital and the biggest city can be different places. Older students can research the history as an extension.
How long should a state study unit take?
One week works well for most elementary classes. Short daily lessons of 15 to 25 minutes keep attention high. You can stretch it to two weeks if you add projects.
How can I support students who find reading hard?
Use pictures, read facts aloud, and offer word banks. Also, let students show learning by drawing or speaking. Visual slides help many children follow along.
Can families use these ideas at home?
Yes. A map, a few fact cards, and a short daily chat are enough. Families planning a trip can also turn the unit into a travel journal.
Related reading: Learning Styles Student Success Guide, 5 Practical Teaching Tips to Boost Classroom Focus and Learning, and Homeschooling vs. Public Schooling: Which Educational Path Is Right for Your Child?
A companion resource for New York facts:
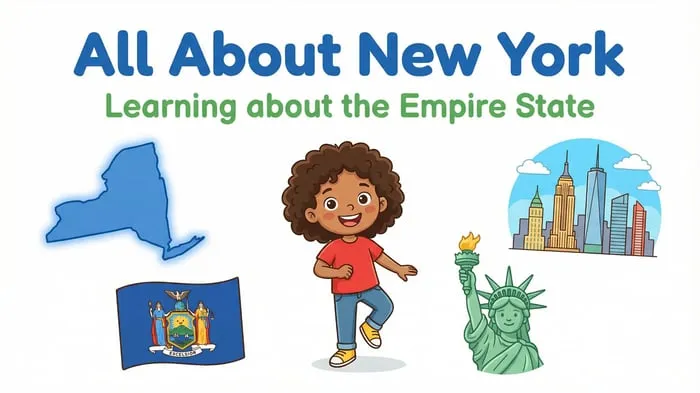
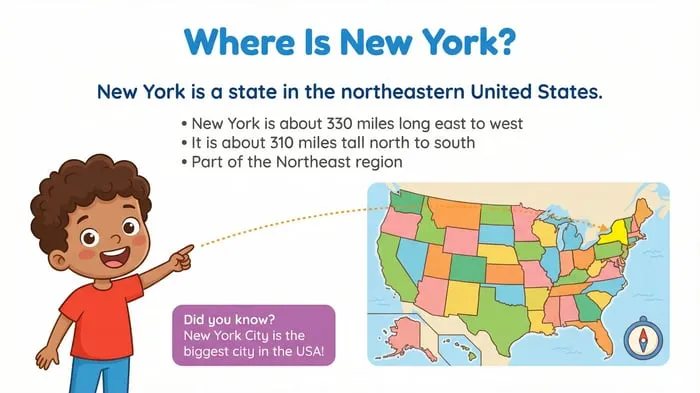
New York State Study: Facts, Symbols, and Famous Landmarks: an illustrated All About New York slideshow with slides on major cities, the sugar maple, Niagara Falls, the Statue of Liberty, and the state’s 62 counties, written for elementary learners.
Sources and scope
- New York State official website: general information about the state and its government.
- Statue of Liberty National Monument, National Park Service: visitor and history information about the statue.
- New York State Parks: information about state parks, including Niagara Falls State Park.
- National Council for the Social Studies: guidance and resources for social studies teaching.
This guide covers a short elementary state study using basic facts, landmarks, and symbols. It does not cover New York history in depth or replace your local social studies standards.
Key takeaways
- Begin with a map so New York facts have a real place to live.
- Teach a short list of core New York facts before adding more.
- Use real heights for simple comparisons that also build math skills.
- Link symbols like the sugar maple to hands-on tasks.
- Close with a small project and a five-question check.










Leave a Comment