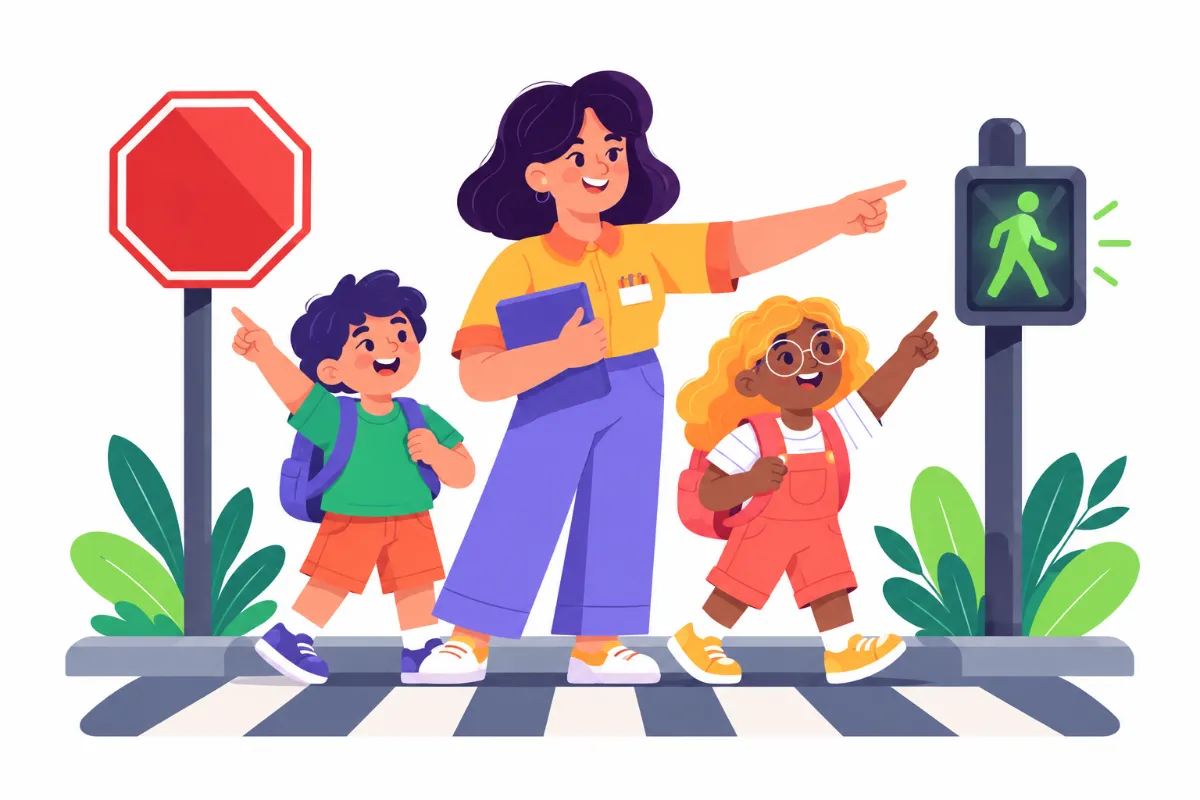

Teaching community safety signs gives students a key that unlocks the world outside school. When a student knows what a sign means, they can cross a street, find a restroom, or avoid danger with more confidence.
For many learners in special education, this skill does not develop on its own. However, with direct teaching, visuals, and real-world practice, students make strong progress. This guide shows you how to plan it step by step.
Why Community Safety Signs Matter
Signs are everywhere: on roads, in stores, in parks, and on buses. They tell us where to go, what to avoid, and how to stay safe. Because of this, reading them is a core life skill.
Students who understand signs can take part in outings more independently. As a result, families gain peace of mind. In addition, sign knowledge supports later goals like work, travel training, and shopping.
The Main Groups of Community Safety Signs
Group signs by type so students can learn them in small sets. This also helps them guess the meaning of new signs.
Road and street signs
- Stop sign
- Crosswalk and walk or don’t walk signals
- Traffic lights
- School zone and yield signs
Hazard and warning signs
- Wet floor
- Danger or keep out
- Poison and chemical labels
- High voltage
Public place signs
- Restroom and exit signs
- Emergency exit and fire extinguisher
- Information and help desk
- No entry or employees only
How to Teach Community Safety Signs in Class
Start with a few high-priority signs. First, choose the signs your students see most, such as stop, exit, and restroom. Next, teach each sign with a clear photo, its name, and one simple rule.
For example, “Stop sign. Stop and look both ways.” Keep the language short and the same each time. Then practice with matching, sorting, and quick flash card games.
- Use real photos, not only clip art.
- Teach the color and shape as clues.
- Pair each sign with an action students can do.
- Review a few signs daily instead of many at once.
Practicing Community Safety Signs in Real Settings
Classroom learning is only the first step. Students also need to use the skill where it matters. So plan short community walks to find and name signs.
Before you go, show photos of the signs you expect to see. During the walk, pause at each sign and ask, “What does it mean? What do we do?” Afterward, review photos you took together.
Also, practice inside the school. For instance, find exit signs, restroom signs, and fire extinguishers on a scavenger hunt. This builds generalization in a safe place.
Adapting for Different Learners
Every student needs a different level of support. Therefore, adjust the task, not the goal.
- Emerging learners: match a sign to an identical photo.
- Developing learners: point to the right sign when named.
- Advanced learners: explain the sign and act it out.
- Nonspeaking learners: use AAC or gestures to show the meaning.
Similarly, write sign goals into the IEP so progress is tracked. Community safety signs fit well under functional life skills or transition goals.
Involving Families
Parents can practice community safety signs on every trip. For example, they can point out a stop sign on the way to school or a restroom sign at the store. Short, frequent practice works better than long lessons.
Send home a simple list of the signs you are teaching this month. Then families can look for the same signs. As a result, students see the skill in many places, which builds lasting understanding.
If you want a complete set of visuals and lessons, this community safety signs life skills guide covers road, hazard, and public place signs in 50 pages.
Measuring Progress
Track progress with quick probes. Show five signs and record how many the student names or acts on correctly. Also, note how much prompting was needed.
Also, record which signs need more practice and which are mastered. Over time, this simple log shows clear growth. As a result, IEP updates and parent meetings become much easier to prepare.
Then check skills in the community, not just at a desk. A student who names “stop” in class may still need practice at a real corner. For broader safety ideas, see the NHTSA pedestrian safety tips.
Games That Make Community Safety Signs Stick
Practice should feel fun, not like a drill. For example, play “Sign Says,” where students act out each sign you hold up. A stop sign means freeze, and a walk sign means march in place.
Next, try a memory match game with sign pairs. Also, build a simple road on the floor with tape, toy cars, and paper signs. Students take turns being drivers and walkers.
Because games repeat the same signs many times, students learn faster. In addition, active play helps learners who struggle to sit for worksheets.
- Sign Says action game
- Memory match with sign cards
- Tape road role-play
Frequently Asked Questions
Which signs should I teach first?
Start with stop, walk signals, exit, and restroom. These are the most common and most important for safety.
What age should students learn safety signs?
Children can start in preschool with simple signs. Then older students can build toward full independence in the community.
How do I know a student truly understands a sign?
Look for the right action in a real setting. For example, the student stops at the curb without a reminder.
Ready-to-use resource:
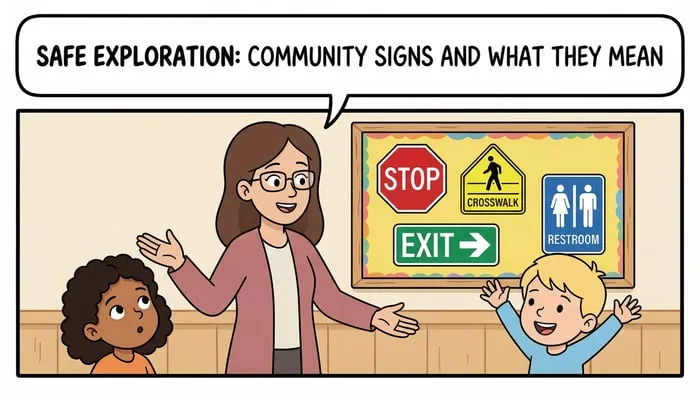
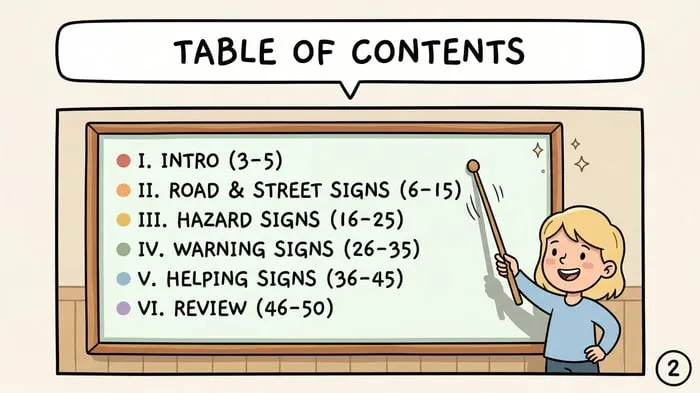
Community Safety Signs – Life Skills Guide for Students: 50 pages covering road, hazard, and public place signs, ready for direct teaching and community practice.
Related reading: Navigating the Path to Adulthood: Building Essential Life Skills and Building Workplace Readiness: Essential Skills for Career Success.
Also on FromTeachers:
Key Takeaways
- Sign knowledge is a core life skill for independence and safety.
- Teach signs in small groups with real photos and simple rules.
- Practice in school and community settings to build generalization.
- Partner with families so students see the same signs everywhere.

Leave a Comment