
A student communication passport is a short, student-centered document that tells new adults how a student communicates, what helps, and what to avoid. Picture a substitute teacher on a Monday morning. A student taps a device, then pushes the tablet away and covers his ears. A regular teacher would know what that means. The substitute does not, and the morning starts badly for everyone.
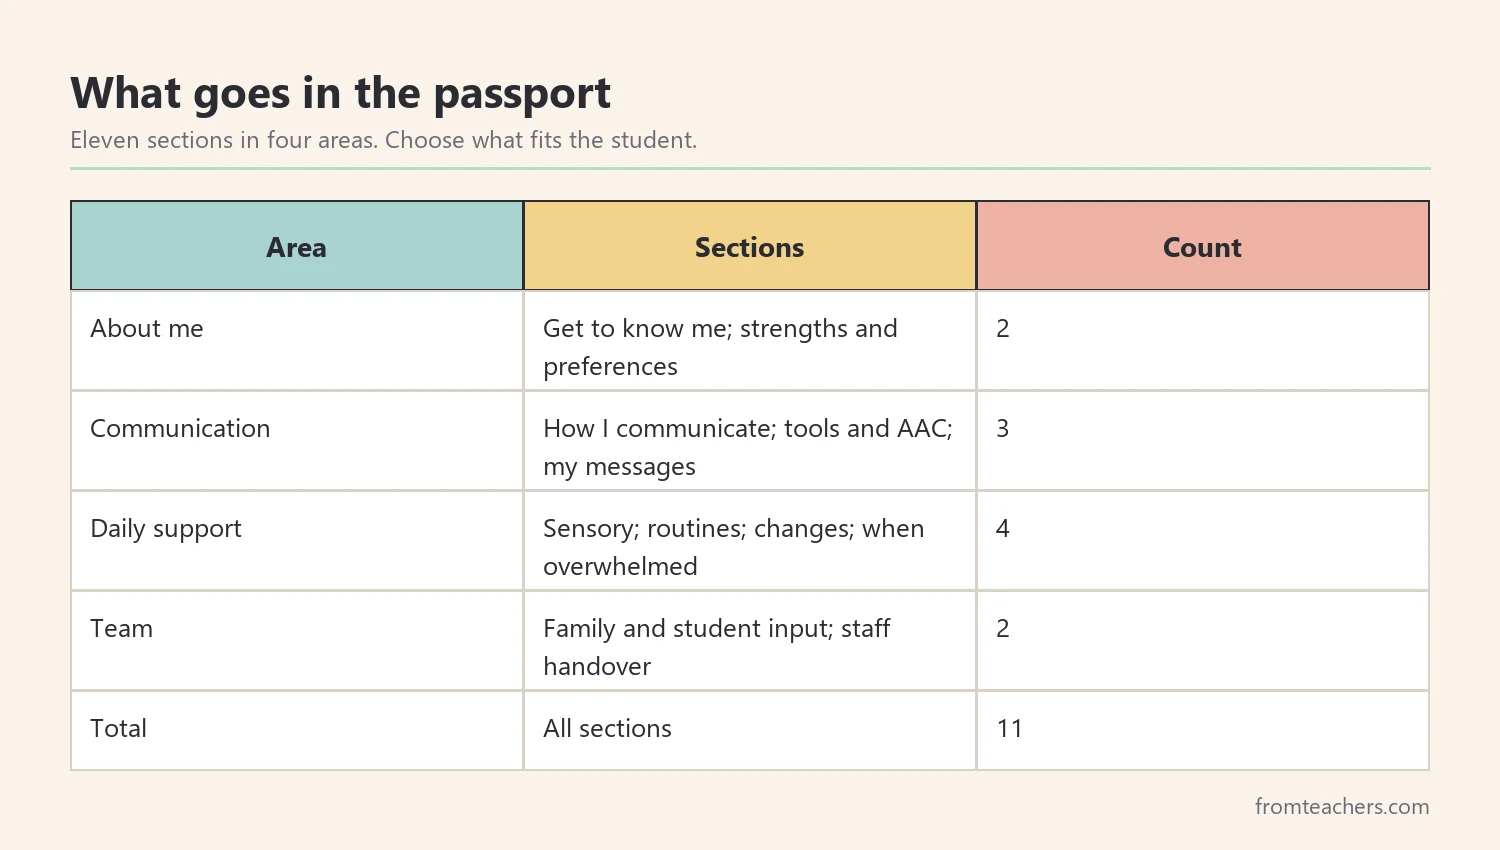
This guide walks you through five steps to create and use a student communication passport: gather the student’s voice, describe communication clearly, add daily support details, write a staff handover, and keep the passport current. By the end, you will be able to prepare a passport that any new adult can read in a few minutes and use the same day.
Examples are fictional. Adapt to the student’s goals and agreed supports. This is guidance, not a diagnosis.
At a glance
- A communication passport is written from the student’s point of view.
- Include the student and the family from the start.
- Describe how the student communicates and what their messages usually mean.
- Add sensory, routine, and change information that affects communication.
- Use a short handover page whenever staff change, and review the passport often.
1. Gather the student’s voice for the communication passport
First, start with the student. A student communication passport is about the student, so their views come first. Ask the student what they want new adults to know, using their preferred communication method: speech, AAC, pictures, choices, writing, or a trusted adult who knows them well.
Next, ask the family. Families often know the meaning of small signals, the best ways to calm, and the topics that make a student light up. A short conversation or a simple form sent home can capture a lot of useful detail.
Also, collect input from staff who know the student. The speech-language pathologist, the classroom teacher, and support staff each see different moments. Ask each person for two or three things that make the biggest difference.
In addition, write in first person where possible. “I like to be told before the bell rings” sounds very different from “Student dislikes bells.” First-person language keeps the passport respectful and reminds readers that it describes a real young person.
Meanwhile, start with strengths. Open the passport with what the student enjoys and does well. New adults read the first page most carefully, so let it show the student at their best.
Worked example. Leo is a fictional third grader who uses a speech-generating device, gestures, and some single words. His teacher, Ms. Alvarez, asks Leo to choose pictures for “Things I love.” He picks trains, swings, and music. His mother adds that Leo hums when he is happy and goes quiet when he is worried.
2. Describe how the student communicates
Next, explain clearly how the student sends and understands messages. This is the heart of a student communication passport, and it deserves the most care. A new adult needs to know the methods the student uses, the tools they need, and how to respond.
First, list the ways the student communicates. Include speech, AAC, signs, gestures, facial expressions, sounds, and behavior. Then, describe the student’s communication tools: where the device is kept, which page set they use, and how to help if it runs out of charge.
Also, explain how the student understands others. Does the student need short sentences, extra time, visuals, or a demonstration? Small details like “Give me ten seconds to answer” can change a whole interaction.
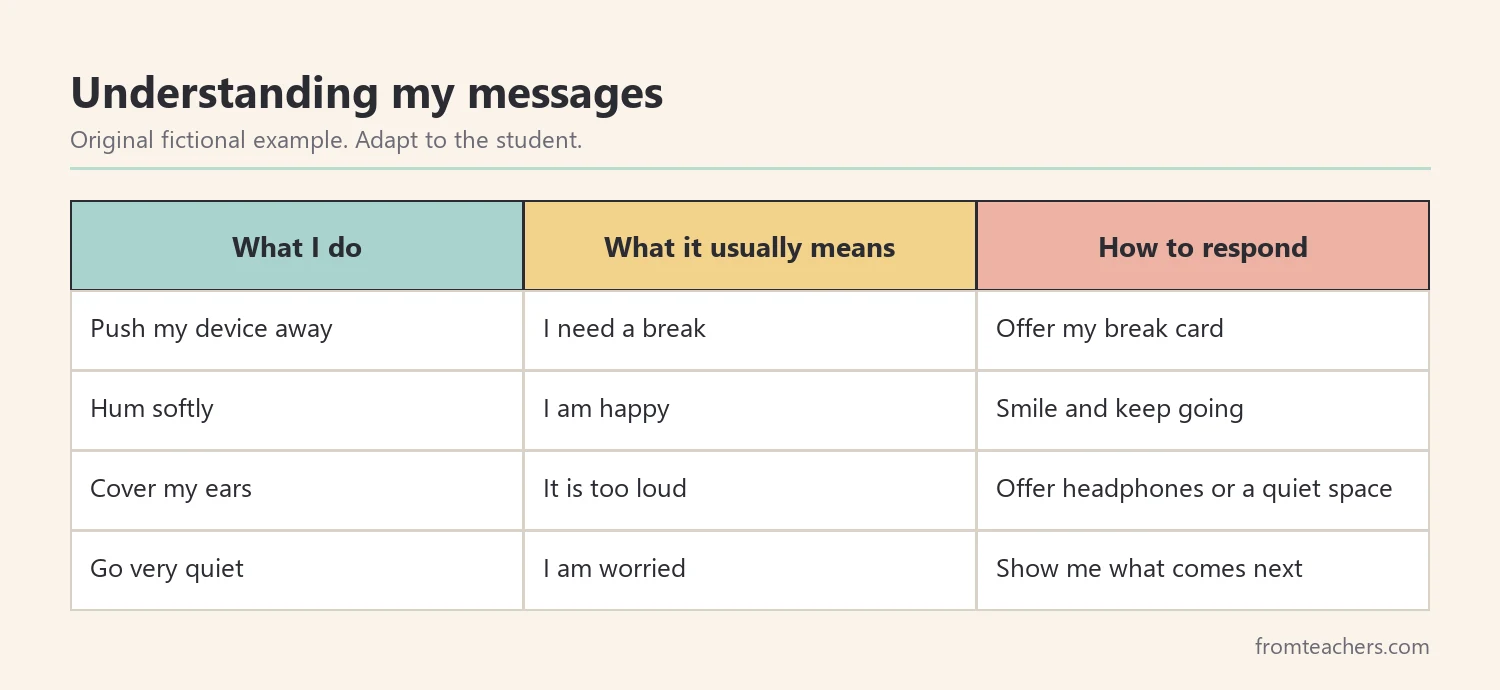
In addition, add an “understanding my messages” table. List what the student does, what it usually means, and how to respond. This is often the most useful part of the passport for new adults, because it turns puzzling behavior into clear communication.
To save time on layout, the student communication passport and staff handover forms include blank pages for how the student communicates, communication tools and AAC, and understanding the student’s messages, as an editable PowerPoint and a fillable PDF.
Worked example. Ms. Alvarez fills in Leo’s message table with his speech-language pathologist. Pushing the device away usually means “I need a break.” Humming usually means “I’m happy.” Covering his ears usually means “It’s too loud.” Each row has a simple response, such as offering the break card.
3. Add sensory, routine, and change details
Next, add the daily details that shape communication. Students often communicate best when they feel regulated and know what is coming. So, a student communication passport should include sensory preferences, daily routines, and how the student handles change.
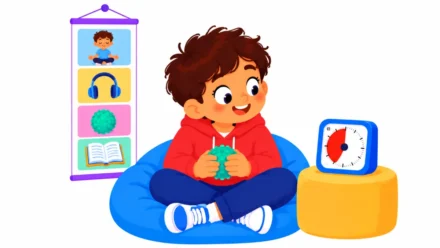
First, describe sensory preferences. Note sounds, lights, textures, and spaces that help or bother the student. Then, list tools that help, such as headphones, a quiet corner, or a movement break.
Also, describe the daily routine. Which parts of the day go smoothly? Which parts are harder? Where does the student need a visual schedule or a warning before a change?
In addition, add a page about changes and transitions. Explain how the student prefers to hear about changes, such as a picture of the new activity or a “first, then” board. Many difficult moments begin with an unexpected change, so this page often prevents problems.
Then, add a “when I feel overwhelmed” page. Describe early signs, what helps, and what to avoid. Keep it calm and practical. New adults should be able to read it quickly during a hard moment.
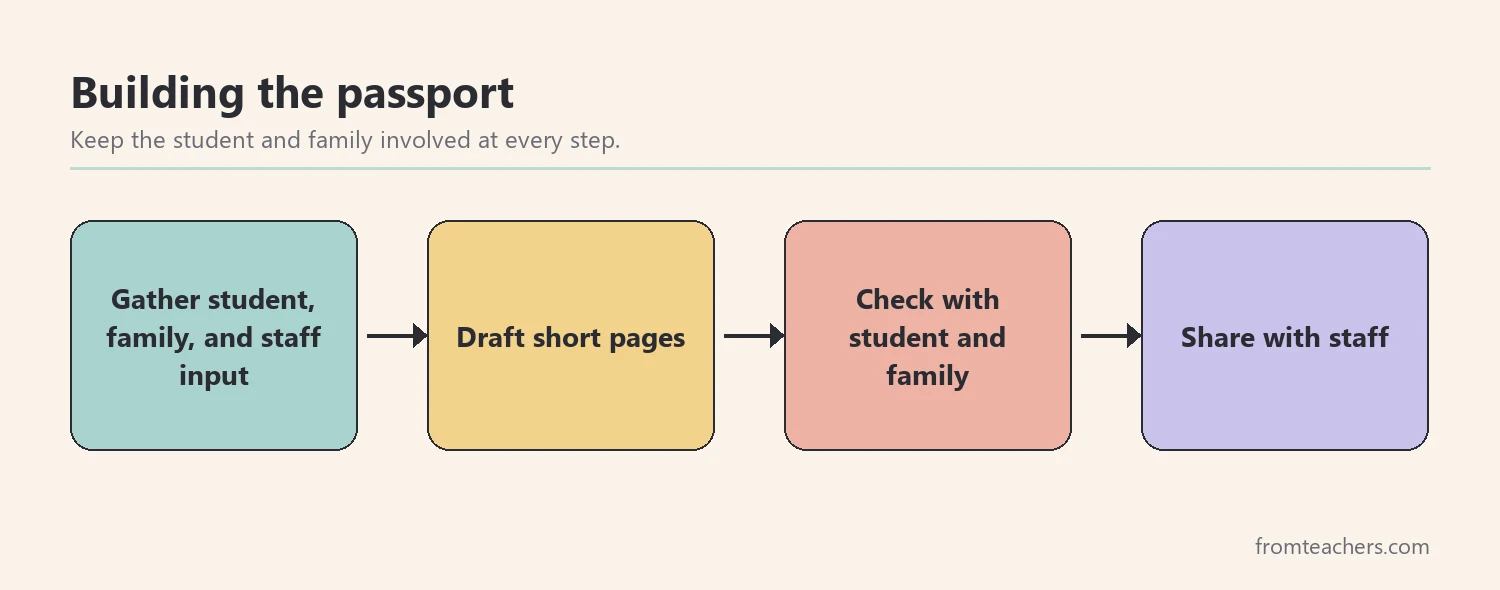
Meanwhile, keep each page short. A student communication passport should be quick to read, even in a busy moment. Use bullet points, simple words, and the most important information first.
Worked example. Leo’s sensory page says the cafeteria is often too loud and that headphones help. His transitions page says, “Show me a picture of what comes next.” His overwhelmed page lists early signs, such as going quiet and covering his ears, and one clear response: “Offer my break card and a quiet space.”
4. Write the staff handover for the student communication passport
Next, prepare a handover page. Staff change more often than we expect: substitutes, new support staff, specialists, and next year’s teacher. A handover page summarizes the most important points for the next adult.
First, keep the handover to one page. It works as a quick summary of the full student communication passport. Include the student’s preferred name, who completed the page and when, what the next adult needs to know first, and the communication tools and supports to prepare.
Also, add agreed actions. Write down who is responsible for each one, such as charging the device or sending the daily note home. Clear responsibilities stop important tasks from slipping when staff change.
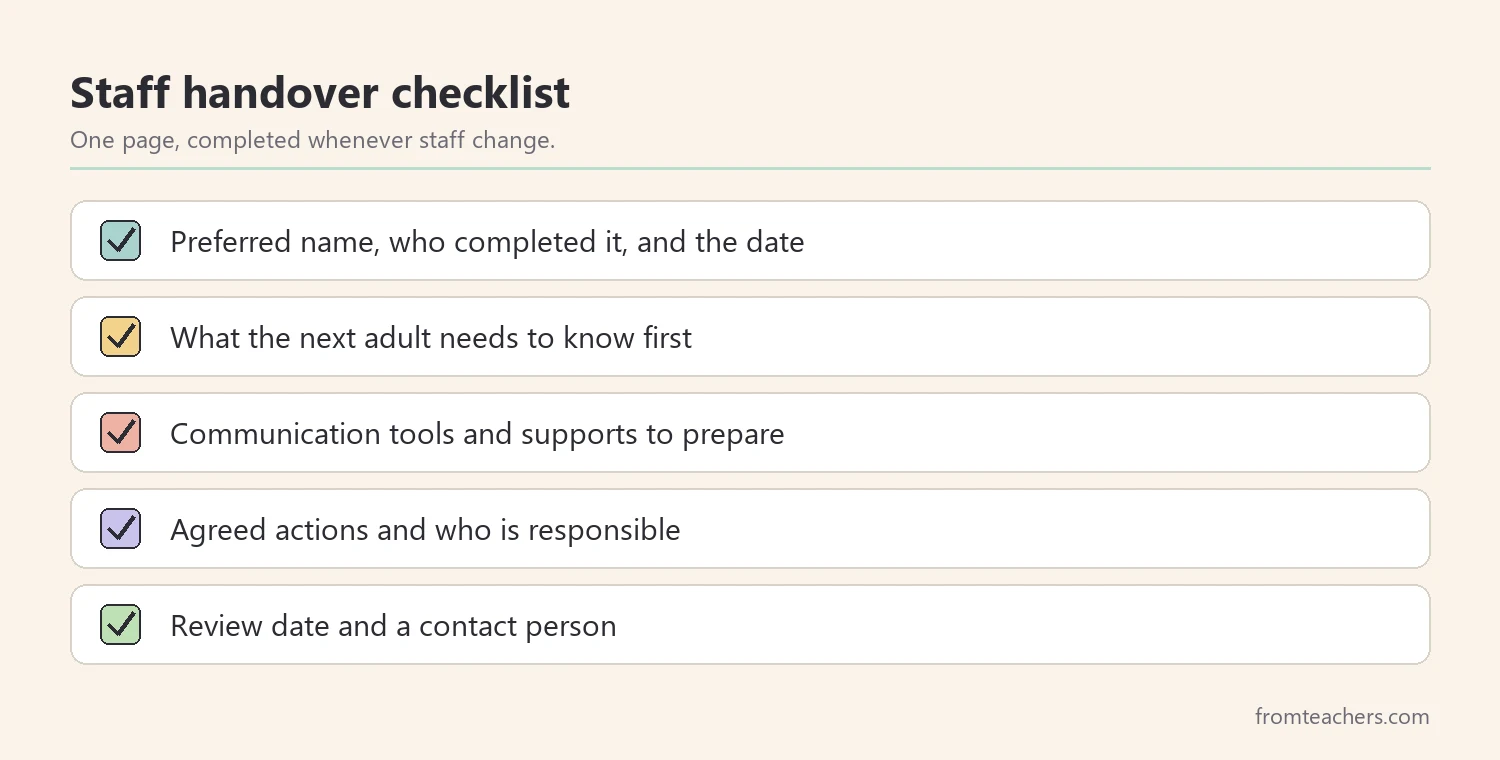
In addition, add a review date and a contact person. A new adult should know who to ask with questions and when the passport will next be updated.
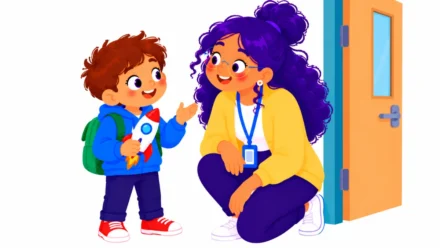
Then, hand it over in person when you can. A five-minute conversation, with the passport open, helps the next adult ask questions and see what matters most.
Worked example. Before a planned absence, Ms. Alvarez completes Leo’s handover page. It lists three key points: “Use my device for choices,” “Warn me before changes,” and “Offer my break card if I go quiet.” She names the support assistant as the contact person for the day.
5. Share, use, and review the passport
Finally, put the passport to work. A student communication passport only helps when the right people can find and use it. Agree with the family and team who will receive a copy and where it will be kept.
First, share it with everyone who works with the student. This often includes specialists, support staff, lunch staff, and substitutes, as the school’s policies allow. Keep personal information safe and share only what each person needs.
Next, use it in daily practice. Refer to it when planning lessons, preparing for trips, and welcoming new staff. A passport that stays in a drawer does not help anyone.
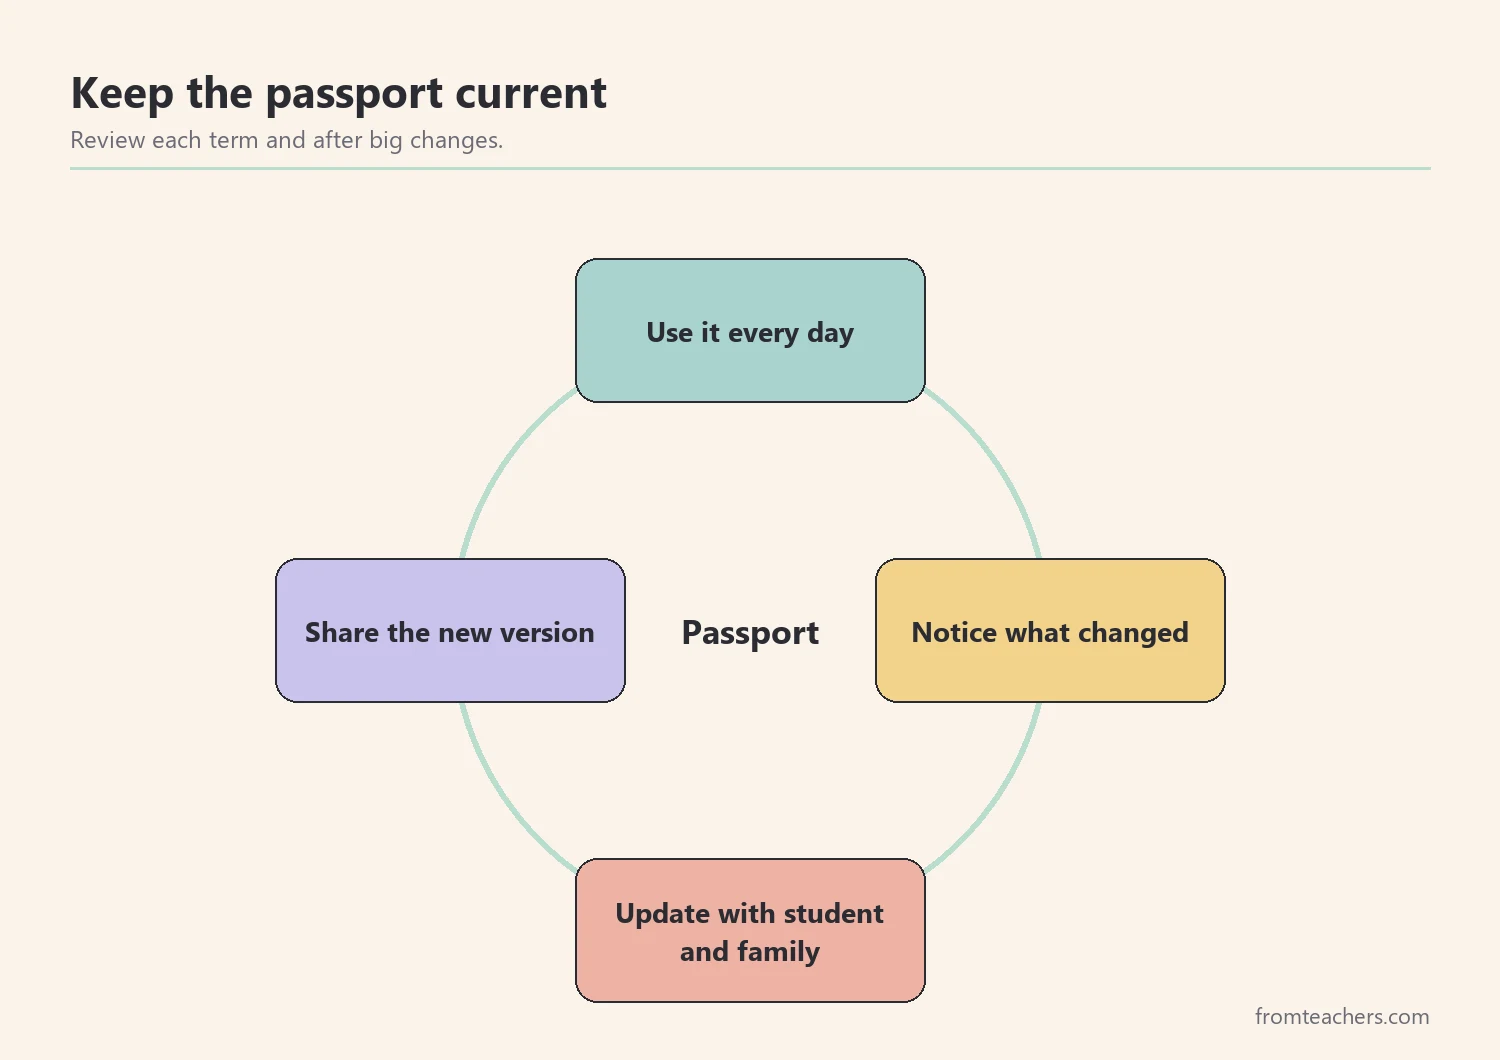
Also, review the passport regularly. Students grow and change, and so do their tools and preferences. A quick review each term, or after any big change, keeps the passport accurate.
In addition, invite the student and family to every review. Ask what has changed and what new adults should know now. The passport should grow with the student.
Worked example. At the end of the term, Ms. Alvarez meets with Leo and his mother. Leo now uses two-word messages on his device, and he no longer needs headphones in the library. They update two pages, add a new interest, and set the next review date for the start of next term.
Using the student communication passport on day one
Imagine a new support assistant joining the class on Monday. Before the first lesson, give them ten quiet minutes with the student communication passport. Ask them to read three things first: how the student communicates, what their messages usually mean, and what to do when the student feels overwhelmed.
Next, let them see the passport in action. During the first hour, point out moments that match the pages, such as a break request or a sign of noise sensitivity. This links the written words to real behavior.
Then, check in at the end of the day. Ask what was clear and what was confusing. Their questions show you which parts of the student communication passport need clearer wording, so every new adult benefits from the feedback.
Also, keep a copy where it is easy to find, such as a substitute folder or a secure staff file. A student communication passport that is easy to reach on a busy morning is far more useful than a perfect one that nobody can locate.
Respect and privacy
A student communication passport contains personal information, so treat it with care. Follow your school’s rules about records and sharing. Ask the family and, where appropriate, the student before sharing it with new people.
Also, use respectful language throughout. Describe needs and supports, not labels. The way a passport is written shapes how new adults see the student.
Finally, follow the student’s support plan. The passport supports the plan and the team’s decisions. It does not replace them.
Common mistakes and how to avoid them
- Writing about the student, not with them. The passport misses what matters most. Fix: gather the student’s voice first.
- Making it too long. New adults will not read it. Fix: keep each page short, with key points first.
- Listing behaviors without meanings. Adults still feel lost. Fix: add what each signal usually means and how to respond.
- Skipping the handover page. Key details get lost when staff change. Fix: complete a one-page handover every time.
- Never updating it. The passport becomes wrong. Fix: review each term and after big changes.
Questions teachers and parents ask about a student communication passport
Who should have a student communication passport?
Any student whose communication is not easy for new adults to understand can benefit. This often includes students who use AAC, students with limited speech, and students who communicate a lot through behavior. The team decides together.
How long should a passport be?
Short enough to read in a few minutes. Choose only the pages that matter for the student and keep each one brief.
Is a passport the same as an IEP?
No. An IEP is a formal plan with goals and services. A passport is a practical, student-centered summary that helps adults communicate and support the student day to day.
Can older students write their own passport?
Yes. Many older students can write or lead their own passport with support. This can also build self-advocacy skills.
How often should we update it?
Review it at least once a term and after any major change, such as a new device, a new class, or a move to a new school.
Related reading: Best Assistive Technology for Special Education Classrooms, How Teachers Communicate With Parents in Special Education, and Autism Spectrum Disorder: A Guide to Early Signs, Support, and Effective Strategies.
A companion resource for a student communication passport:
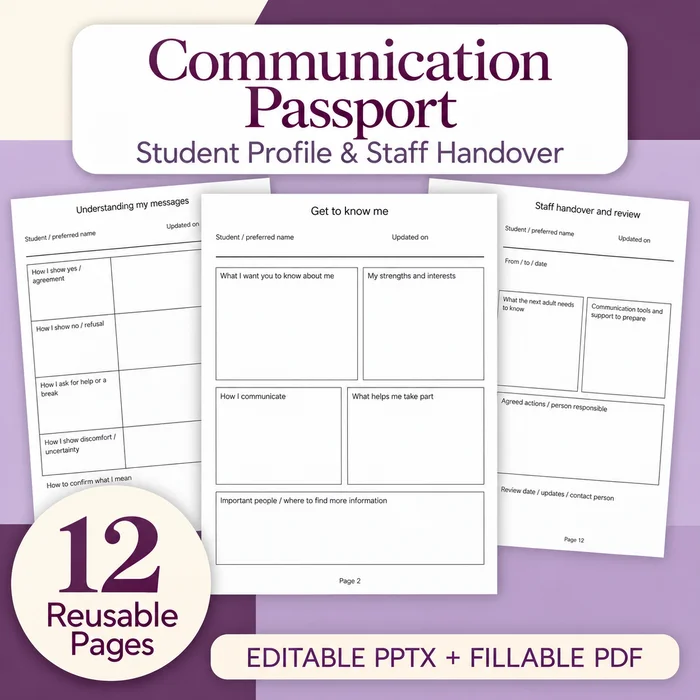
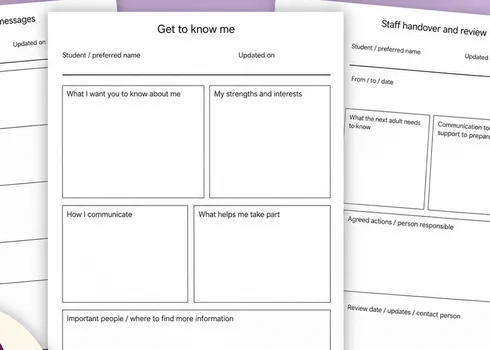
Student Communication Passport & Staff Handover: 12 pages (1 guide and 11 blank forms) covering communication, AAC, sensory preferences, routines, transitions, family and student input, and staff handover, as an editable PowerPoint and a fillable PDF.
Sources and scope
- American Speech-Language-Hearing Association (ASHA): professional information on communication, AAC, and speech-language services.
- IRIS Center, Vanderbilt University: free modules on communication supports, autism, and classroom practice.
- Understood.org: family-friendly information on learning and thinking differences.
- CAST: information on Universal Design for Learning and flexible ways to communicate.
This guide covers practical, everyday use of a communication passport in school and at home. It does not replace speech-language assessment, AAC evaluation, or the decisions of the student’s support team.
Key takeaways
- A student communication passport is written with the student, not only about them.
- Describe how the student communicates and what their messages usually mean.
- Add sensory, routine, change, and overwhelm details.
- Use a one-page handover whenever staff change.
- Review the passport each term with the student and family.


Leave a Comment