
Student support systems decide what happens in the minute after a student starts to lose control. Picture a fifth grader during independent math: his pencil snaps, his face goes red, and he shoves the worksheet away. One adult asks him to “calm down,” another tells him to take a break, and a third reminds him of the rules. He hears three different messages and follows none.
This guide shows you how to build a clear, shared system that teaches regulation and independence instead of reacting in the moment. By the end, you will be able to shape the space, teach self-awareness, match visual supports to need, build a routine for breaks, and review progress with the team and family.
Examples are fictional. Adapt to the student’s goals and agreed supports. This is guidance, not a diagnosis.
At a glance
- Design the room first: light, noise, furniture, and a calm space.
- Teach students to notice and name how they feel before asking them to manage it.
- Match visual supports to the student’s level: object, photo, symbol, or text.
- Teach breaks as a routine with clear steps and a clear return.
- Use the same words across adults, and review simple data every few weeks.
1. Design the space for student support systems
Before you teach a student anything, look at the room. Lighting, noise, seating, and layout can either calm a student or overload him. Therefore, the environment is the first layer of any support plan.
Meet Sam, a fictional fifth grader with an IEP for emotional and attention needs. His teacher notices that his hardest moments happen during independent work near the door, where hallway noise and foot traffic are constant.
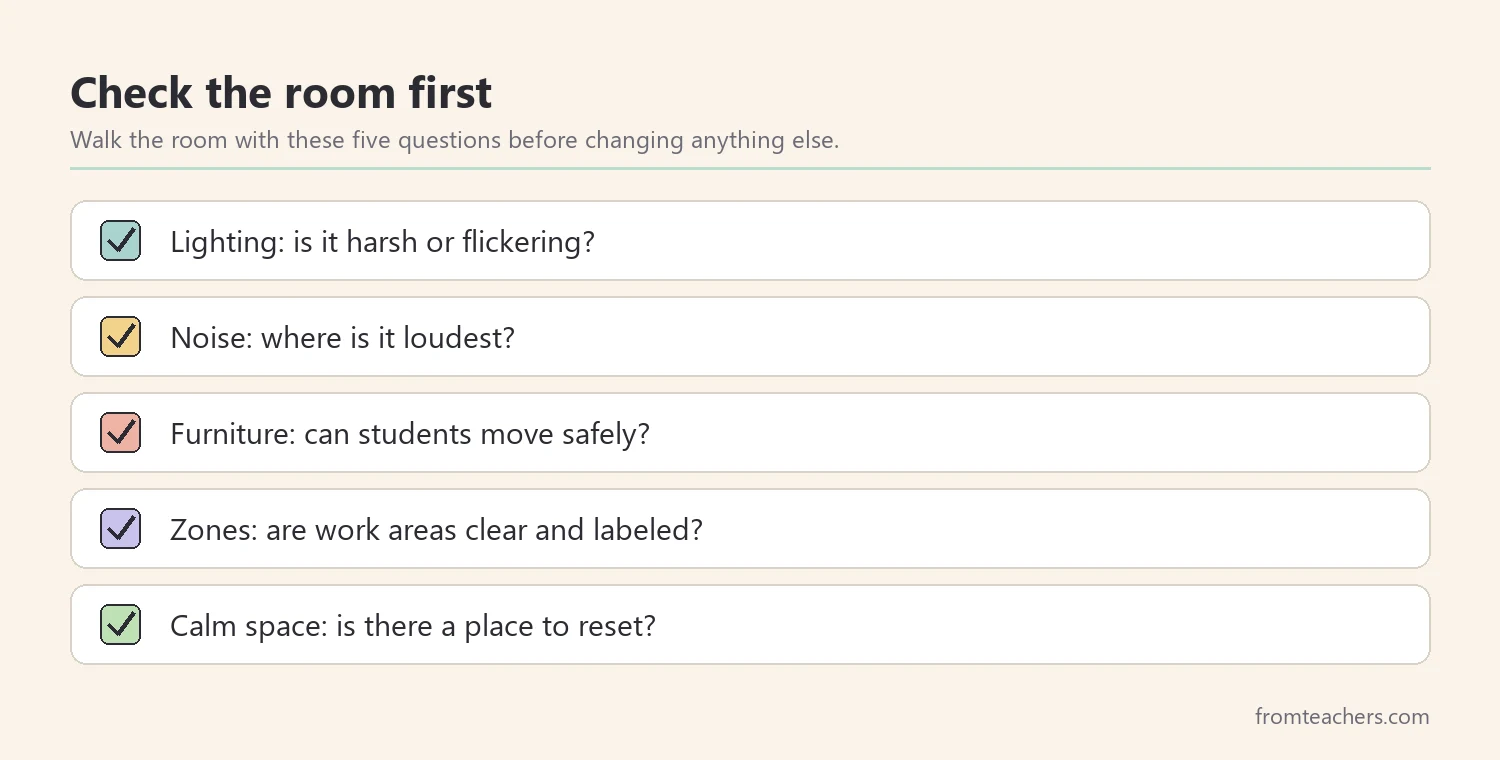
The team walks the room with five questions in mind:
| Area | Question | Change for Sam |
|---|---|---|
| Lighting | Is it harsh or flickering? | Lamp near his desk |
| Noise | Where is it loudest? | Desk moved from the door |
| Furniture | Can he move safely? | Wobble stool option |
| Zones | Are work areas clear? | Labeled quiet work table |
| Calm space | Is there a place to reset? | Corner with timer and cards |
Notice that none of these changes require Sam to do anything differently yet. Instead, the room does some of the work for him. As a result, there are fewer hard moments to manage later.
Next, set up a calm space carefully. It should be quiet and predictable, not a punishment corner. Keep a few tools there, such as a timer, a breathing card, and a fidget. Also, decide in advance how long a typical visit lasts. Then teach the whole class how the space works, so it feels like a normal part of the room rather than a place for one student.
Finally, write the plan down. Student support systems work best when the physical setup is part of the shared plan, so a substitute knows where Sam sits and where the calm space is.
2. Teach self-awareness before self-management
Many plans ask students to “use a strategy” before they can tell when they need one. However, a student cannot manage a feeling he has not noticed. So the next step is teaching self-awareness: recognizing body signals and naming emotions.
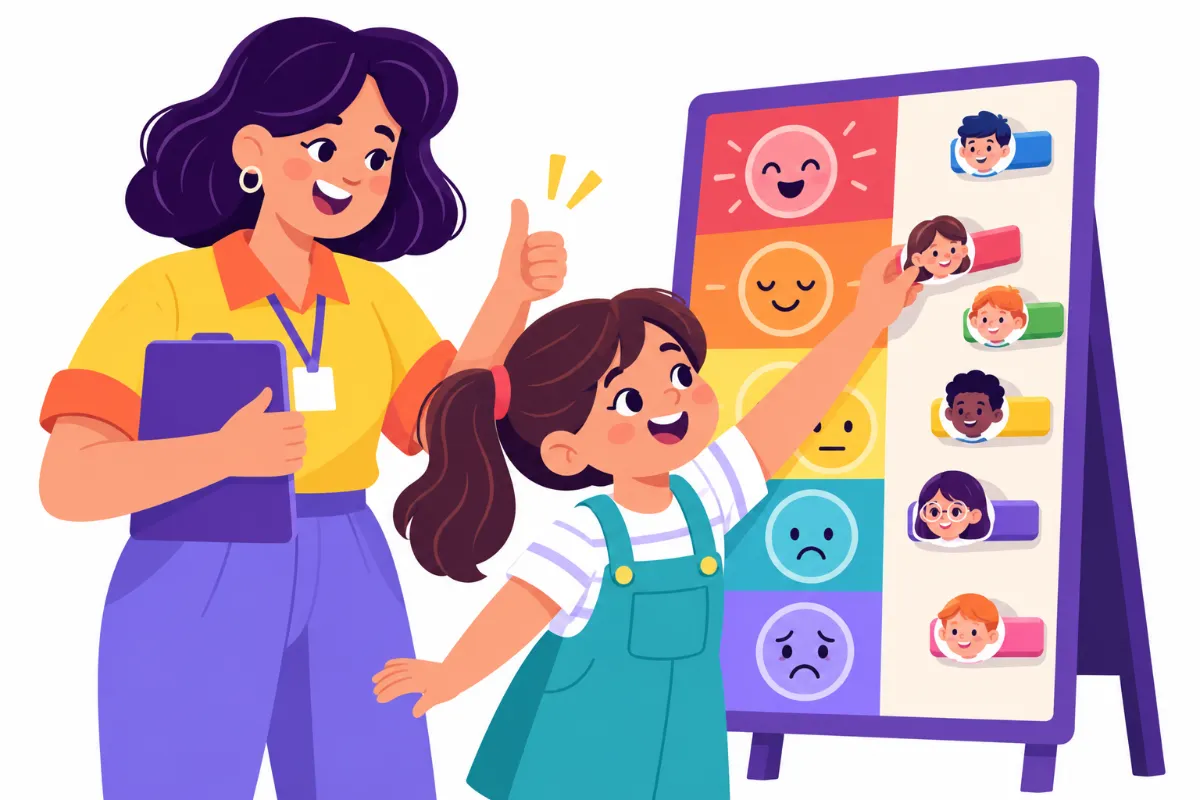
Start with a simple feelings scale or zone chart. Many schools use a four-level chart, often based on the Zones of Regulation model, that groups feelings by energy and emotion. Whatever tool you choose, use the same one across classrooms. When the music teacher, the counselor, and the family all point to the same chart, student support systems start to feel like one clear language instead of several competing ones.
For Sam, his teacher uses short check-ins three times a day: arrival, after lunch, and before math. Sam points to a level on the chart and names one body clue, such as “hot face” or “tight hands.”
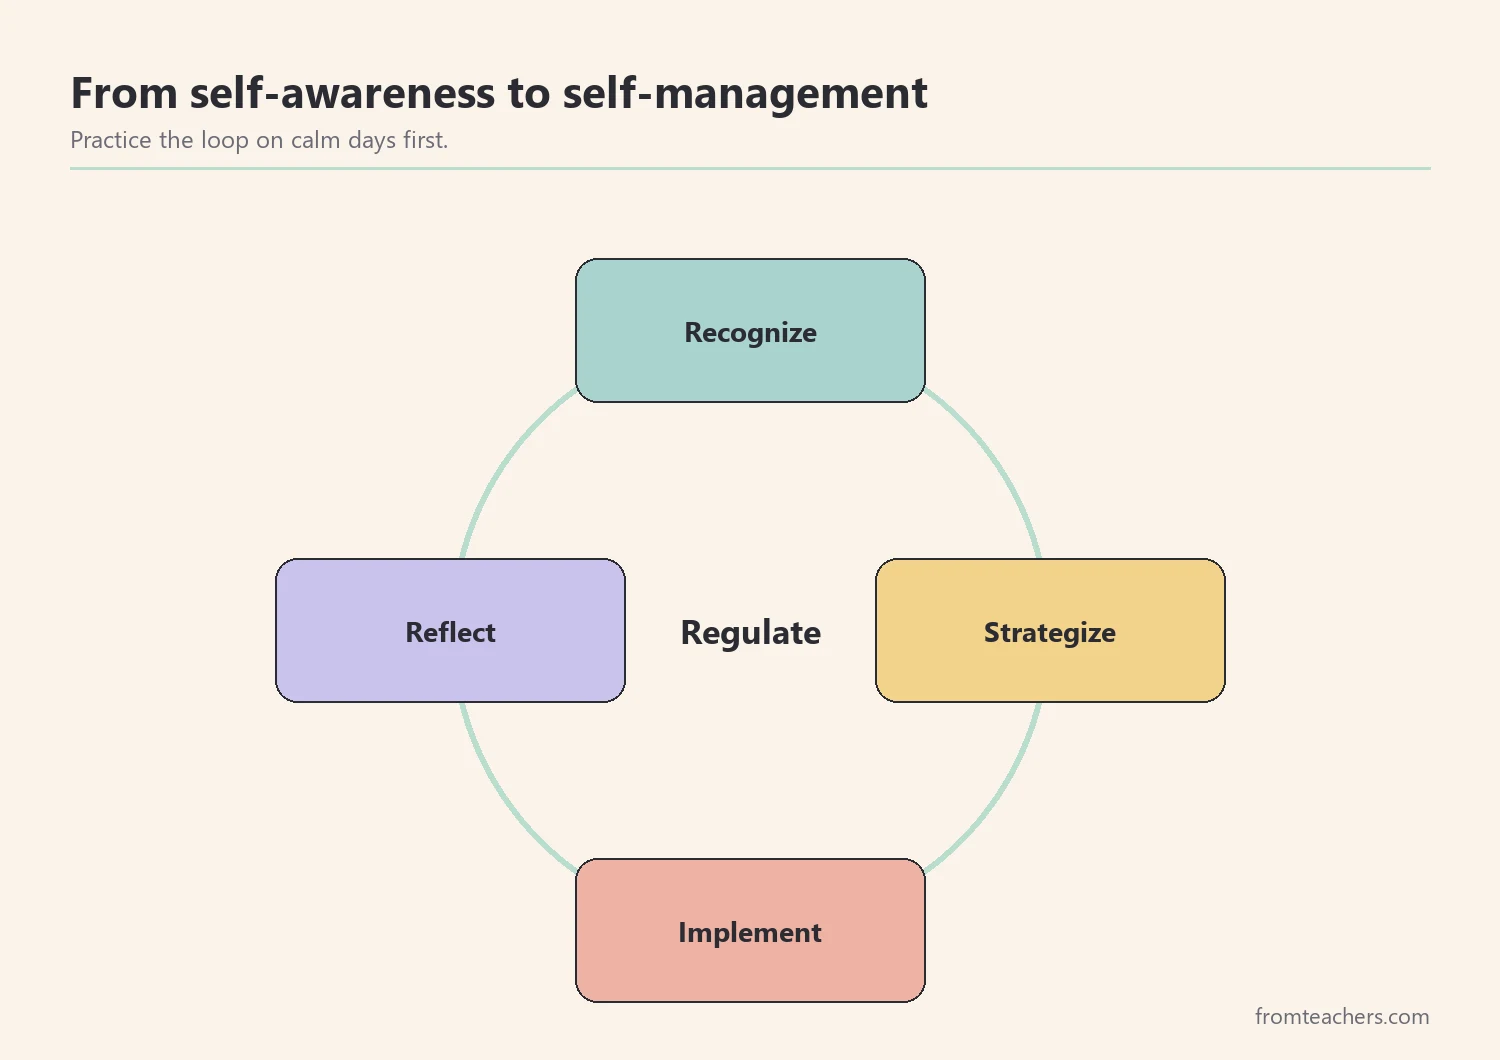
A useful way to teach this is a four-part cycle:
- Recognize. Notice body signals and name the feeling.
- Strategize. Choose a tool that fits that feeling.
- Implement. Use the tool for a short, set time.
- Reflect. Ask, “Did it help? What next time?”
Practice the cycle when Sam is calm. For instance, role-play a broken pencil and walk through each step together. Then, when a real moment comes, the steps feel familiar. Keep each practice short, about two or three minutes, and end on a success so the student connects the cycle with feeling capable.
In addition, model it yourself. Say aloud, “I notice my voice getting louder. I’m going to take two deep breaths.” When adults show their own thinking, students see that regulation is a skill everyone uses. Over time, this kind of modeling becomes one of the quietest and strongest student support systems in the room.
A ready set of visual student support systems tools includes a zone identification chart, regulation cue cards, and a self-awareness to self-management cycle that fits this step well.
3. Match visual student support systems to each need
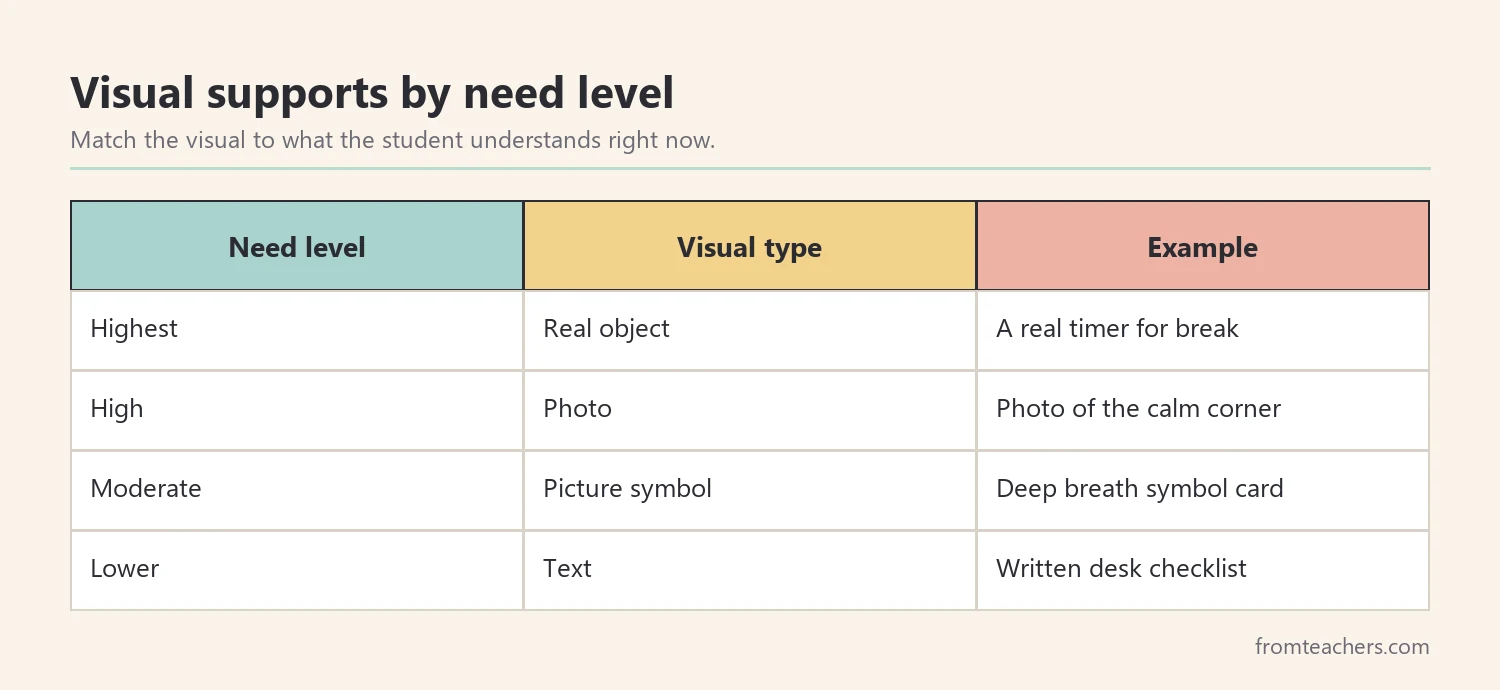
Visual supports make expectations concrete. Yet a written list helps one student and confuses another. Therefore, match the type of visual to the student’s current level of understanding.
| Need level | Visual type | Example |
|---|---|---|
| Highest | Real object | A real timer to mean “break” |
| High | Photo | Photo of the calm corner |
| Moderate | Picture symbol | Symbol card for “deep breath” |
| Lower | Text | Written checklist on the desk |
Sam reads well, so his team uses a short text checklist taped to his desk, plus symbol cards in the calm corner for moments when reading feels too hard. In other words, his supports change with his state, not only his age.
Also, keep visuals small and consistent. One card with “Breathe, Break, or Ask” is easier to use than a full poster of twelve strategies. When a student is upset, fewer choices are better.
Next, place visuals where the moment happens. Cue cards belong on the desk, near the door, or on a lanyard the adult wears, not in a binder in the cabinet. Strong student support systems put help within arm’s reach.
Finally, teach each visual before you need it. Introduce one card at a time, practice it, and only then add another. A visual that has never been taught is just decoration. Similarly, check every few weeks whether a card is still used. If not, reteach it or replace it with something simpler.
4. Build a break routine into student support systems
Breaks help when they are short, planned, and followed by a clear return. Without structure, a break can turn into escape, and the student misses more learning. So treat the break like any other routine you teach.
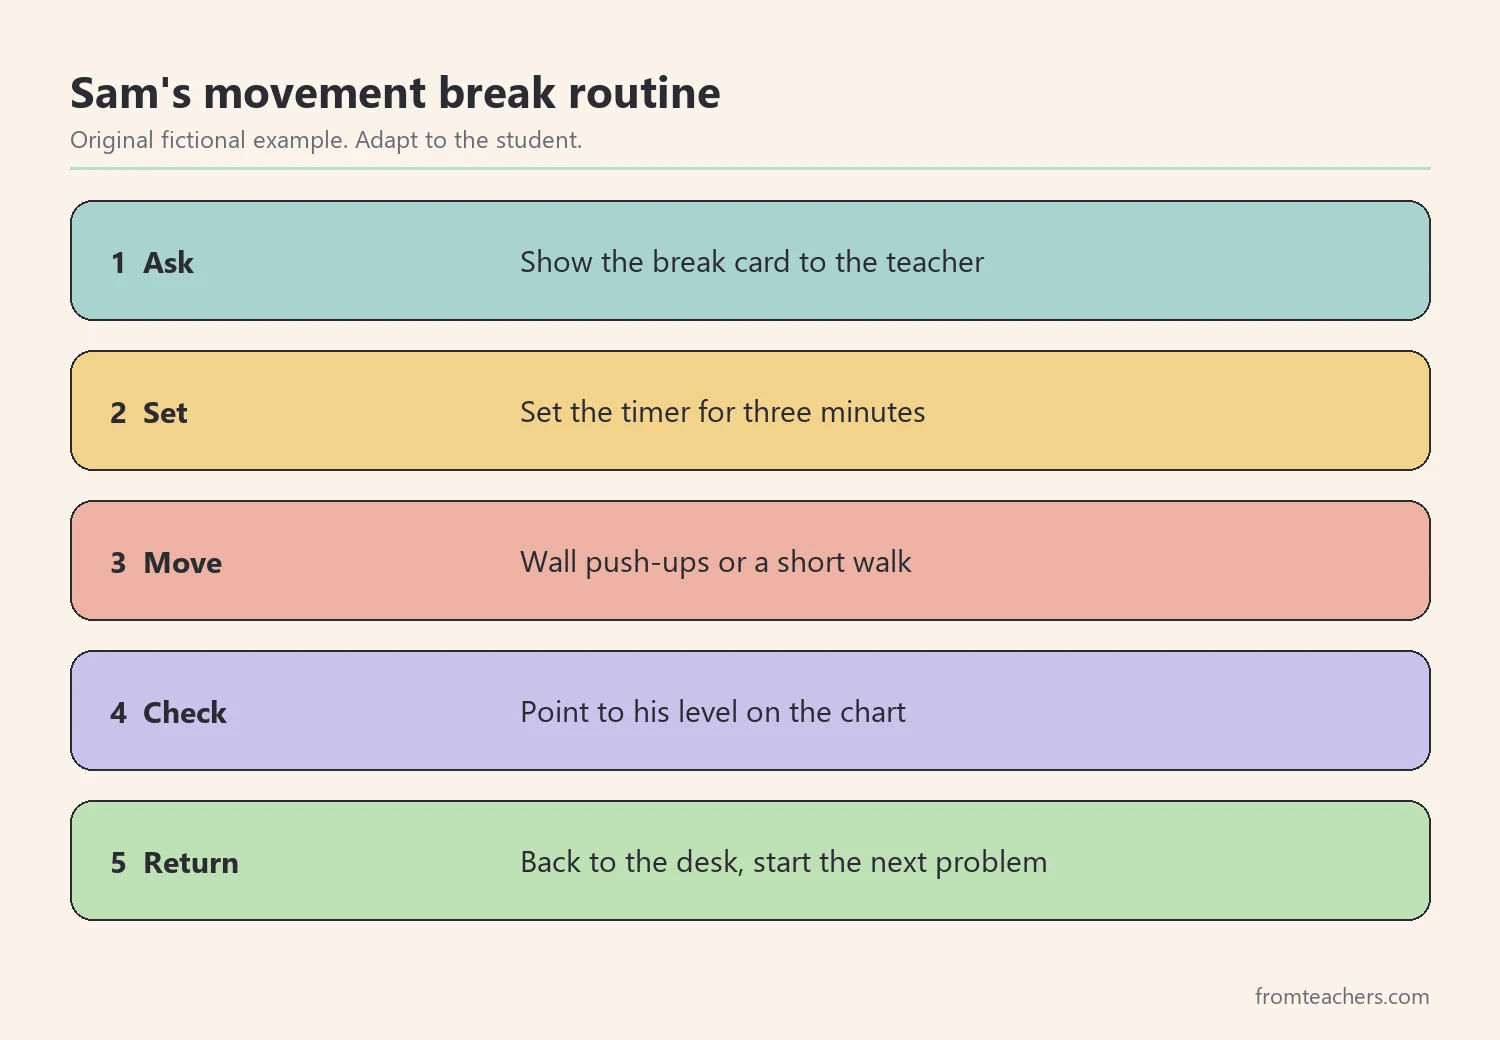
Sam’s team builds a five-step movement break routine:
- Ask. Sam shows his break card to the teacher.
- Set. He sets the timer for three minutes.
- Move. He does wall push-ups or a short walk to the water fountain.
- Check. He points to his level on the chart.
- Return. He goes back to his desk and starts the next problem.
Notice the last step. The routine ends with a return to work, not with a reward or a new choice. This makes breaks a tool for learning rather than a way out. If Sam needs more time, he can reset the timer once, but the plan still ends at his desk with the next problem.
At first, the teacher prompts each step. Later, she only points to the card on his desk. Eventually, Sam completes the routine on his own. As a result, the break becomes a sign of independence, not of trouble.
Moreover, plan some breaks before they are needed. A predictable movement break halfway through math can prevent the hard moment altogether. Predictable schedules like this are one of the simplest parts of student support systems, and they often make a big difference in engagement.
Also, agree on the words. Every adult says “break card, timer, back to work,” in the same order. Consistent language is what turns a set of tools into a real system. In practice, a one-page script taped inside the teacher’s planner keeps student support systems steady even on days with a substitute.
5. Review student support systems with the team
A support plan should change as the student grows. To know when to change it, keep a few simple records. As a result, decisions are based on what is happening, not on the hardest day of the week.
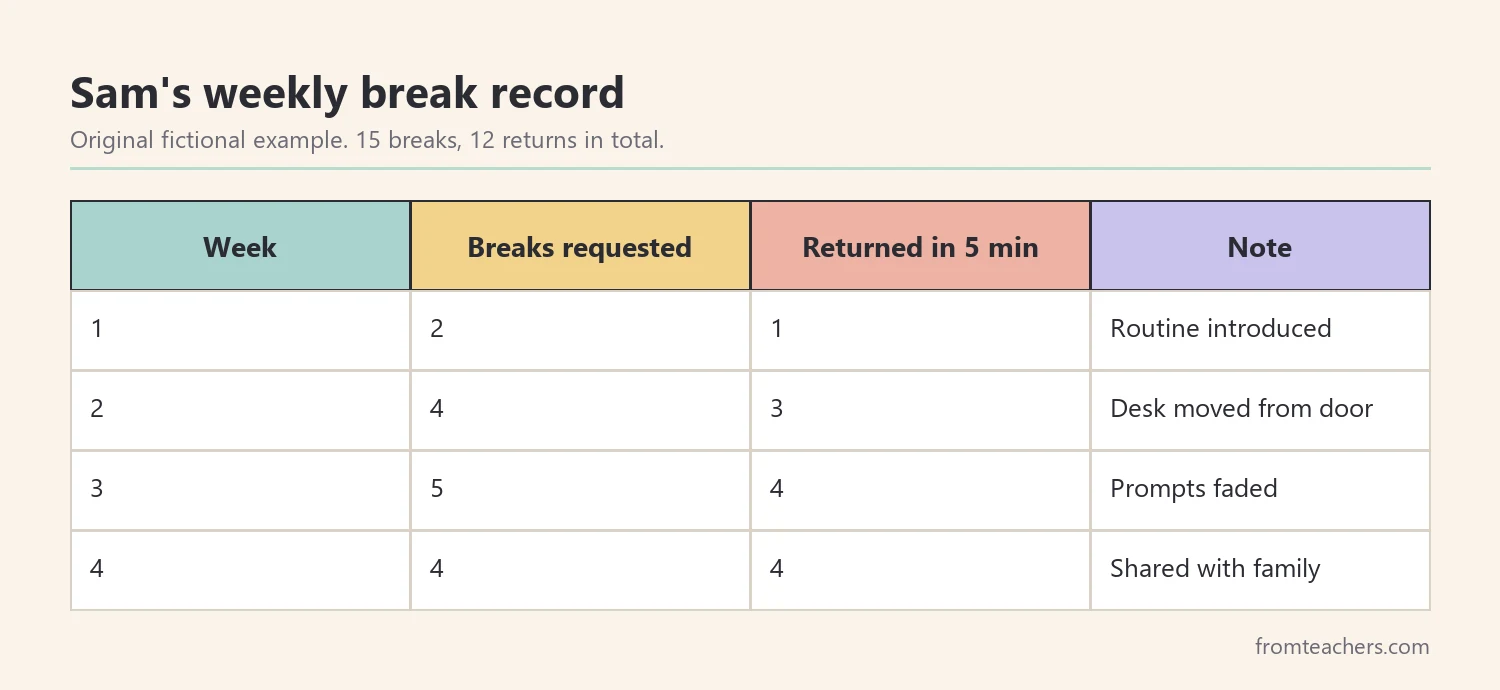
For Sam, the team tracks two things during math each week: how many breaks he requested with his card, and how many of those he completed with a return to work within five minutes.
| Week | Breaks requested | Returned within 5 min | Note |
|---|---|---|---|
| 1 | 2 | 1 | Routine introduced |
| 2 | 4 | 3 | Desk moved from door |
| 3 | 5 | 4 | Prompts faded to pointing |
| 4 | 4 | 4 | Shared with family |
Over four weeks, Sam asked for 15 breaks and returned within five minutes after 12 of them. Requesting a break with a card, instead of shoving the worksheet away, is itself a sign of growing self-awareness.
Then, review the plan every three to four weeks with the teacher, the paraprofessional, the counselor, and the family. Ask what is working, which supports can fade, and which skill to teach next. Bring the weekly record, one short story of a good moment, and one question you want the team to answer.
Also, include the student. Sam can say which tools help most and which feel babyish. His answers keep the plan respectful and make it more likely he will use it. Strong student support systems are built with students, not just for them.
Common mistakes and how to avoid them
- Starting with consequences instead of the environment. Fix: check light, noise, seating, and calm space first.
- Asking for self-management before self-awareness. Fix: teach students to notice and name feelings first.
- Too many visuals at once. Fix: teach one card at a time and keep choices few.
- Breaks with no return. Fix: end every break routine with a clear step back to work.
- Each adult using different words. Fix: write the exact phrases into the plan and share them.
Questions teachers and parents ask about student support systems
What are student support systems in special education?
They are the combination of environment, visual tools, taught routines, and adult responses that help a student meet expectations. A good system is planned, shared by all adults, and reviewed over time. It focuses on teaching skills, not only managing behavior.
Are calm corners just time-out with a new name?
They should not be. A calm space is chosen or offered as a tool, has a clear time limit, and ends with a return to learning. If it is used as a punishment, it loses its purpose.
How long before a break routine works?
It varies by student. Many students need several weeks of practice with prompts before using the routine on their own. Keep notes so you can see gradual change.
Can these supports work in a general education classroom?
Yes. Room design, check-ins, and short visual cues work for many students, not only those with IEPs. In fact, whole-class routines can reduce stigma for students who need them most.
How can families use student support systems at home?
Families can use the same feelings chart, the same break words, and a simple calm space at home. When home and school match, students practice the same skills more often. Share a copy of the key visuals with the family.
Related reading: Moving Beyond Shame and Behavior Charts: Positive Alternatives for Effective Classroom Management, Managing Sensory Overload: Practical Strategies for Autism and ADHD, and Essential Trauma-Informed Teaching Strategies for Modern Classrooms.
A companion resource for student support systems:
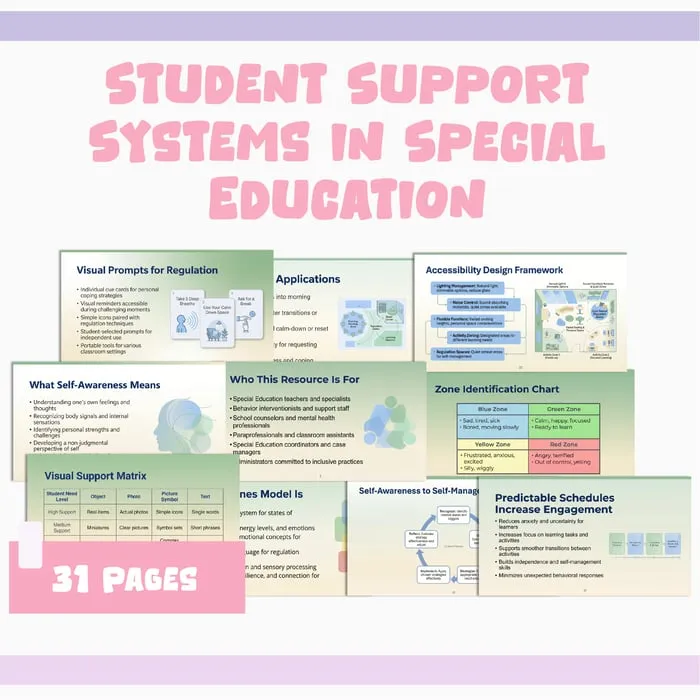
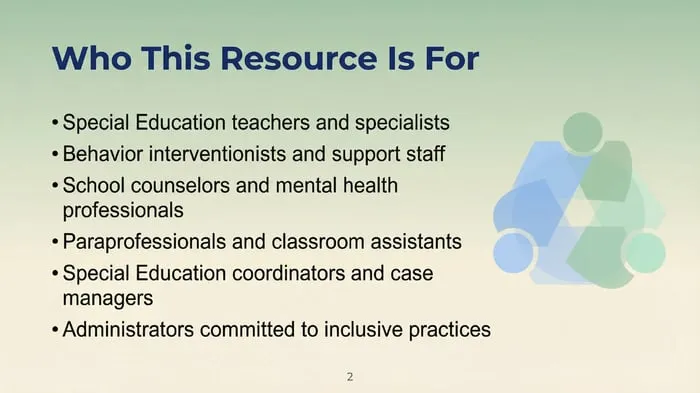
Student Support Systems in Special Education: a visual guide with regulation cue cards, an accessibility design framework, a zone identification chart, a visual support matrix, a self-awareness to self-management cycle, and a movement break routine chart.
Sources and scope
- IRIS Center, Vanderbilt University: free modules on classroom behavior, self-regulation, and evidence-based practices.
- Center on PBIS: information on positive behavioral interventions and supports in schools.
- CASEL: resources on social and emotional learning, including self-awareness and self-management.
- IDEA, U.S. Department of Education: the law behind special education services and IEPs.
This guide covers practical classroom systems for regulation and independence. It does not cover diagnosis, mental health treatment, or formal behavior assessment, which belong to qualified professionals and the student’s team.
Key takeaways
- Student support systems start with the room: light, noise, seating, and a calm space.
- Teach self-awareness first, using one shared feelings chart.
- Match visuals to need and teach each one before using it.
- Build breaks as a routine that always ends with a return to work.
- Track simple data and review the plan with the student and family.




Leave a Comment