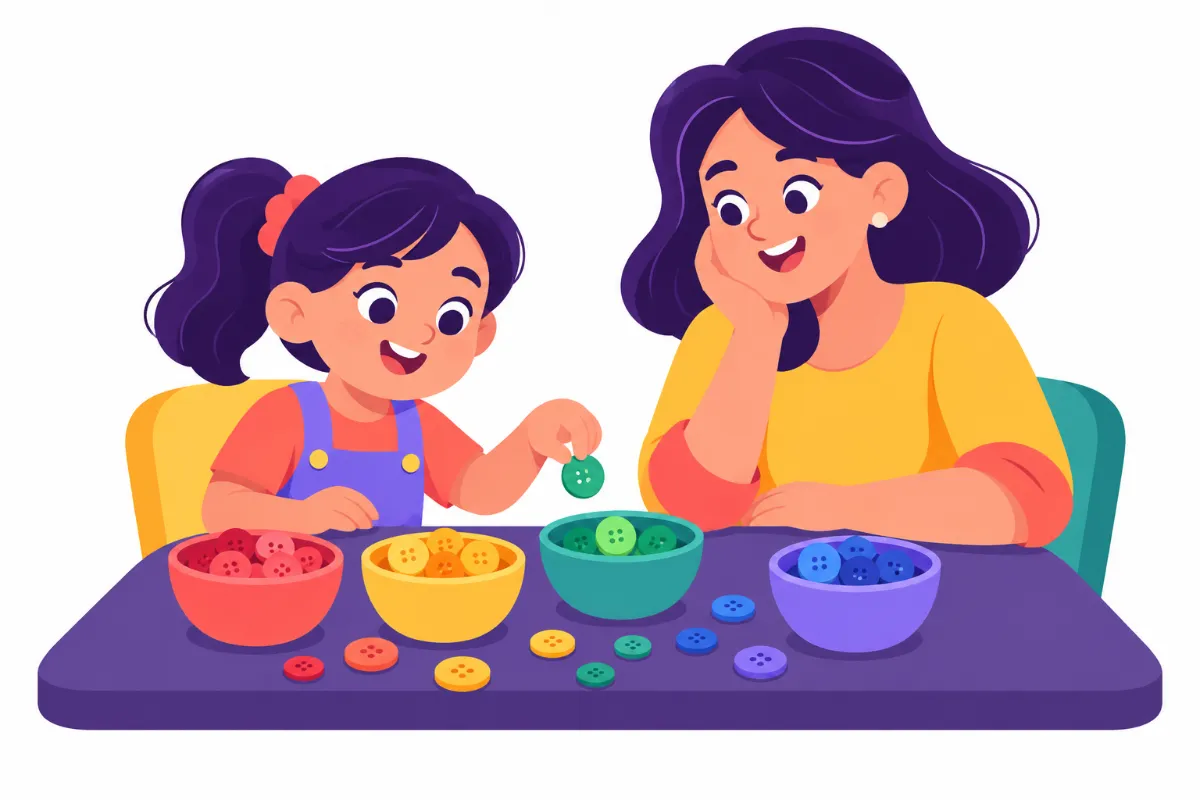

Sorting and classifying show up long before a child opens a math book. Picture a kindergartner at the kitchen table with a jar of buttons. She pushes the red ones into a pile, then stops, unsure what to do with a button that is red and also huge. That small pause is where real thinking begins.
This guide gives you a clear path from simple matching to multi-rule sorting and real-world organizing. By the end, you will be able to plan activities at the right level, ask questions that build reasoning, and notice progress over a few weeks, at home or in the classroom.
Examples are fictional. Adapt to the child’s goals and agreed supports. This is guidance, not a diagnosis.
At a glance
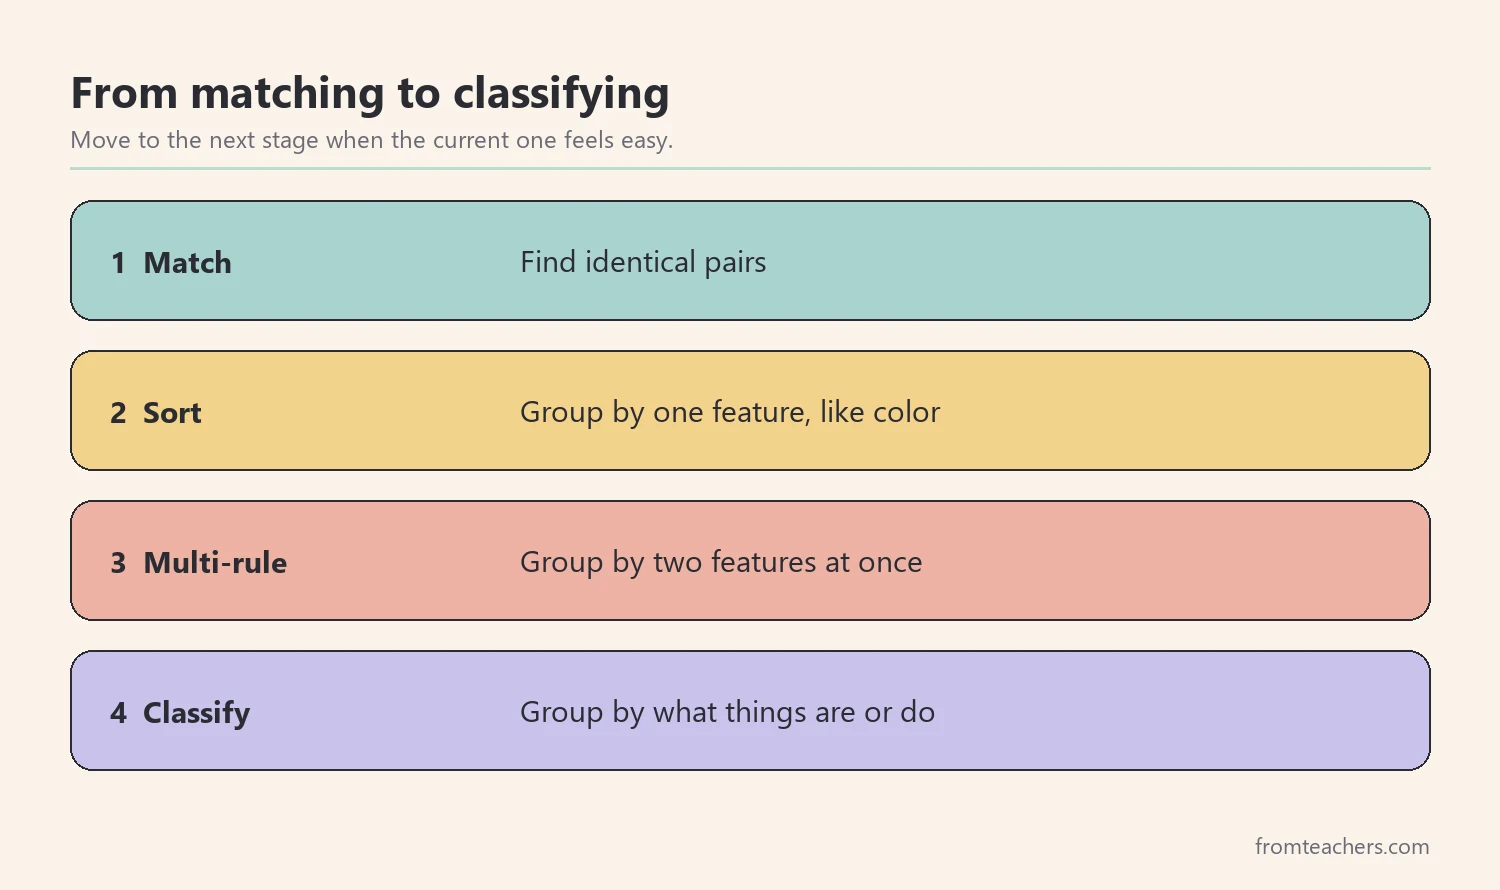
- Start with matching identical items before asking a child to sort.
- Sort by one feature at a time, then add a second rule.
- Ask “How did you sort?” so the child explains her thinking.
- Move from objects to categories such as animals, plants, and tools.
- Use real chores, like tidying toys or school supplies, as daily practice.
1. Start sorting and classifying with matching
Matching is the first step. Before a child can sort a pile into groups, she needs to see that two things are the same. Therefore, begin with simple pairs: two identical socks, two blue blocks, two pictures of the same apple.
Meet Nora, a fictional five-year-old in kindergarten. Her teacher notices that Nora groups toys by color easily, but struggles when two items differ in size. So the teacher starts with a short matching game: find the twin of each card.
Here is a simple progression for matching:
| Level | Task | Example |
|---|---|---|
| 1 | Match identical objects | Two red cups |
| 2 | Match object to picture | Real spoon to spoon card |
| 3 | Match by one feature | Any two round things |
Notice that level 3 is already a bridge to sorting. The child is no longer looking for a perfect twin. Instead, she is looking for one shared feature, such as shape.
Also, keep the set small. Four to six pairs is plenty for a young child. Too many items at once can turn a thinking game into a frustrating search. In addition, choose objects that are safe and easy to grip, because early sorting and classifying should feel playful, not tiring.
Next, use clear, simple words. Say “same” and “different” often, and point while you say them. These two words are the foundation of sorting and classifying, and children who use them confidently are ready for the next step.
Finally, let the child check her own work. Lay the matched pairs side by side and ask, “Are these the same?” Self-checking builds attention to detail and helps the child feel in control of the task.
2. Teach simple sorting by one feature
Once matching feels easy, move to sorting by a single feature. Give the child a mixed set and two or three containers. Then name the rule: “Put all the red ones here and all the blue ones there.”
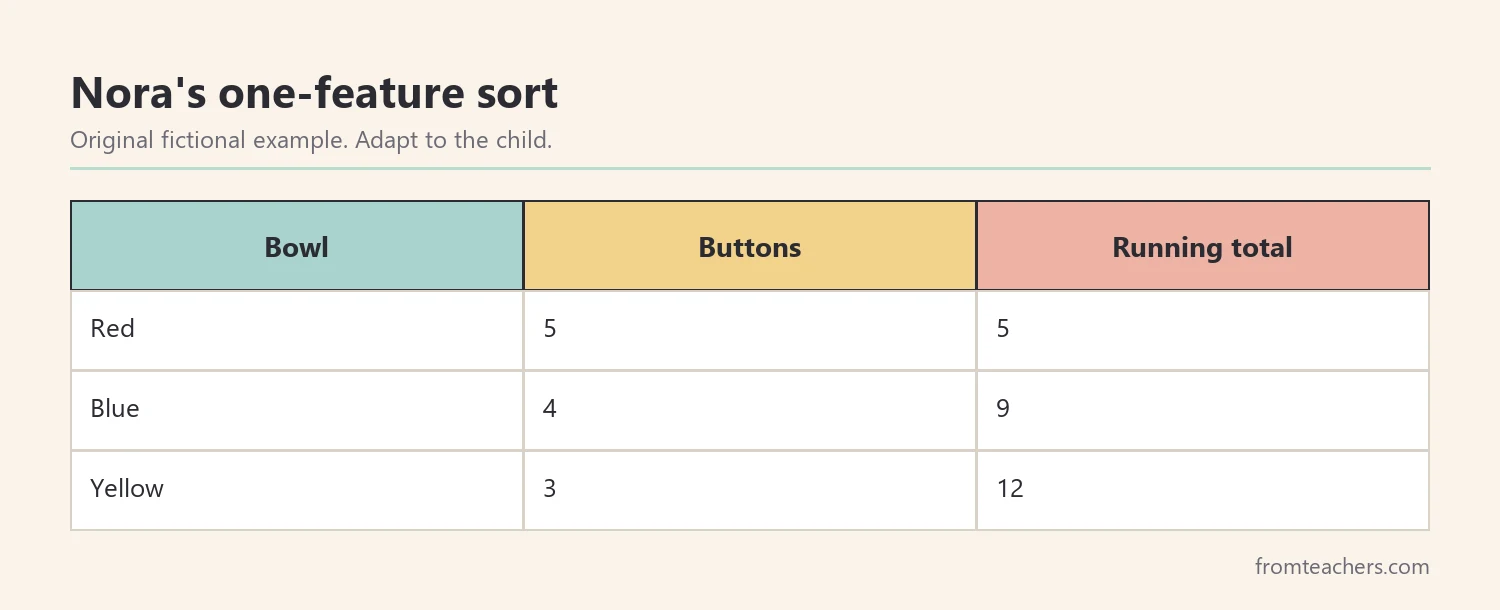
For Nora, her teacher uses 12 buttons: 5 red, 4 blue, and 3 yellow. Nora sorts them into three bowls. Afterward, they count each bowl together and check that the total is still 12. This small check links sorting to early counting.
Use these steps for any simple sort:
- Show the rule. Place one example in each container.
- Sort together. Take turns placing items while you talk.
- Let the child finish. Step back and watch.
- Talk about it. Ask, “How did you know where this goes?”
Over time, change the feature. Sort by color one day, by shape the next, and by size after that. As a result, the child learns that the same set of objects can be grouped in different ways, which is a key idea in sorting and classifying.
Then, try a “mystery sort.” You sort a few items without saying the rule, and the child guesses it. This reverses the task and builds flexible thinking. Children often love being the detective, and the game shows them that sorting and classifying always follows a rule someone can name.
If you want ready pages for this stage, the Matching, Sorting and Classifying guide for kids walks children through matching by color, shape, and size, and then into simple and multi-rule sorting with clear, colorful activities.
3. Build multi-rule sorting and classifying
Multi-rule sorting asks a child to think about two features at once. For example, “Find the buttons that are red and big.” This is harder, because the child must hold two ideas in mind and check both.
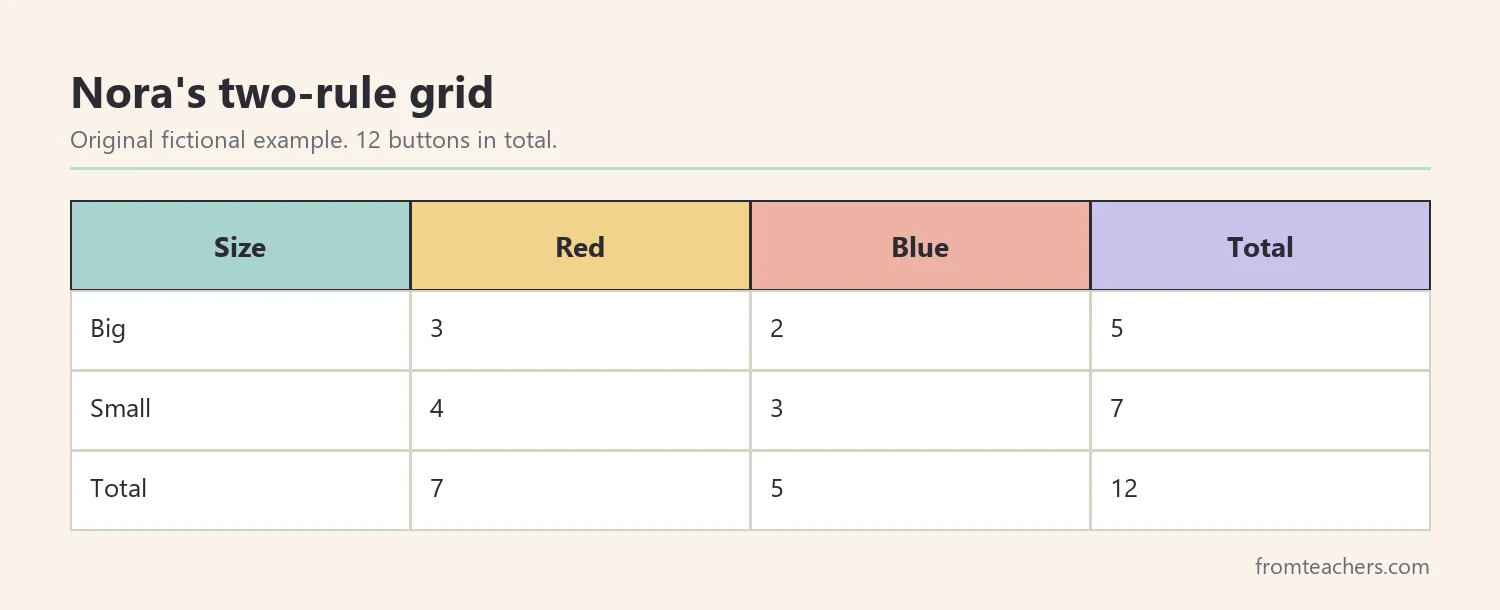
A simple tool for this is a two-by-two grid. Label the rows “big” and “small” and the columns “red” and “blue.” Each item now has exactly one home.
For this step, Nora’s teacher uses a new set of 12 buttons, only red and blue, in two sizes. Here is how Nora’s grid looks after she sorts them by color and size:
| Red | Blue | |
|---|---|---|
| Big | 3 | 2 |
| Small | 4 | 3 |
Together, the four boxes hold 3 + 2 + 4 + 3 = 12 buttons. There are 7 red buttons and 5 blue buttons, and 5 big buttons and 7 small ones. Checking these totals with the child is a quiet, natural math lesson.
Also, expect mistakes at first. Many children sort by the first feature they notice and forget the second. When that happens, point to one box and ask, “Is this button big and red?” Short questions guide the child back without taking over. If the grid still feels too hard, return to one-rule sorting for a few days and try again later. Progress in sorting and classifying is rarely a straight line.
Next, try a Venn-style overlap with two hoops. Put red things in one hoop and round things in the other. Red round things go in the middle where the hoops overlap. This layout shows that an item can belong to two groups at once, an important step in sorting and classifying.
Finally, invite the child to invent her own rule. When Nora decides to sort by “has holes” and “no holes,” she is doing exactly the kind of flexible thinking that supports later math and science.
4. Move sorting and classifying from objects to categories
Classifying goes one step beyond sorting. Instead of grouping by what something looks like, the child groups by what it is or what it does. For example, animals and plants, things that fly and things that swim, or tools for writing and tools for eating.
Start with picture cards of familiar things. Ask, “Which ones are animals? Which ones are plants?” Then talk about why. A cow and a fish look very different, but both are animals.
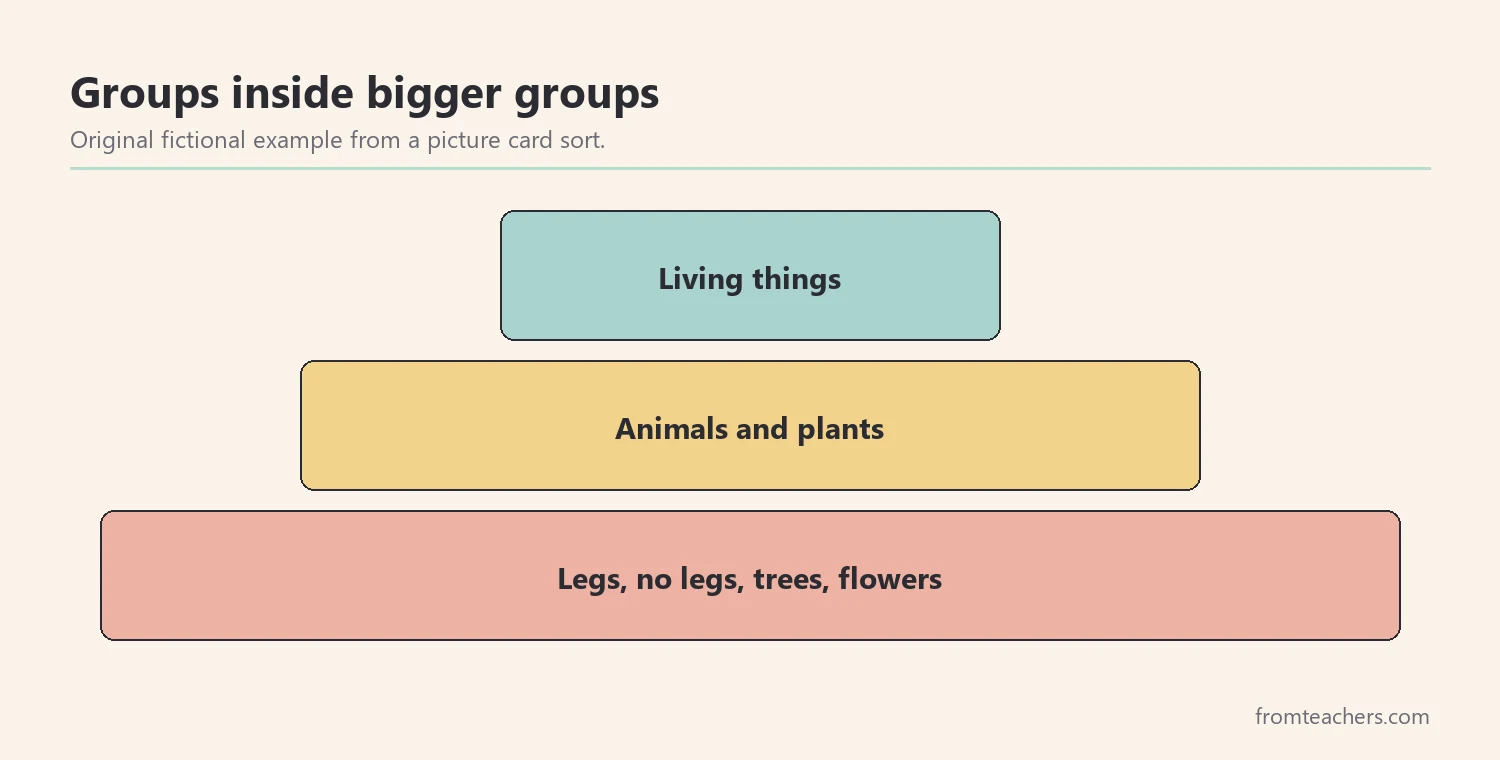
Nora’s teacher uses a set of 10 picture cards: 6 animals and 4 plants. After Nora sorts them, the teacher asks her to split the animals again: animals with legs and animals without legs. Nora finds 4 animals with legs and 2 without. As a result, she sees that big categories can hold smaller ones.
| Category | Smaller groups | Count |
|---|---|---|
| Animals (6) | With legs / without legs | 4 / 2 |
| Plants (4) | Trees / flowers | 1 / 3 |
This idea, that groups can live inside larger groups, is the beginning of how scientists organize the living world. Of course, young children do not need the vocabulary yet. They simply need many chances to notice it during stories, walks, and play. For instance, a trip to the park can become a quick sorting and classifying game: leaves, sticks, and stones in three piles.
Also, accept reasonable answers that differ from yours. If a child puts a duck with “things that swim” rather than “birds,” ask her to explain. Sorting and classifying is about reasoning, and there can be more than one sensible group.
Moreover, mix categories with language. Ask the child to name a new member for each group: “Can you think of another animal without legs?” This connects classification to vocabulary and memory.
5. Use sorting and classifying in real-world organizing
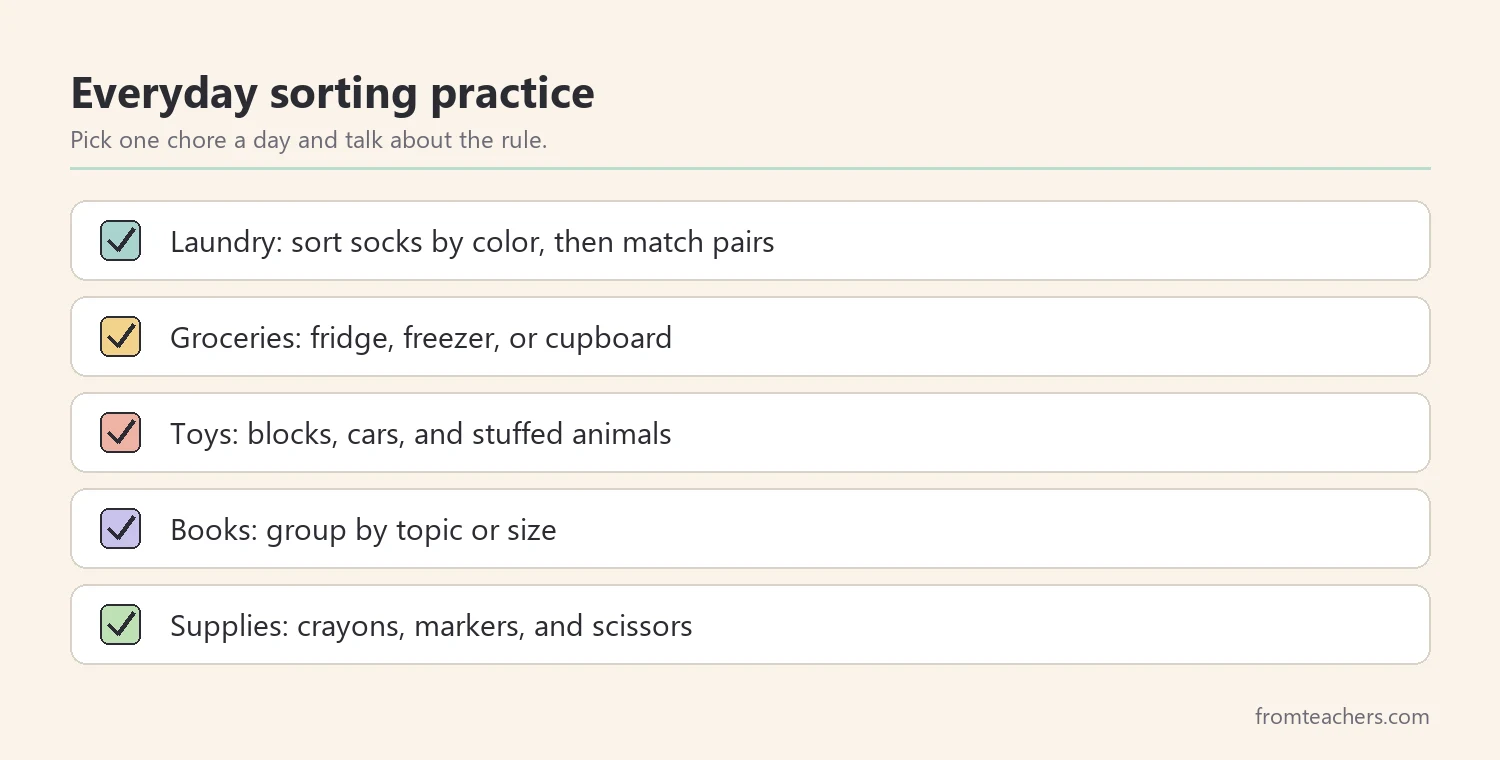
The best practice happens in daily life. Tidying toys, putting away groceries, and organizing school supplies are all sorting and classifying tasks with a real purpose. Because the child can see why it matters, motivation is often higher than with worksheets.
For example, at the end of the day, Nora helps reset the classroom shelf. Crayons go in one tub, markers in another, and scissors in a labeled box. Her teacher adds picture labels so Nora can work on her own.
Try these everyday routines:
- Laundry: sort socks by color, then match pairs.
- Groceries: group items into fridge, freezer, and cupboard.
- Toy cleanup: sort into blocks, cars, and stuffed animals.
- Book shelf: group books by topic or size.
Next, introduce simple step-by-step thinking. Ask the child to explain her sorting plan out loud: “First I check the color, then I check the size.” This is an early form of an algorithm, a set of steps that always gives the same result.
Then, let the child become the teacher. When Nora shows a younger cousin how to sort the toy bin, she has to explain her rule clearly. Teaching others is one of the best ways to show that a skill is truly learned. It also builds patience and clear speaking.
Finally, keep a short record of progress. Each week, note the highest level the child can do on her own: matching, one-rule sorting, two-rule sorting, or classifying. Over four to six weeks, small steps forward become easy to see. Share the record with the family or the child’s teacher so everyone celebrates the same wins.
Common mistakes and how to avoid them
- Starting with too many items. Fix: begin with six to twelve objects and add more as confidence grows.
- Jumping to two rules too soon. Fix: make sure one-feature sorting feels easy first.
- Correcting instead of asking. Fix: ask “How did you sort?” before pointing out errors.
- Only using worksheets. Fix: mix pages with real objects and daily chores.
- Accepting only one right answer. Fix: welcome any sensible rule the child can explain.
Questions teachers and parents ask about sorting and classifying
At what age can children start sorting?
Many toddlers start grouping objects in simple ways during play. However, every child develops at a different pace. Watch what your child can already do and start one step from there.
What is the difference between sorting and classifying?
Sorting usually groups items by a visible feature, like color or size. Classifying groups items by what they are or what they do, like animals and plants. In practice, the two skills grow together.
How does sorting help with math?
Sorting builds attention to features, comparison, and counting. When children count each group and check the total, they practice number sense in a meaningful way. Grids and overlapping groups also prepare them for later data and logic work.
Can sorting activities help children in special education?
Yes. Sorting tasks can be adapted with fewer items, larger pieces, picture labels, or hand-over-hand support. Work with the child’s team to choose a level that is challenging but achievable.
How often should we practice sorting and classifying?
Short, frequent practice works well. A few minutes during cleanup, snack, or play is often enough. Consistency over weeks matters more than long sessions.
Related reading: Learning Styles Student Success Guide, 5 Practical Teaching Tips to Boost Classroom Focus and Learning, and Homeschooling vs. Public Schooling: Which Educational Path Is Right for Your Child?
A companion resource for sorting and classifying:
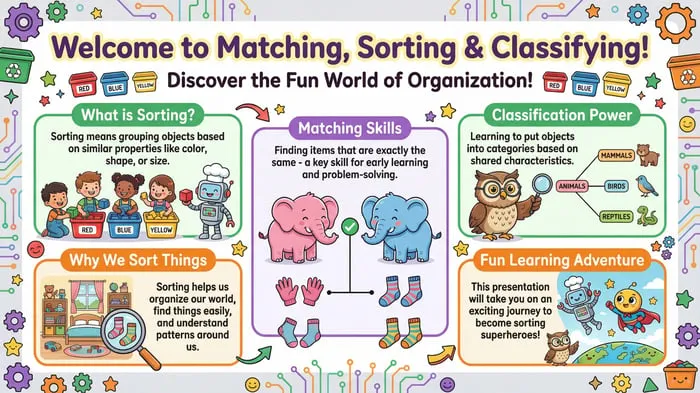
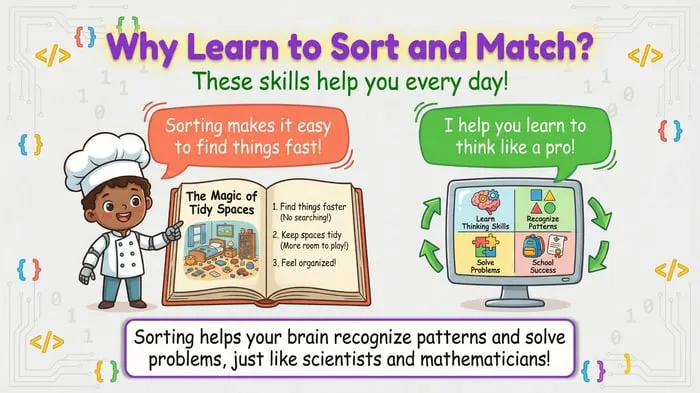
Matching, Sorting and Classifying for Kids Guide: a colorful guide covering why we sort, matching by color, shape, and size, simple and multi-rule sorting, classifying into categories, real-world organizing, algorithm adventures, and teaching the skill to others.
Sources and scope
- National Association for the Education of Young Children (NAEYC): guidance on early learning and developmentally appropriate practice.
- National Council of Teachers of Mathematics (NCTM): resources on teaching mathematics, including early grades.
- Center on the Developing Child, Harvard University: information on early childhood development and executive function.
- What Works Clearinghouse: reviews of education research, including early math practice guides.
This guide covers everyday activities for building matching, sorting, and classifying skills at home and in the classroom. It does not cover formal assessment or diagnosis of learning difficulties, which belong to qualified professionals.
Key takeaways
- Sorting and classifying grow from simple matching with “same” and “different.”
- Sort by one feature first, then add a second rule with a grid.
- Count each group and check that the total stays the same.
- Move from visible features to categories like animals and plants.
- Use daily chores as real practice and track the child’s level weekly.


Leave a Comment