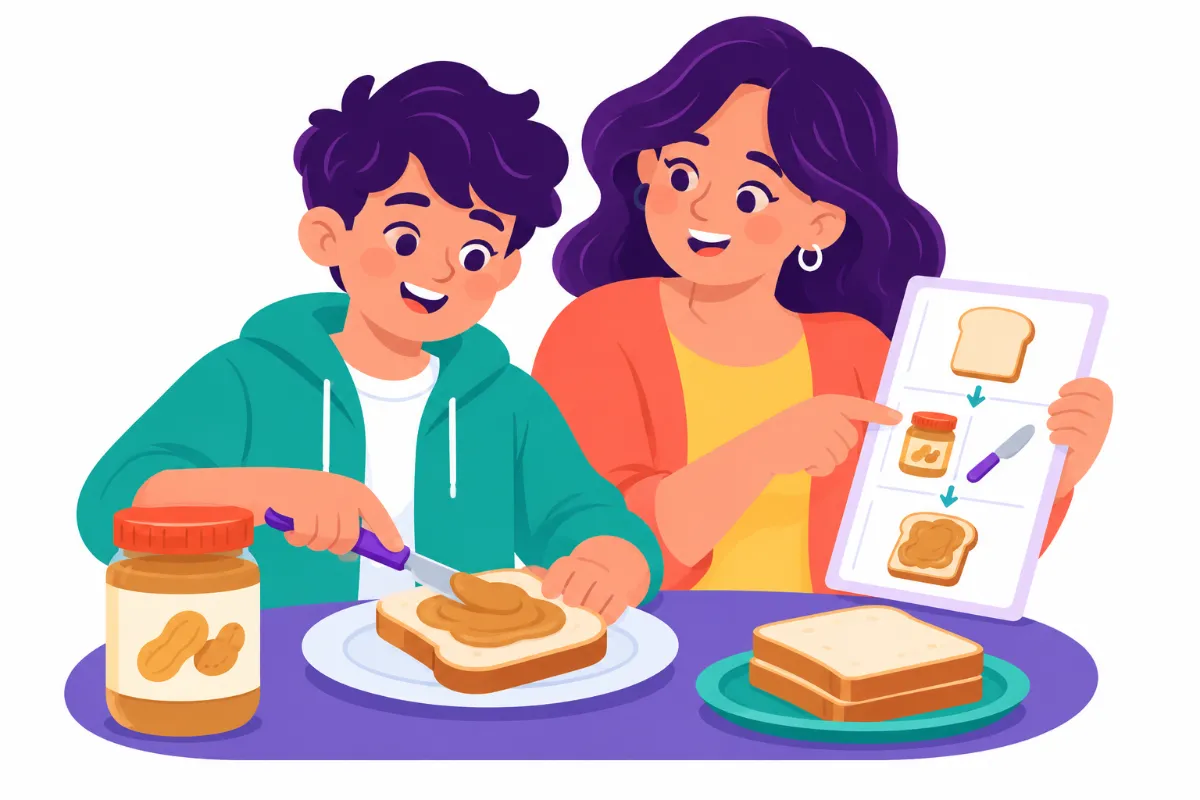

Teaching life skills at home over the summer can turn long, unstructured weeks into real progress toward independence. Picture a July morning: your teenager wants a snack, and you notice you have made the same sandwich for him a hundred times without ever showing him each step. Summer is the perfect moment to change that, because there is more time and less pressure than during the school year.
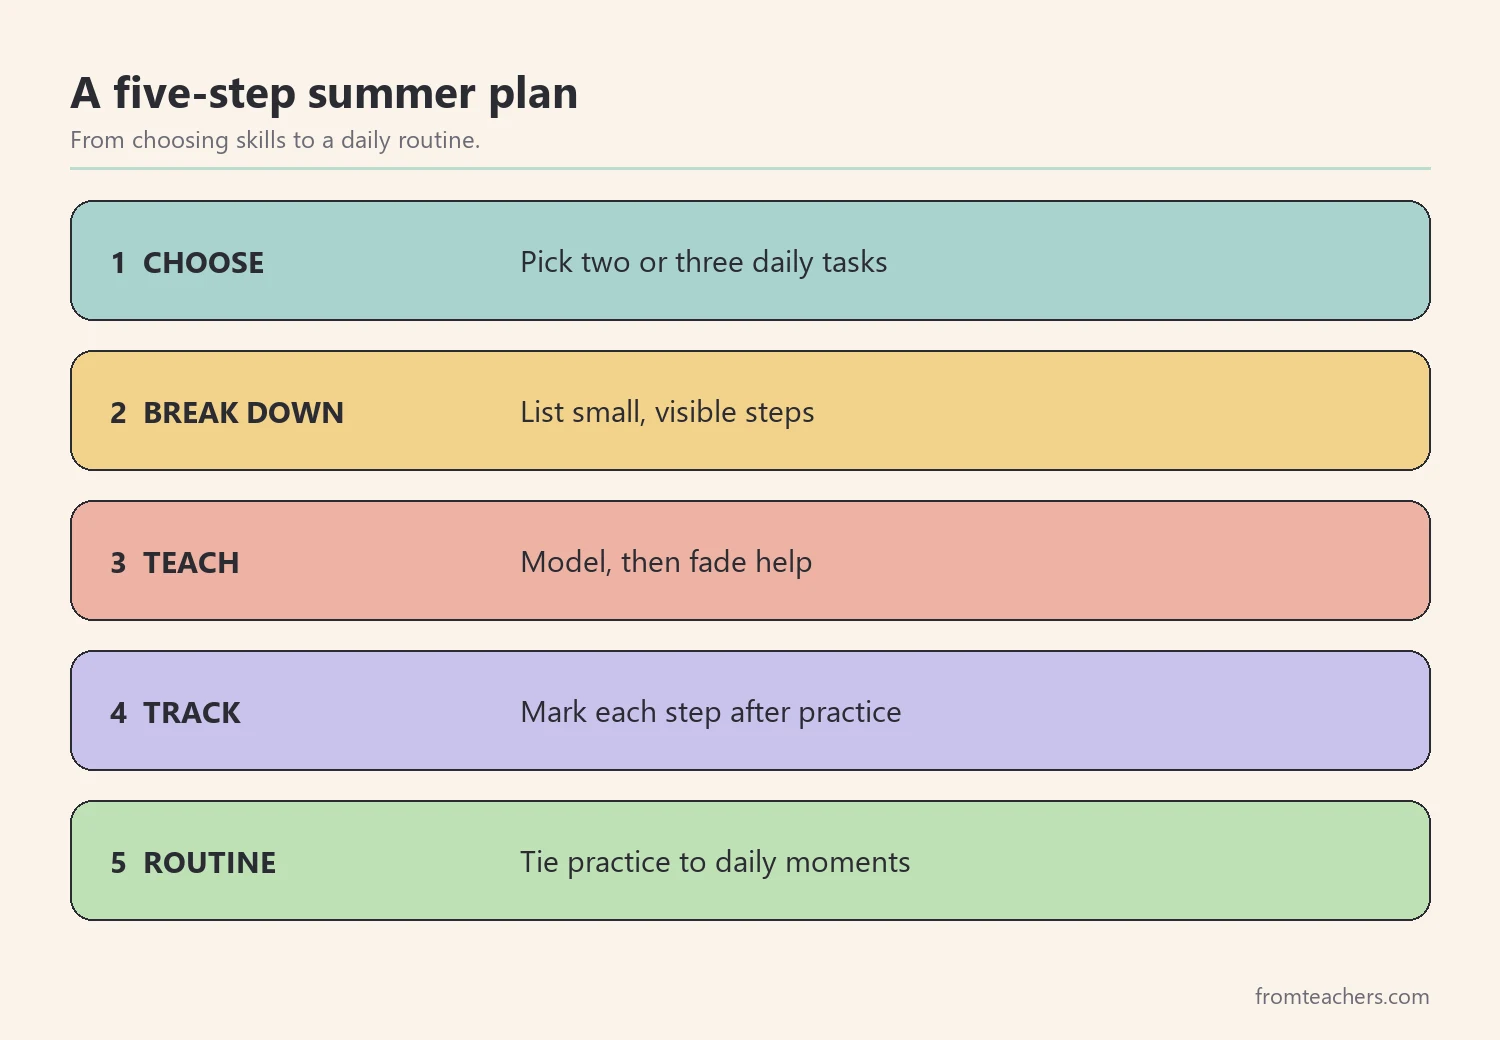
After reading this guide, you will be able to choose the right skills to start with, break each one into small steps, teach with simple supports, track progress, and build a summer routine that sticks. In short, you will leave with a plan you can start tomorrow.
Examples are fictional. Adapt to the student’s goals and agreed supports. This is guidance, not a diagnosis.
At a glance
- Start with two or three skills your child needs most often.
- Break every task into small, visible steps.
- Teach with modeling, picture supports, and fading help.
- Track each step with a simple checklist, not a long log.
- Build short daily practice into the summer routine.
1. Choose which life skills at home to teach first
First, avoid trying to teach everything at once. Instead, look at a normal day and notice which tasks you still do for your child that he or she could learn. Good starting points are tasks that happen every day, because daily repetition builds skill quickly.
The main areas of life skills at home usually include personal hygiene and self-care, home management, cooking and nutrition, money, time management, community safety, and social communication at home. You do not need all of them this summer. Choose two or three that matter most to your family.
Another useful filter is safety and frequency. Skills that keep your child safe, or that you repeat many times a day, usually come first. Life skills at home that happen only once a month, such as changing a bed, can wait until later in the summer.
Next, ask your child what he or she wants to learn. A teen who wants to make his own breakfast will practice far more willingly than one who is told to fold towels. Also, check the student’s IEP or school goals; if the school is already working on a skill, practicing it at home helps it carry over.
Consider our fictional student, Noah, age 14. His family listed the tasks they still did for him and chose three:
| Area | Skill chosen | Why |
|---|---|---|
| Cooking | Make a simple sandwich | He asks for a snack daily |
| Home management | Load the dishwasher | Happens every evening |
| Self-care | Morning hygiene routine | Needed before every outing |
Notably, each of Noah’s skills happens at least once a day. That frequency gives him many chances to practice life skills at home without the family having to invent extra activities.
2. Break each task into small steps
Once you have chosen a skill, write it down as a short list of steps. This is often called a task analysis. Each step should be one clear action your child can see and do, such as “take two slices of bread from the bag.”
To build the list, do the task yourself slowly and write every action. Then read it back and ask: could my child do this step without another explanation? If not, split it into smaller steps. In contrast, if two steps always happen together and your child already does them well, you can combine them.
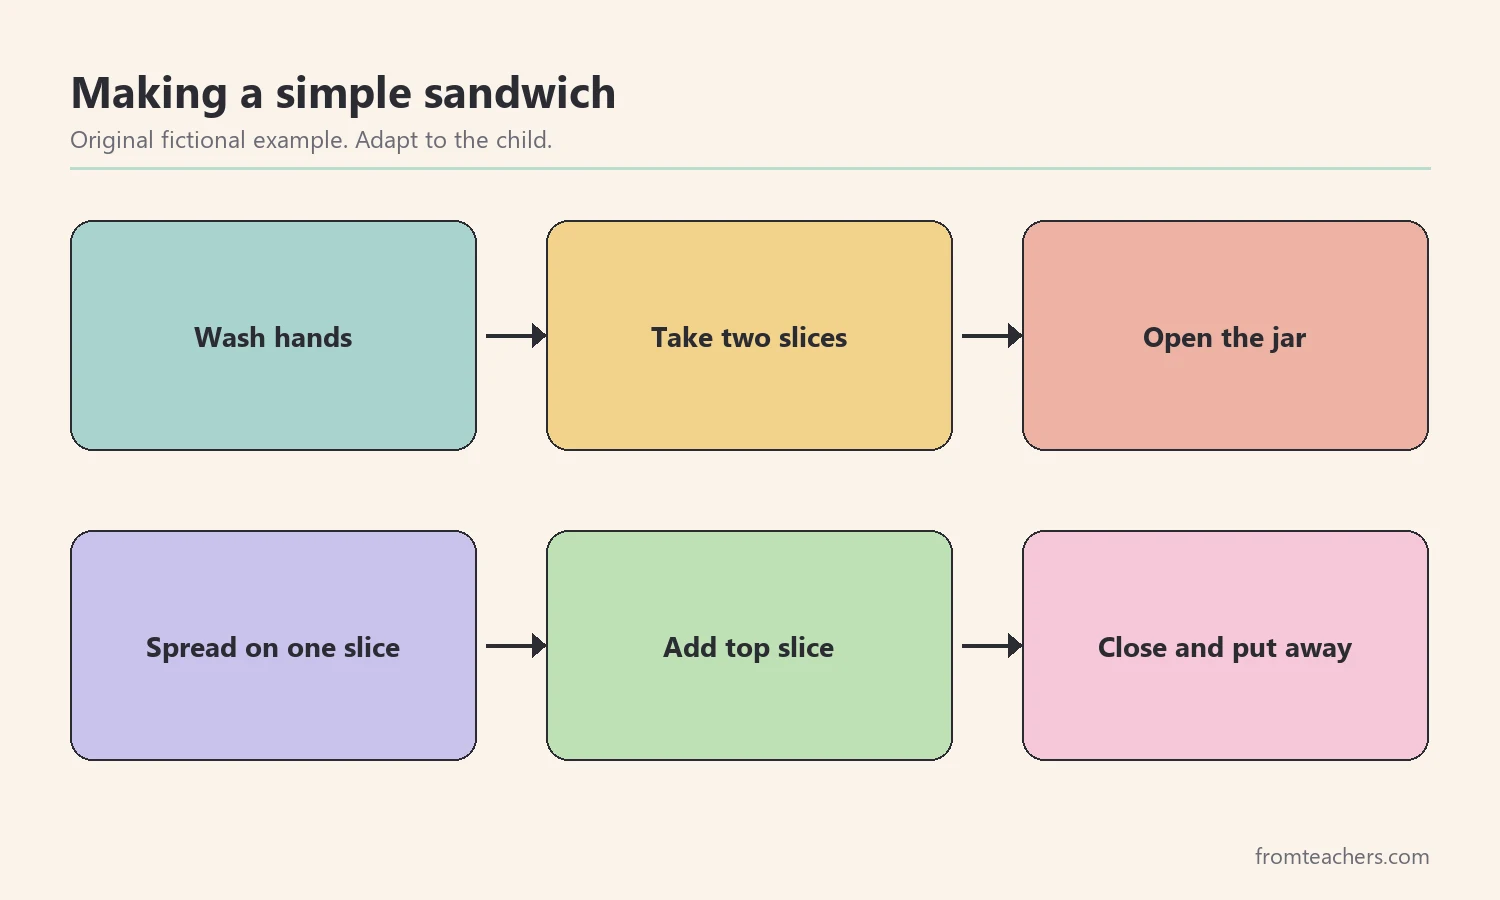
Here is Noah’s sandwich task broken into six steps:
- Wash hands.
- Take two slices of bread from the bag.
- Open the peanut butter jar.
- Spread peanut butter on one slice.
- Put the second slice on top.
- Close the jar and put it away.
Also check the setting. Put the bread, jar, and knife in the same place every time, at a height your child can reach. Small changes to the kitchen often make life skills at home easier to learn than any amount of reminding.
Six steps is a good size for a first task. Longer tasks, such as a full morning hygiene routine, may have ten or more steps; in that case, teach the first few steps until they are solid, then add more.
In addition, turn the steps into a picture card. A photo of your child doing each step, or a simple drawing, makes the list usable without reading. Place the card where the task happens, for example on the kitchen counter or the bathroom mirror. Picture supports are one of the easiest ways to make life skills at home more independent, because the card gives the reminder instead of you.
3. Teach life skills at home with modeling and fading help
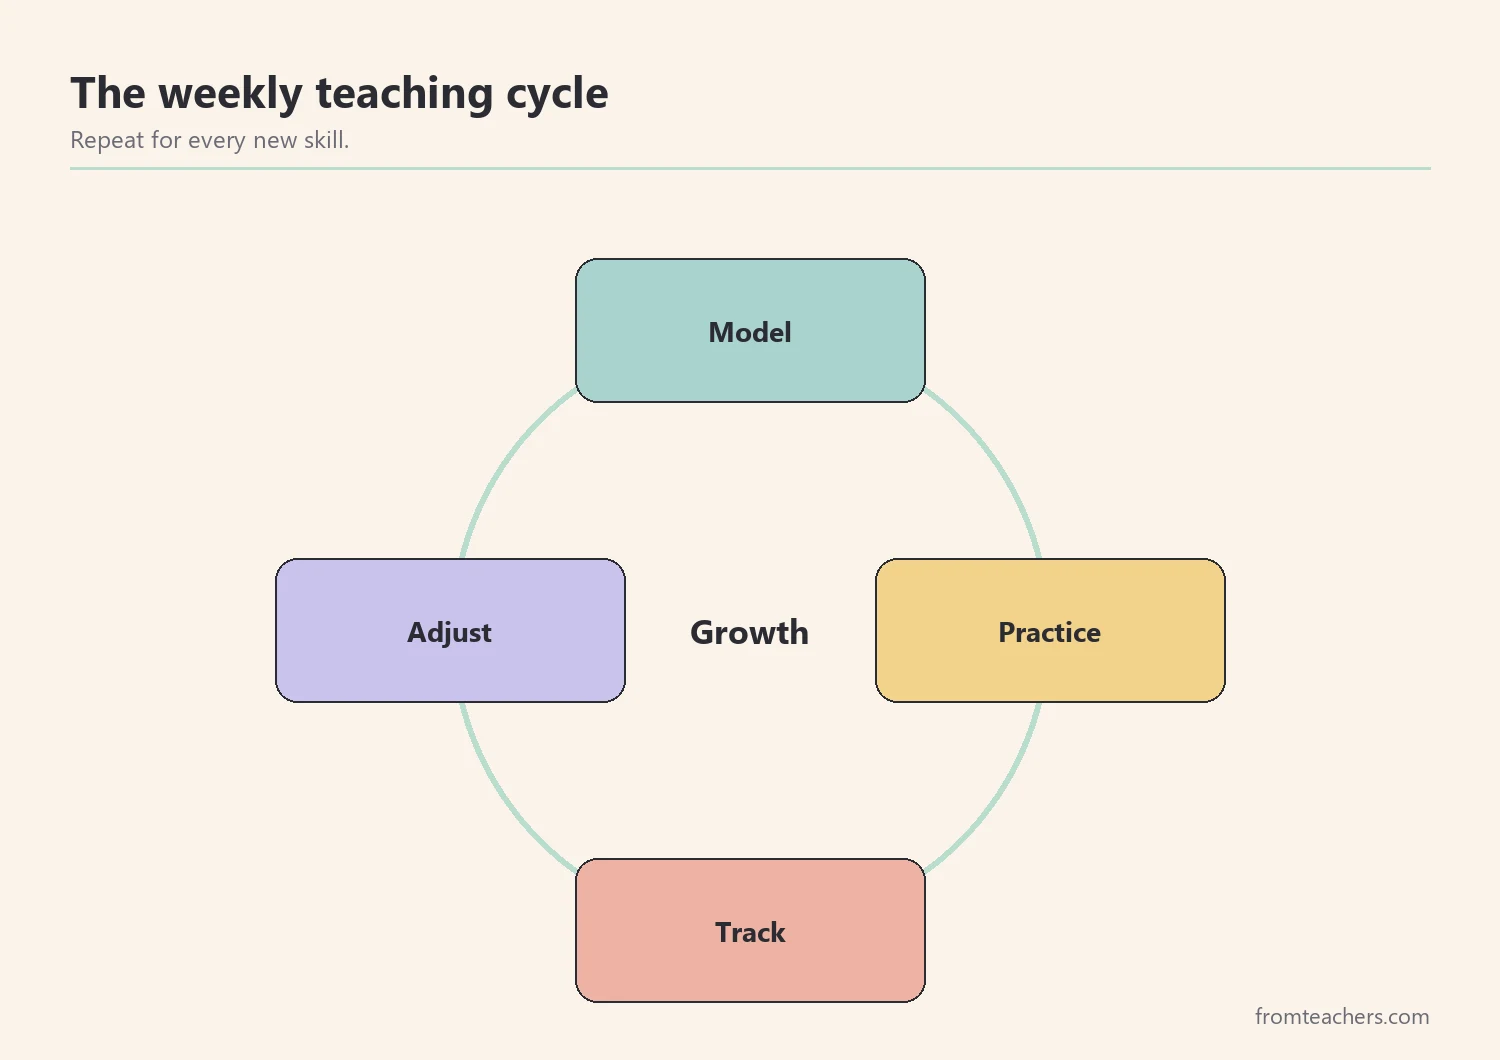
Now teach the steps. Start by doing the whole task while your child watches, naming each step aloud. Then do it together, with your child doing the steps he can and you helping with the rest.
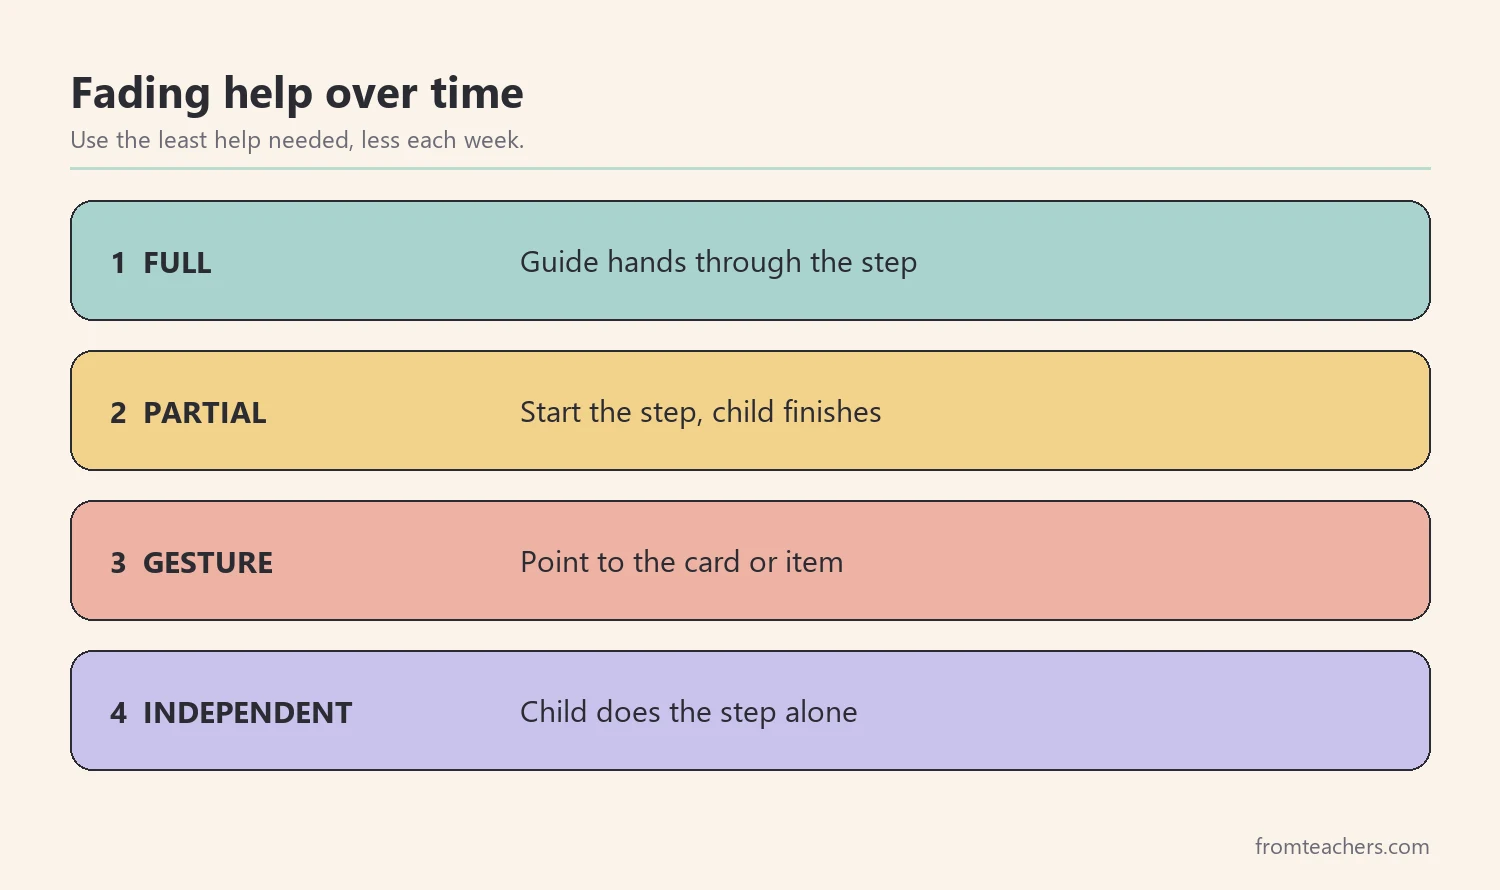
Next, think of help as a ladder you climb down over time. At first, you might guide hands gently. Later, you might only point to the picture card. Finally, you step back and let the card do the work. The goal is always the least help needed for success, and less help each week.
| Level of help | What it looks like |
|---|---|
| Full help | Guide hands through the step |
| Partial help | Start the step, child finishes |
| Gesture | Point to the card or the item |
| Independent | Child does the step alone |
Some families teach the last step first, so the child always finishes the task and feels the success of completing it. For example, you make the sandwich and let your child put the top slice on, then next week your child also spreads. This approach, called backward chaining, works well for many life skills at home, especially when a task has many steps.
Also keep the tone calm and encouraging. Praise effort and specific actions, such as “You closed the jar all by yourself.” Meanwhile, avoid rushing in when your child pauses; wait a few seconds first, because pausing is often part of thinking.
For families who want a structured plan, the Summer Life Skills Activities guide for special education explains the why behind each area and gives step-by-step strategies for hygiene, home management, cooking, money, time, community, and social skills at home.
4. Track progress with a simple checklist
Tracking does not need to be complicated. Use the same step list from step 2 and, each time your child practices, mark how each step went. A simple code works well: I for independent, G for gesture, P for partial help, and F for full help.
For example, here is how Noah’s sandwich task looked at the start and after two weeks:
| Step | Week 1 | Week 3 |
|---|---|---|
| Wash hands | G | I |
| Take bread | I | I |
| Open jar | P | I |
| Spread | F | P |
| Top slice | G | I |
| Close and store | P | G |
| Independent steps | 1 of 6 | 4 of 6 |
As a result, the family could see real progress and also see exactly which steps still needed teaching. Spreading was the hardest step, so they practiced it on its own with a soft spread and a wide knife.
Look at the data once a week, not every day. Ask three questions: which steps are now independent, which steps still need the most help, and is the help level going down? If one step is stuck for two weeks, change how you teach it rather than repeating the same approach.
Keep the checklist where the task happens, and mark it right away. Furthermore, one quick mark per step is enough; you do not need notes every time. Over the summer, these small marks show the growth in life skills at home more clearly than memory ever could, and they make a useful update to share with your child’s teacher in the fall.
5. Build life skills at home into a summer routine
Finally, put practice on the calendar. Skills grow through short, frequent practice, not long weekend sessions. Tie each skill to a moment that already happens, such as making a sandwich at lunch or loading the dishwasher after dinner.
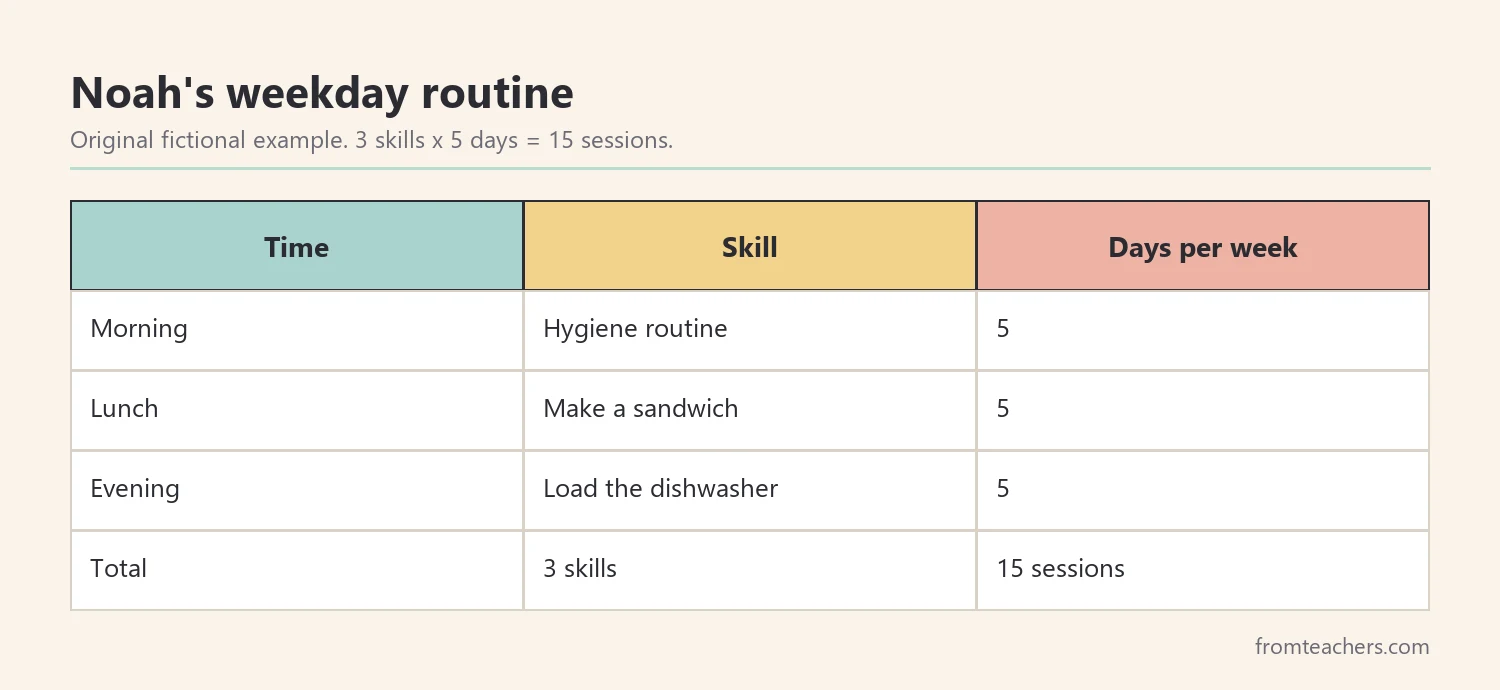
Noah’s family used a simple weekday plan:
| Time | Skill | Days per week |
|---|---|---|
| Morning | Hygiene routine | 5 |
| Lunch | Make a sandwich | 5 |
| Evening | Load the dishwasher | 5 |
| Total practice sessions | 15 per week | |
Fifteen short sessions a week adds up quickly, yet each one fits naturally into the day. On weekends, the family kept practice relaxed and used it for a community skill, such as paying for one item at a store.
Also plan for when a skill is learned. When your child does every step independently for about a week, keep the skill in the routine and add a new one. For instance, after the sandwich, Noah moved to making a bowl of cereal and then a simple wrap.
Plan for travel days and busy weeks too. On a day out, keep just one skill, such as the hygiene routine, so practice of life skills at home never fully stops. Consequently, your child keeps the habit even when the schedule changes.
In addition, share the work. Siblings, grandparents, and other caregivers can follow the same picture card and the same level of help, so your child hears one consistent approach. Consistency across adults is one of the most helpful things you can offer when teaching life skills at home.
Common mistakes and how to avoid them
- Choosing too many skills. Fix: start with two or three daily tasks.
- Steps that are too big. Fix: split any step your child cannot do after one explanation.
- Helping too much for too long. Fix: wait a few seconds, then use the least help needed.
- Practicing only on weekends. Fix: tie short practice to moments that already happen daily.
- Different adults teaching differently. Fix: share the same picture card and help level with everyone.
- Not tracking. Fix: one quick mark per step shows progress and next steps.
Questions teachers and parents ask about life skills at home
What age should we start teaching life skills at home?
You can start at any age with tasks that match your child’s current abilities. Young children can help put away toys or wash hands, while teens can work on cooking, money, and planning. Choose what fits your child now.
How long should each practice session be?
For life skills at home, short is usually best. Practicing once during the real moment, such as lunchtime, is often enough. If your child is tired or upset, a shorter session that ends with success is better than a long one.
What if my child refuses to practice?
Start with a skill your child cares about, offer choices, and make the first steps easy wins. You can also do part of the task yourself and let your child finish it. Talk with your child’s teacher or therapist if refusal continues.
Should I coordinate with my child’s school?
Yes, when possible. Ask which life skills at home the school recommends and which skills it is already teaching, then share your checklist in the fall. Working on the same skills at school and at home helps them carry over.
How do I know when a skill is learned?
With life skills at home, a good sign is when your child completes every step independently across several days and in slightly different situations. Keep the skill in the routine so it stays strong, and then add a new one.
Related reading: Navigating the Path to Adulthood: Building Essential Life Skills, Dignity in Daily Care: Respectful Approaches to Toileting and Personal Hygiene, and How Parents and Teachers Can Team Up for Special Education Success.
A companion resource for life skills at home
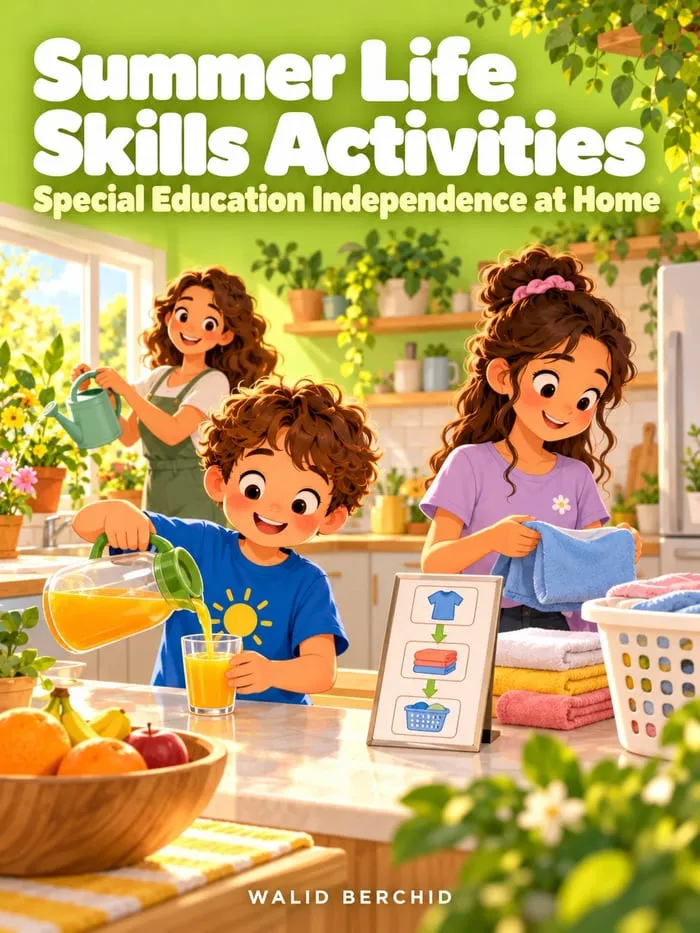
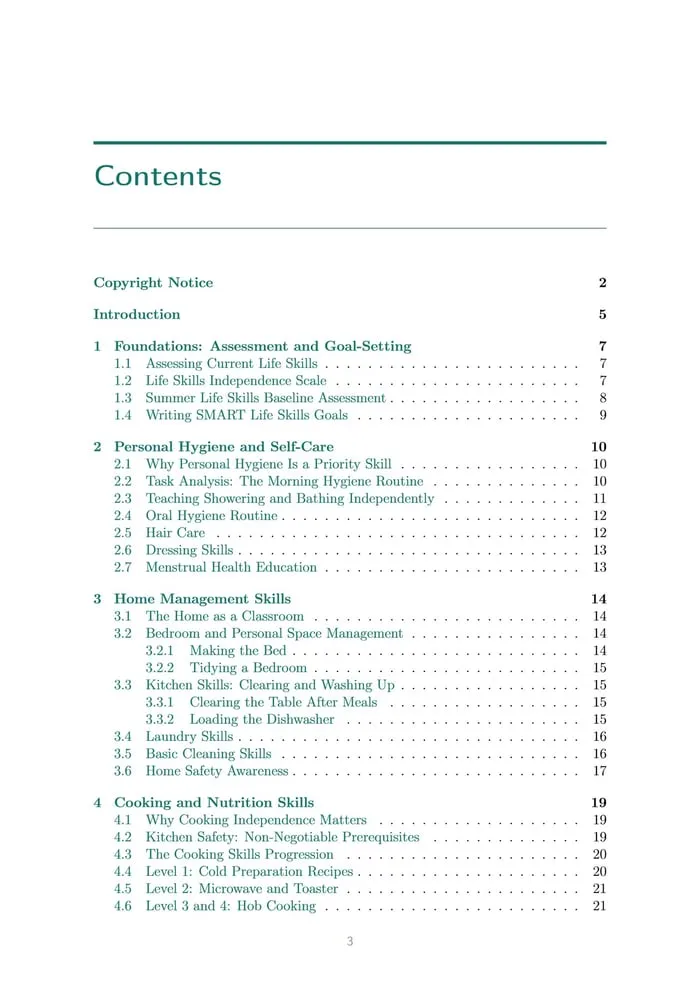
Summer Life Skills Activities for Special Education Independence at Home: a 45-page PDF guide for parents, caregivers, and life skills teachers, covering assessment and goal-setting, hygiene, home management, cooking, community safety, money, time, and social skills, plus how to build a summer independence program.
Sources and scope
- CDC National Center on Birth Defects and Developmental Disabilities: general information on development and disabilities for families.
- Center for Parent Information and Resources: family-friendly information on special education and transition.
- IRIS Center, Vanderbilt University: free modules on evidence-based instructional practices.
- Understood.org: practical guidance for families of children who learn and think differently.
This guide covers a practical way for families to teach everyday tasks over the summer; it does not replace advice from your child’s teachers, therapists, or medical providers.
Key takeaways
- Teaching life skills at home works best with a few daily tasks.
- Small, visible steps and picture cards make tasks clear.
- Fade help gradually, from full help to independent.
- One quick mark per step shows real progress.
- Short daily practice tied to real moments builds lasting independence.






Leave a Comment