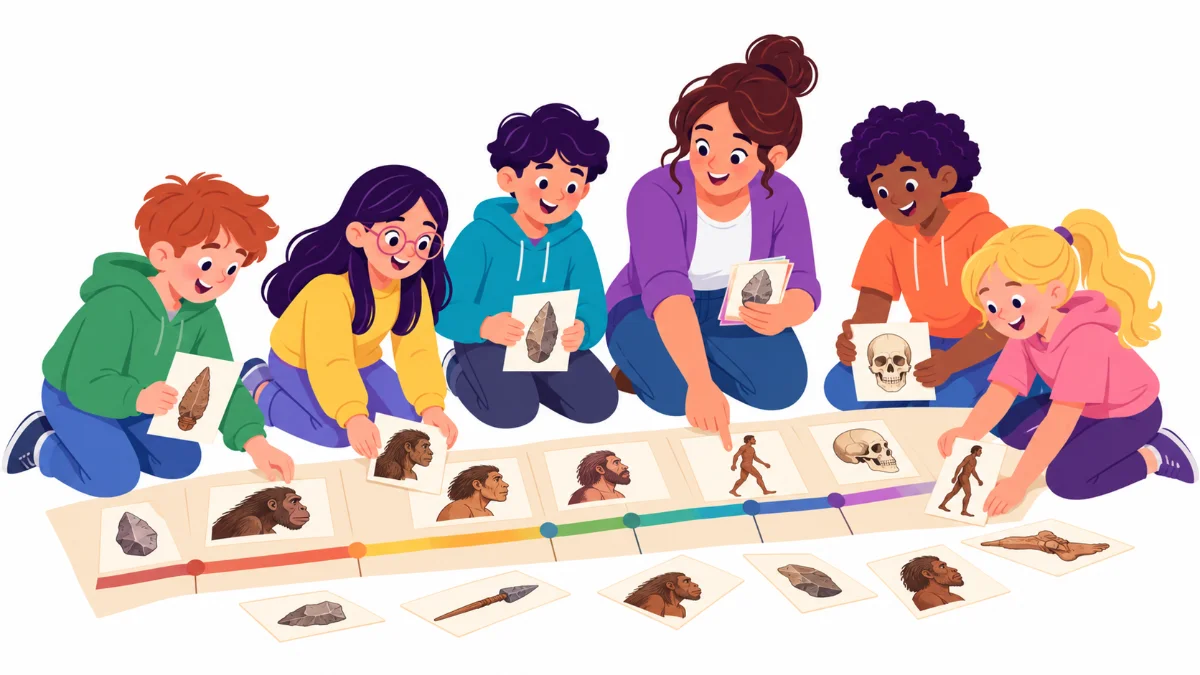

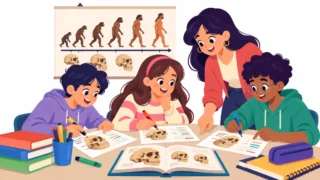
Human evolution timeline activities turn millions of years into something a group of children can walk along, hold and argue about. Picture a fictional homeschool co-op leader, Mrs. Hayes, with fourteen learners aged 10 to 14 in a church hall. She has one afternoon a week, mixed ages, mixed reading levels and a stack of library books. Her big question is simple: how do I make deep time feel real without losing the younger kids or boring the older ones?
This list ranks seven timeline activities for homeschool co-ops and small learning groups, from the least preparation to the most. For each one you will find what it is, why it works, how to run it with a mixed-age group and a short example from Mrs. Hayes’s fictional co-op. You will also find a planning table, a sample record sheet and a list of common mistakes.
Examples are fictional. Adapt to your learners’ ages, reading levels and family values. This is teaching guidance, not a curriculum mandate.
At a glance
- A timeline makes deep time visible, which is the hardest idea in human evolution.
- Start with low-prep activities and add complexity as the group gains confidence.
- Mixed ages work well when older learners hold the dates and younger ones place the images.
- Use approximate dates from reliable museum sources and say “about” out loud.
- Finish every activity with one question: what changed, and what stayed the same?
How we ranked these activities
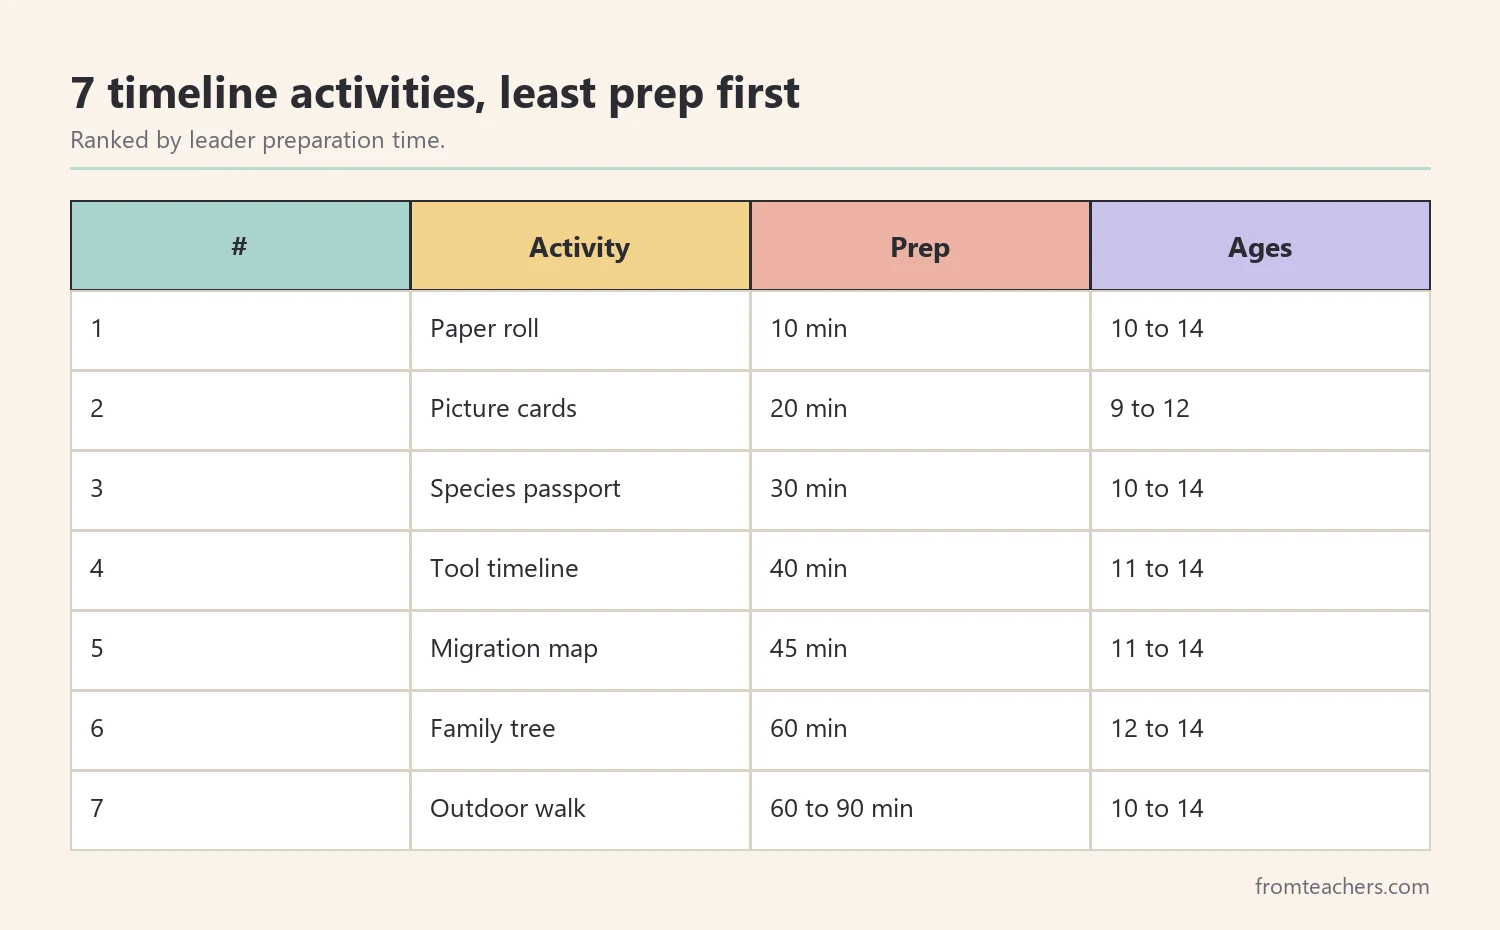
We ranked the seven activities by preparation time for the leader, from about ten minutes to a full planning session. Preparation is usually the biggest barrier for co-op leaders, who often teach on a volunteer basis. Activities near the top of the list need almost no materials. Activities near the bottom need printing, cutting or outdoor space, but they also give the deepest understanding.
We did not rank by “best” in a general sense, because the right activity depends on your group. Instead, use the ranking to choose a starting point. Most co-ops can run activities 1 to 3 in the first month, then add the larger projects later. Figure 1 shows the ranking with age fit and preparation time side by side.
1. The toilet paper deep time roll
What it is: learners unroll a long strip of paper, such as toilet paper or adding machine tape, and mark key moments at a fixed scale. A common scale for human evolution is one square for every 100,000 years.
Why it works: deep time is hard to imagine. When children walk from the start of the roll to the end, the length does the explaining for you. Many learners are surprised by how short the modern human section is.
How to run it: before class, decide your scale and count squares for four or five events. During class, let older learners do the counting while younger learners hold the roll and place sticky notes. Keep the events simple, for example Lucy’s species, the first stone tools, Homo erectus and modern humans.
Example: in Mrs. Hayes’s fictional co-op, Theo, aged 13, counted the squares while his sister Ivy, aged 10, placed the sticky notes. Ivy noticed that “the people part” was only three squares long, and the group spent ten minutes talking about why.
Prep time: about ten minutes. Best for: a first lesson or a lively review.
2. Human evolution timeline activities with picture cards
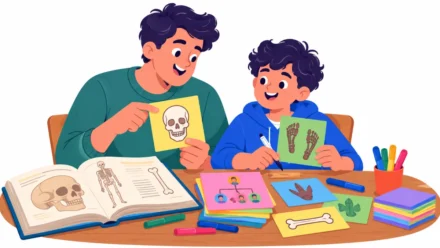
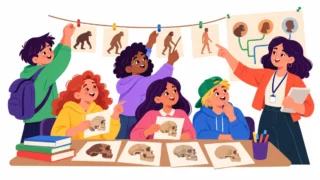
What it is: learners sort a set of picture cards into time order. Each card shows a species, a tool, a skull drawing or a behavior such as cave painting.
Why it works: sorting is active and forgiving. Learners talk while they move cards, and mistakes are easy to fix. It also works well for younger children who are still building reading fluency, because the images carry much of the meaning.
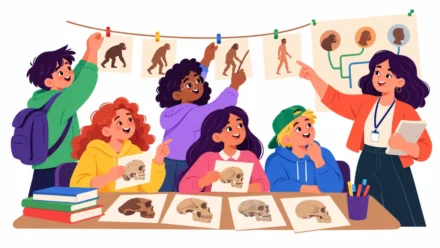
How to run it: give each small group eight to ten cards. Ask them to sort without dates first, using clues like brain size or tool type. Then hand out the dates and let them check their order. Finally, ask each group to explain one card they moved.
Example: one fictional group placed Neanderthals after modern humans. When the dates arrived, they saw that the two lived at the same time for a long period. That surprise became the best discussion of the afternoon.
If you do not want to draw or source images yourself, a ready-made reference such as the Human Evolution Complete Scientific Guide with six hominin species profiles gives you illustrated species pages you can use to build your card set.
Prep time: about 20 minutes. Best for: ages 9 to 12 and mixed reading levels.
3. The species passport
What it is: each learner becomes the “keeper” of one hominin species and fills in a one-page passport with when it lived, where it lived, what tools it used and one interesting fact.
Why it works: ownership increases attention. When a learner is responsible for Homo erectus, they listen closely whenever Homo erectus comes up. The passports then become pieces of a shared class timeline.
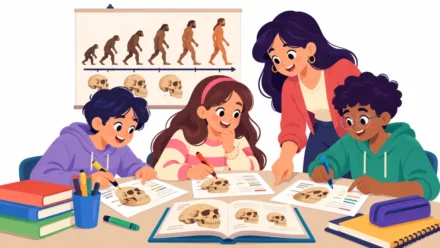
How to run it: assign six species, such as Australopithecus afarensis, Homo habilis, Homo erectus, Homo heidelbergensis, Homo neanderthalensis and Homo sapiens. Pair older and younger learners on the same species. At the end, the pairs stand in time order and introduce their species in one minute each.
Example: in the fictional co-op, Maya, aged 11, kept the passport for Homo habilis. She learned that its name is often translated as “handy man” because of its link with early stone tools. She then reminded the group of this every week.
Prep time: about 30 minutes to make the passport template. Best for: ages 10 to 14.
4. Tool timeline table
What it is: learners arrange pictures or replicas of stone tools in order, from simple choppers to hand axes to finer blades and points.
Why it works: tools are concrete evidence. They help learners understand that much of what we know about human evolution comes from objects people left behind, not only from bones.
How to run it: print or draw four tool types. Place them on a long table with a dated paper strip underneath. Ask learners to describe what changed from one tool to the next, for example shape, size or how much work it took to make.
Example: the fictional learners compared an early chopping tool with a later hand axe. Theo noticed that the hand axe was more symmetrical. Mrs. Hayes asked, “What would you need in your head to plan that shape?” which led to a short talk about planning and thinking.
Prep time: about 30 to 40 minutes. Best for: hands-on learners and ages 11 to 14.
5. The migration map timeline
What it is: learners mark on a world map where and roughly when early humans moved out of Africa and across other continents, using colored string or arrows.
Why it works: it joins time and place. Many learners can memorize a date, but seeing the path across a map helps them understand that human evolution happened across continents and over very long periods.
How to run it: use a large printed world map. Mark Africa as the starting region. Then add arrows for later movements, using approximate dates from a reliable museum source. Keep the language careful: say “scientists think” and “about,” because dates are updated as new finds appear.
Example: in the fictional co-op, Ivy asked why some arrows had question marks. Mrs. Hayes explained that new fossils sometimes change the story. Ivy said this made science “feel like a mystery that keeps going,” which is a good outcome for any lesson.
Prep time: about 45 minutes. Best for: geography links and ages 11 to 14.
6. The family tree, not a ladder
What it is: learners build a branching tree of hominin species on a wall, instead of a single straight line from “ape” to “human.”
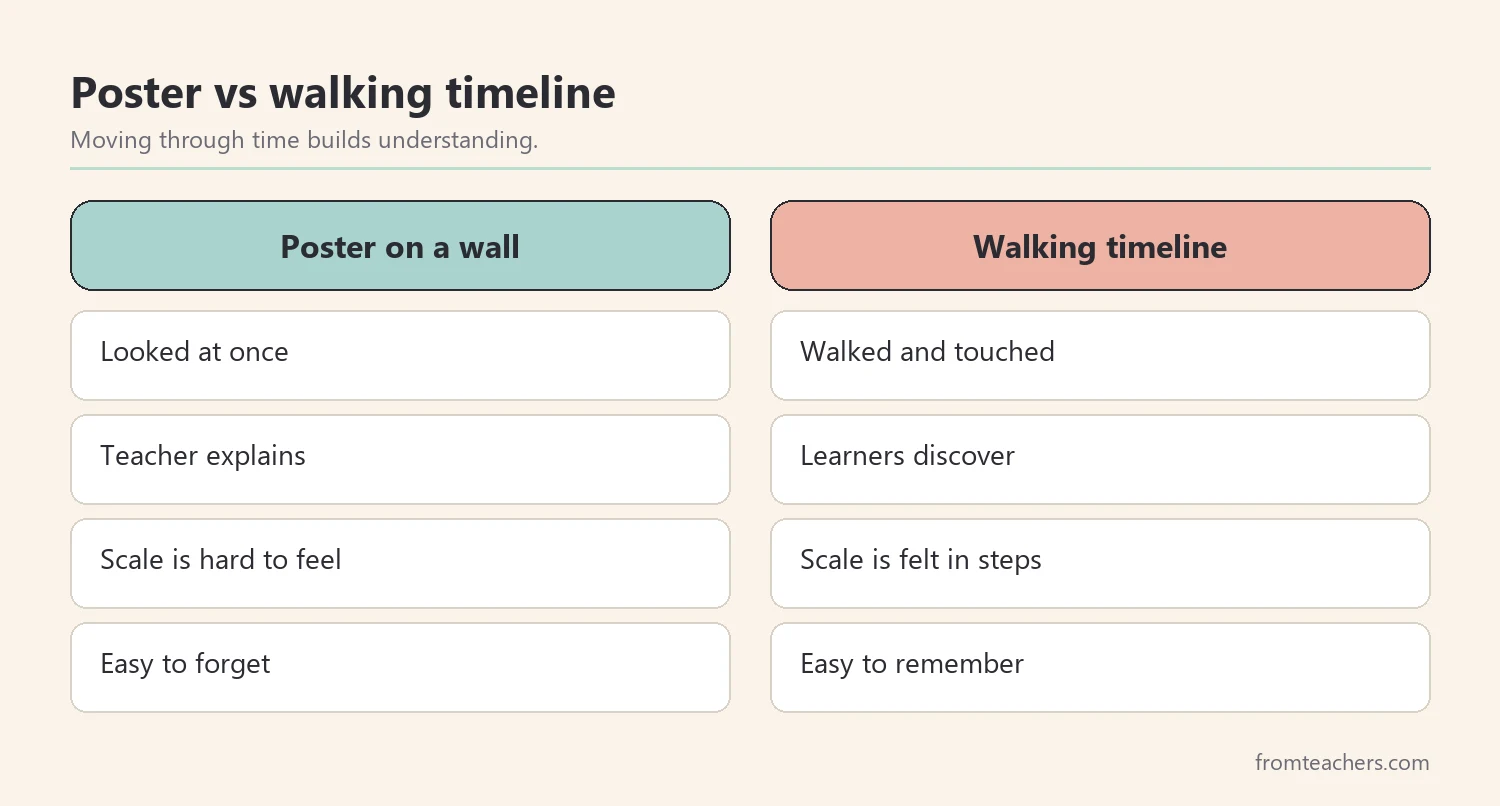
Why it works: one of the most common misunderstandings is the idea of a straight march of progress. A branching tree shows that several species lived at the same time and that many branches ended.
How to run it: give learners species cards and long paper strips for branches. Ask them to show overlaps in time with branches that run side by side. Afterward, compare their tree with the famous “march” image and ask what the march gets wrong.
Example: the fictional older learners realized that Neanderthals and modern humans needed two branches running side by side. Maya added a small note: “Some people today carry a little Neanderthal DNA.” Mrs. Hayes checked this with the guide and confirmed it is supported by genetic research.
Prep time: about 60 minutes. Best for: ages 12 to 14 and deeper discussion.
7. The outdoor scale walk
What it is: the group walks a measured distance outside, such as a path or a field edge, with each step standing for a fixed number of years. Learners stop at key events and read a short card.
Why it works: this is the most memorable activity on the list. Moving the whole body through time leaves a strong impression, and it gives energetic learners a reason to move.
How to run it: choose a scale, for example one step for every 50,000 years. Prepare six to eight event cards and give each to a different learner. Walk together, stop at each card and let the card holder read it aloud. End at “today” and look back at the distance you walked.
Example: the fictional co-op walked about 80 steps from Lucy’s species to today. The whole story of written history fit inside the last tiny fraction of a single step. Theo said, “We are basically standing on the last line.” That sentence stayed with the group for weeks.
Prep time: about 60 to 90 minutes, including measuring. Best for: a unit finale.
Planning a four-week block with these activities
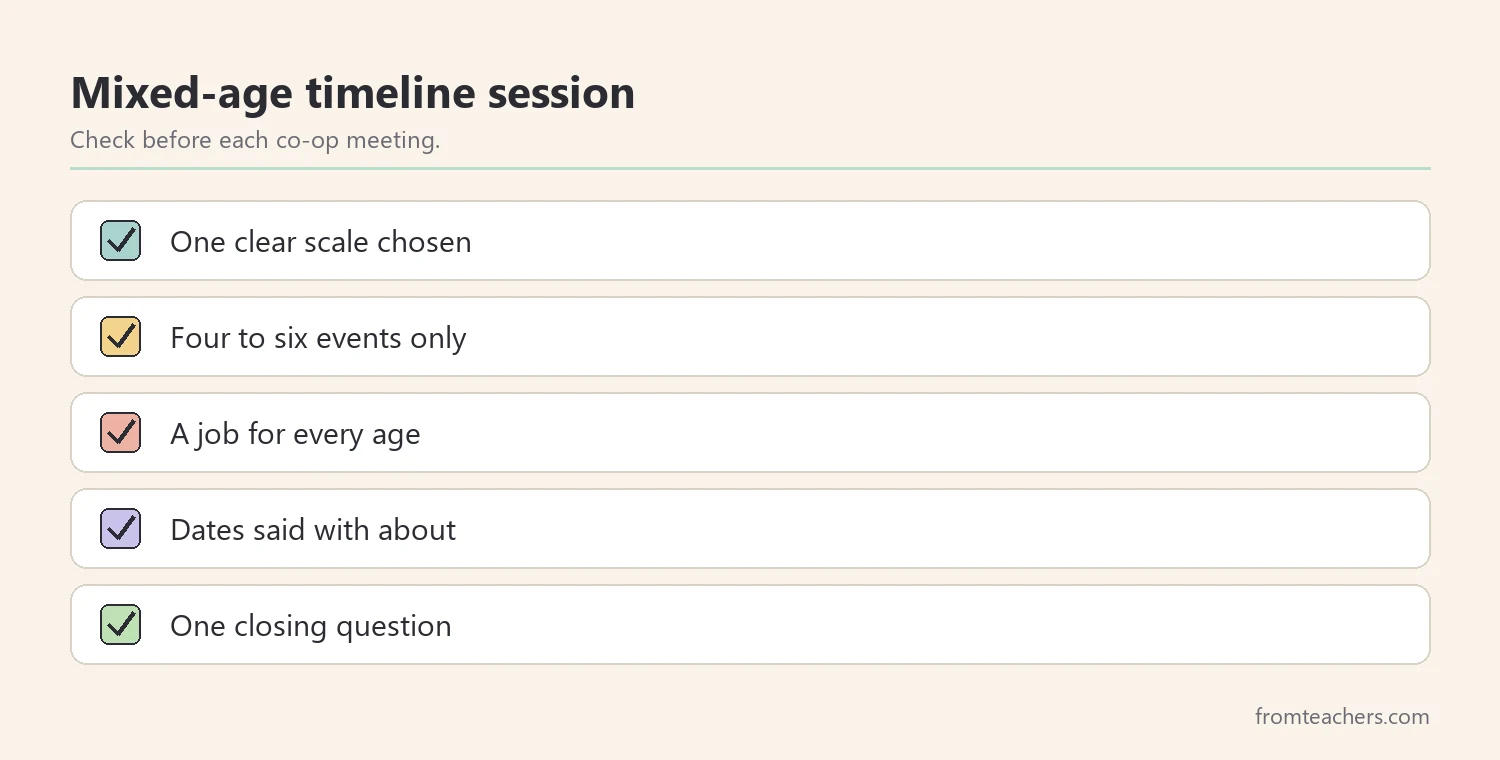
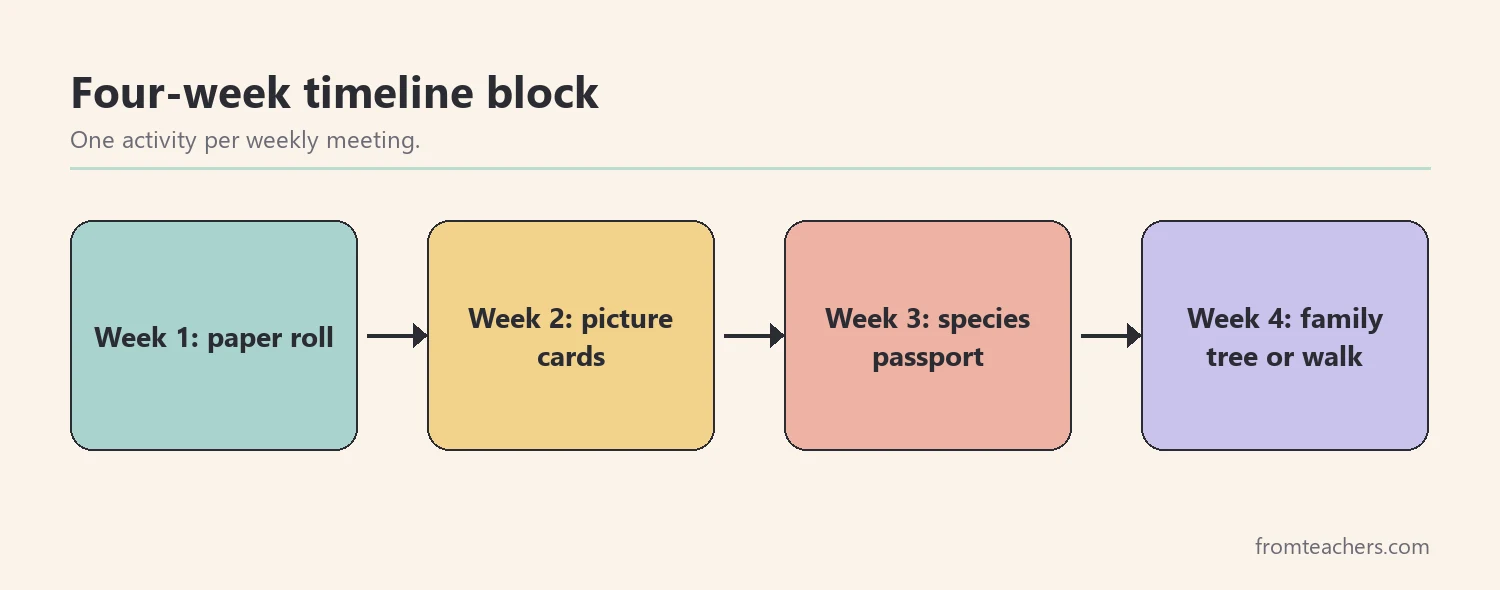
Most co-ops meet once a week. A simple plan is to use one activity per week and build toward the larger projects. For example, start with the paper roll in week one, sort picture cards in week two, run species passports in week three and finish with the family tree or the outdoor walk in week four. Figure 4 shows this flow.
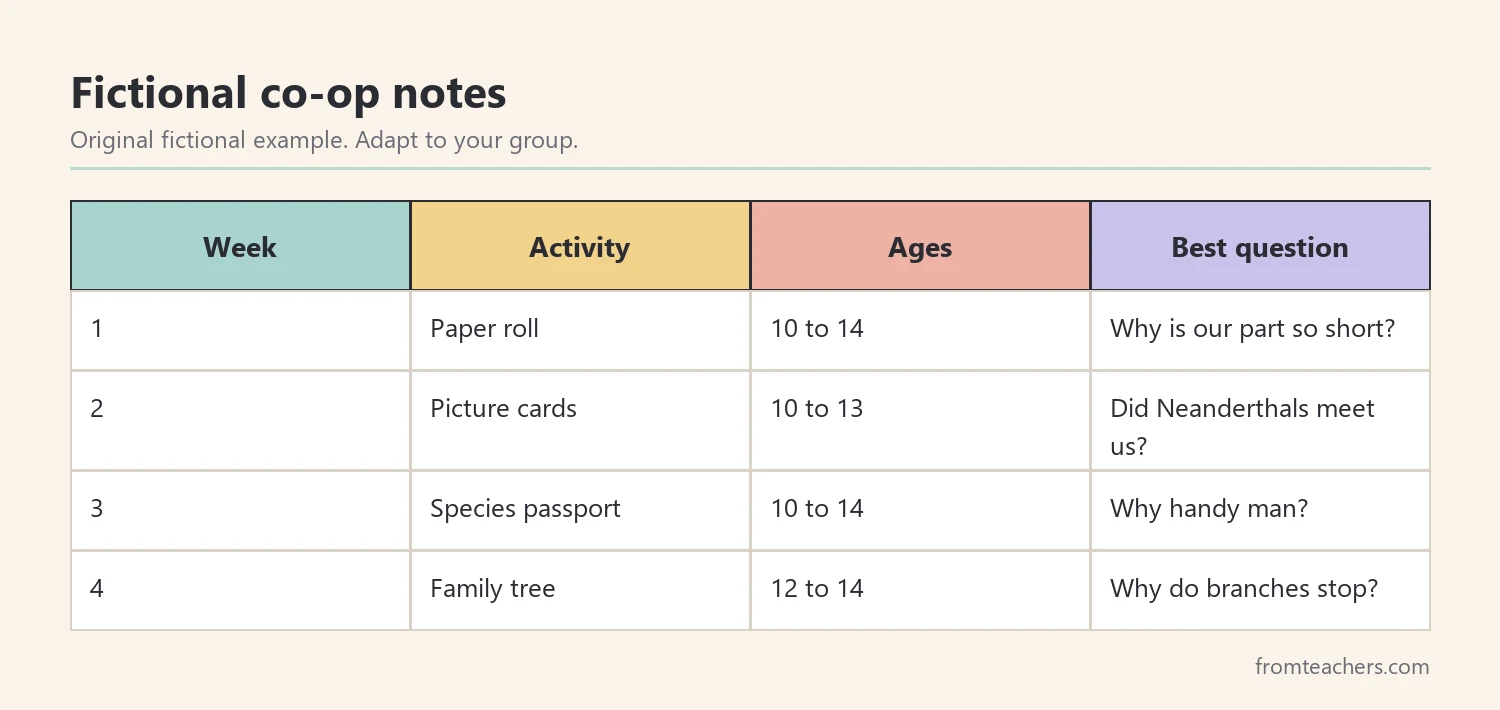
Keep a short record of each session. You do not need formal grades. A simple sheet that notes the activity, the ages involved, what went well and one question learners asked is enough to improve the next session. Here is a fictional example from Mrs. Hayes’s co-op.
| Week | Activity | Ages | Best learner question |
|---|---|---|---|
| 1 | Paper roll | 10 to 14 | Why is the people part so short? |
| 2 | Picture cards | 10 to 13 | Did Neanderthals meet us? |
| 3 | Species passport | 10 to 14 | Why is it called handy man? |
| 4 | Family tree | 12 to 14 | Why do some branches stop? |
After four weeks, look back at the questions. They show you what learners found surprising and where to go next, for example dating methods, ancient DNA or the art and tools that show modern human thinking.
Common mistakes and how to avoid them
- Showing evolution as a straight line. Fix: use a branching tree and point out species that lived at the same time.
- Giving exact dates as if they were fixed. Fix: say “about” and explain that new finds can update the timeline.
- Letting older learners do all the thinking. Fix: give younger learners a clear job, such as placing images or reading cards.
- Using too many species at once. Fix: start with four to six and add more only when the group is ready.
- Skipping the discussion. Fix: end every activity with one question about what changed and what stayed the same.
- Relying on random websites. Fix: check dates and facts against a natural history museum or a well-made reference guide.
Questions co-op leaders ask about human evolution timeline activities
What age is right for human evolution timeline activities?
Many families introduce the basic ideas around ages 10 to 11, and go deeper between 12 and 14. Younger children can join in the hands-on parts, such as placing cards or walking the scale, while older learners handle dates and explanations.
How do I handle different family beliefs in a co-op?
Be clear that you are teaching the scientific account and the evidence behind it. Invite respectful questions and avoid mocking any view. Many co-ops share the unit plan with families in advance so everyone knows what to expect.
Which dates should I use?
Use approximate dates from a natural history museum or a reliable guide, and round them. For example, say “about 3 million years ago” rather than a precise figure. This keeps the focus on sequence and scale.
How long should each activity take?
Most activities on this list fit into 30 to 60 minutes. The outdoor walk and the family tree may need a full session, especially with discussion at the end.
Can I use these activities with just my own children at home?
Yes. The paper roll, picture cards and species passport work well with one to three children. You may simply shorten the presentation parts.
Related reading: Homeschooling vs Public Schooling: Which Path Is Right?, Learning Styles Student Success Guide, and 5 Practical Teaching Tips to Boost Classroom Focus.
You may also need: Dinosaurs: The Complete Student Field Guide.
A companion resource for co-op leaders teaching human evolution:
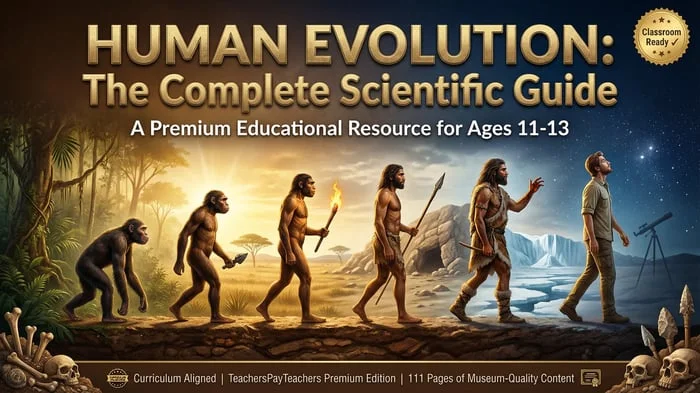
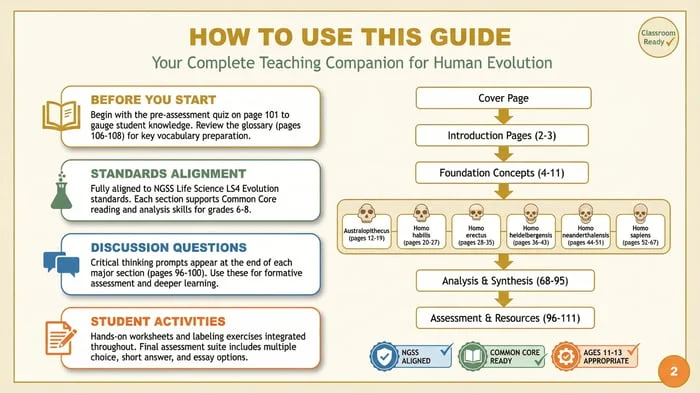
Human Evolution: The Complete Scientific Guide: 111 pages covering natural selection, the human family tree, six hominin species from Australopithecus afarensis to Homo sapiens, the Out of Africa migration, fossil dating methods, ancient DNA and what makes us human, with built-in discussion questions and classroom tools.
Sources and scope
- Smithsonian Human Origins Program: species pages, a human family tree and educational resources on human evolution.
- Natural History Museum, London: articles and learning resources on human evolution and fossils.
- University of California Museum of Paleontology: teaching resources on evolution, fossils and deep time.
- National Science Teaching Association: guidance and resources for teaching science, including evolution.
This guide offers activity ideas for homeschool co-ops and small groups teaching human evolution. It is not a full curriculum, and dates are approximate. Check details against current museum sources and adapt to your learners.
Key takeaways
- Human evolution timeline activities make deep time visible and memorable.
- Start with low-prep options like the paper roll and picture cards.
- Give every age group a clear role in mixed-age co-ops.
- Show a branching tree, not a straight line of progress.
- Use approximate, sourced dates and end every activity with a question.
Leave a Comment