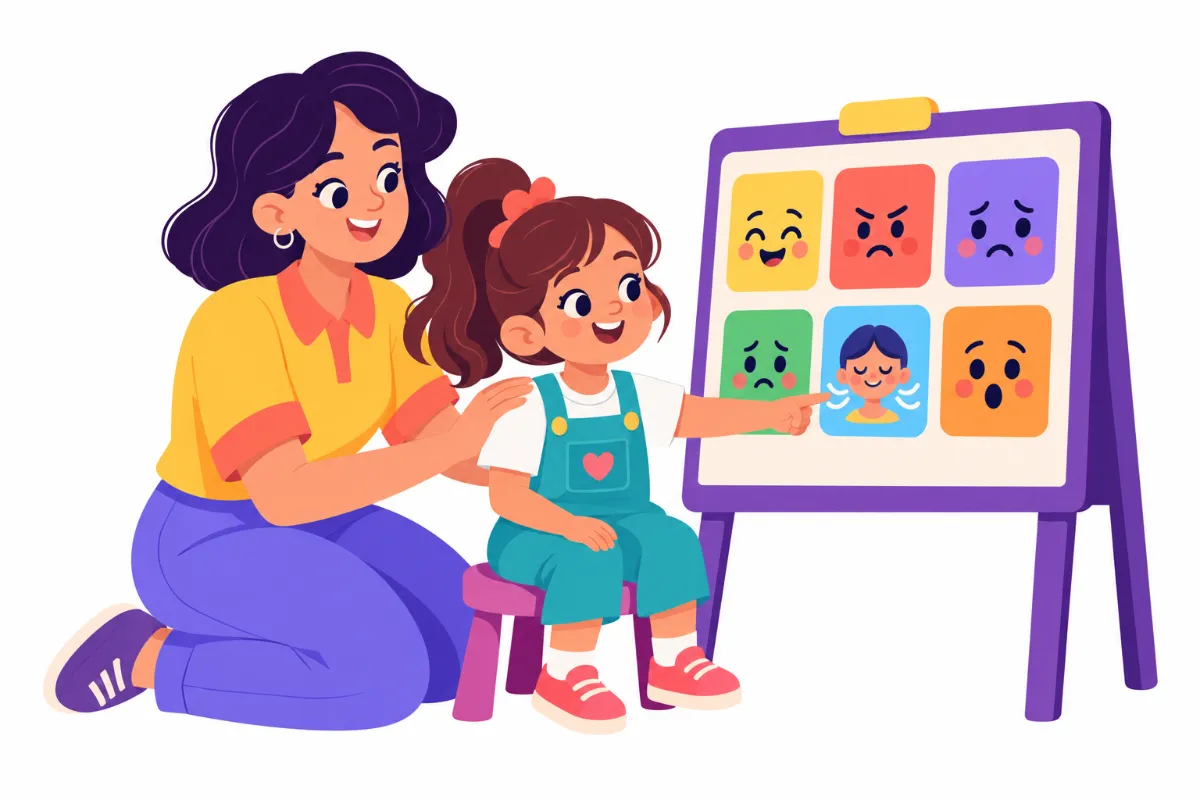

Visual coping strategies give children a way to notice big feelings and calm down before those feelings take over. Picture a second grader whose face turns red during a spelling test. He crumples the paper, pushes his chair back, and cannot find the words to explain what is happening.
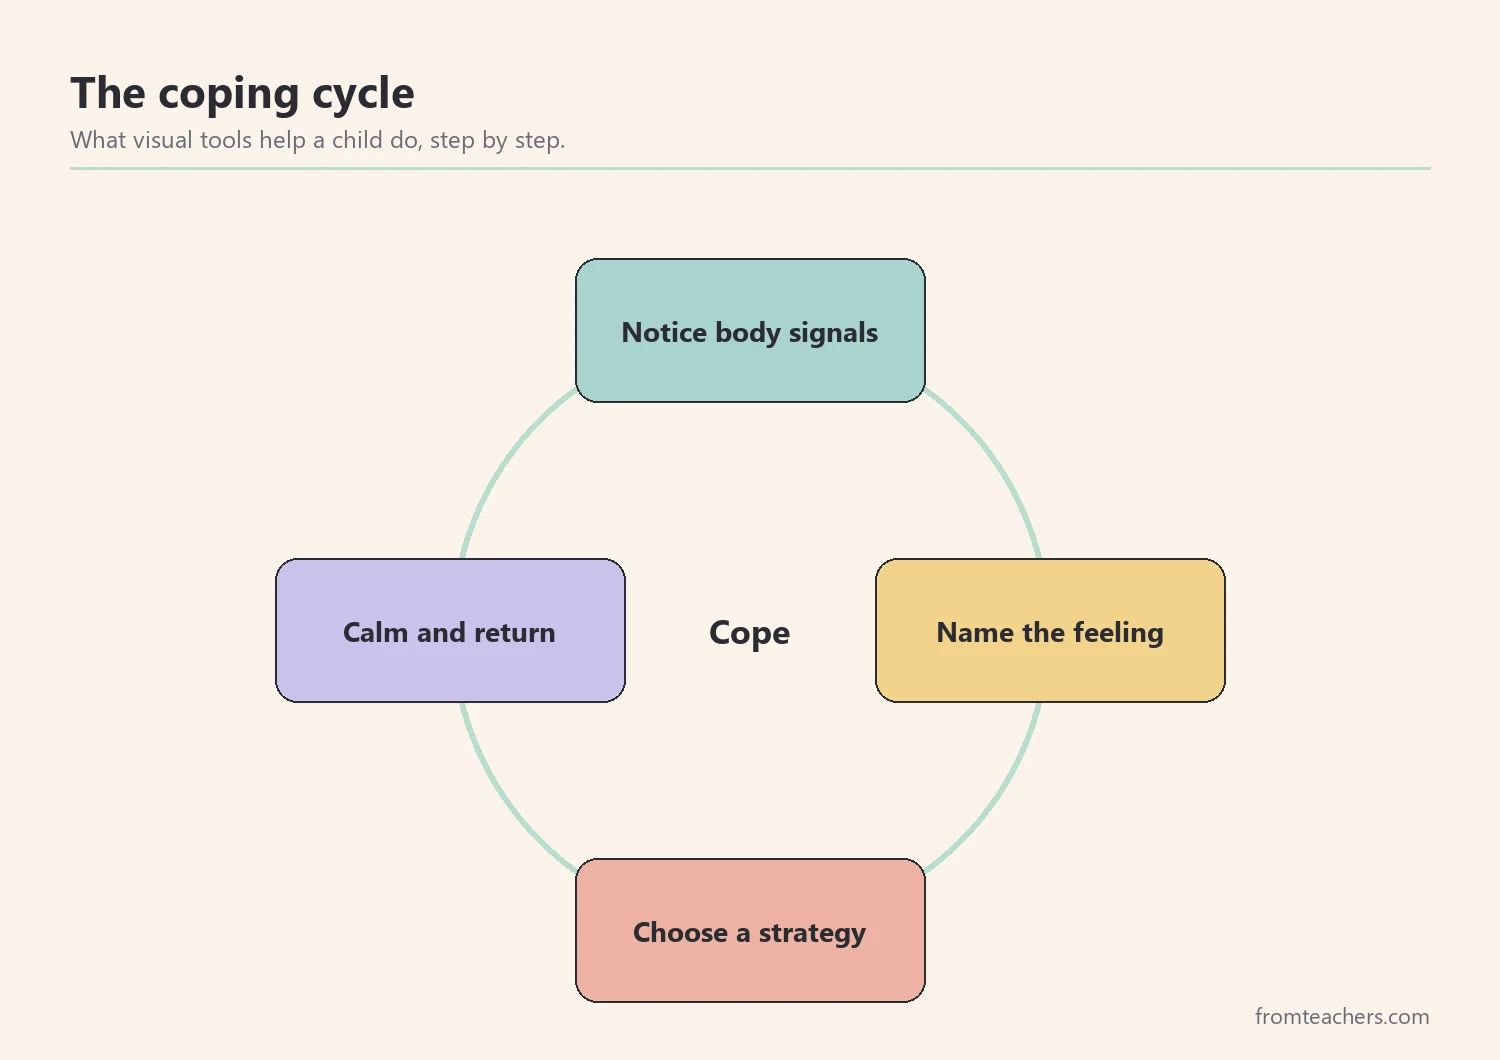
By the end of this guide, you will be able to choose visual coping strategies that match a child’s needs, teach them at calm times, build a personal calming toolkit, use visuals during hard moments, and check whether the plan is working. As a result, the child gets back to learning sooner, and adults spend less time managing crises.
Examples are fictional. Adapt to the student’s goals and agreed supports. This is guidance, not a diagnosis.
At a glance
- Pictures help children name feelings when words are hard to find.
- Start with a simple feelings scale and a short list of calming options.
- Teach every strategy at calm times before using it under stress.
- Build a small personal toolkit with the child, not for them.
- Track one measure and share the same visuals with the family.
1. Understand why visual coping strategies help
When a child is upset, the parts of thinking that handle language and planning often get harder to use. Therefore, spoken questions like “What’s wrong?” or “What should you do?” can add pressure at the worst moment. A picture, by contrast, stays still and asks for less.
Many children with autism or ADHD find it especially hard to name feelings early, notice body signals, or remember strategies under stress. Visual coping strategies help in three ways:
- They make invisible feelings visible, for example on a feelings scale.
- They show options the child can point to instead of explaining.
- They keep language the same across adults and settings.
Our fictional student, Noah, is in grade 2. His teacher, Mr. Reed, notices that Noah’s hard moments come during timed tasks and unexpected changes. Usually, Noah says “I’m fine” right up until he crumples his paper. In other words, he is not yet noticing his own early signals.
Of course, visuals do not replace relationships. Instead, they support a calm adult who knows the child. They also work for many learners, not only those with a diagnosis, because every child benefits from clear, predictable tools for big feelings.
2. Choose visual coping strategies that fit the child
Not every tool fits every child. So start with what you observe. For a few days, note when hard moments happen, what comes just before them, and what helps afterward, even a little.
Then choose a small set of tools. For most children, two types are enough at first:
| Tool type | Examples | Purpose |
|---|---|---|
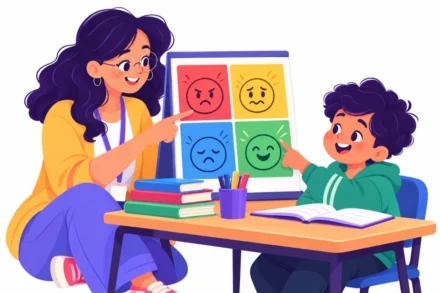
| Feelings visuals | Emotion chart, feelings thermometer, body map | Name the feeling and its size |
| Calming visuals | Breathing cards, movement cards, break card | Show what to do next |
| Routine visuals | Calming steps strip, personal strategy card | Show the order of the plan |
Additionally, think about whether the child tends to be overstimulated or under-stimulated when upset. An overstimulated child may need quieter, slower strategies, like slow breathing or a quiet corner. An under-stimulated child, on the other hand, may do better with movement, such as wall pushes or a short walk.
For Noah, Mr. Reed chose a five-level feelings thermometer, three breathing cards, and one movement card. He kept it small on purpose. If you want a broader set to choose from, a guide such as Emotional Regulation for Autism and ADHD: Visual Coping Strategies includes an emotion chart, feelings thermometer, body map, and more than 30 calming strategies, with templates you can reproduce.
Finally, keep visuals simple. One picture and two or three words per card is plenty. In addition, use the same pictures across the classroom, the hallway, and the lunchroom, so visual coping strategies look familiar wherever the child goes. Laminated cards on a ring or a small desk strip both work well, as long as the child can reach them quickly.
3. Teach each strategy at calm times
The most common reason visual coping strategies fail is that children first meet them in the middle of a meltdown. At that point, learning anything new is very hard. Instead, teach each strategy when the child is calm and ready.
A simple teaching routine looks like this:
- Show the card and name it: “This is balloon breathing.”
- Model it slowly while the child watches.
- Practice together two or three times.
- Ask the child to show you, then praise the effort.
- Practice again on another day, briefly.
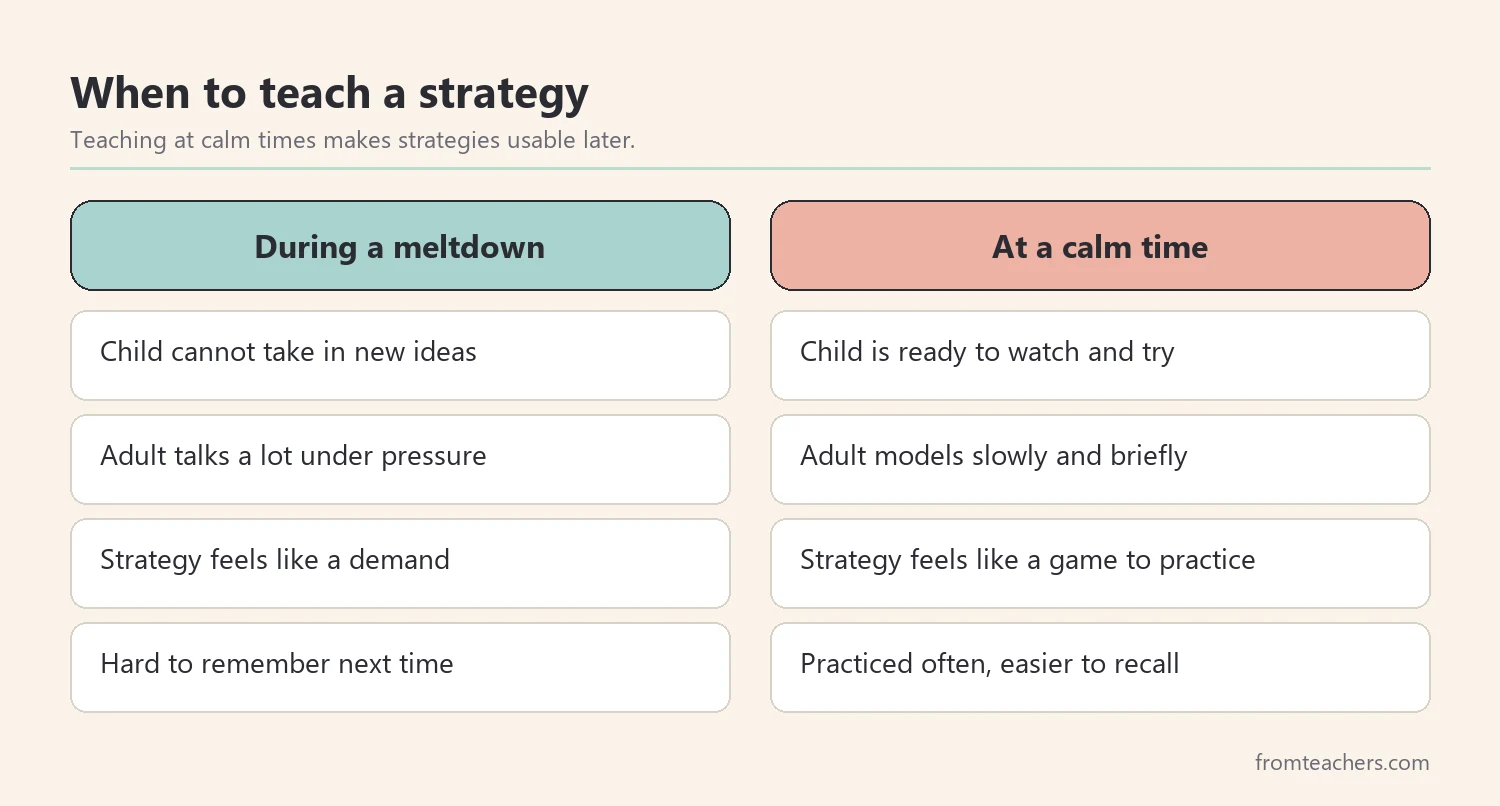
For example, Mr. Reed taught one breathing card each morning during the first week, using a two-minute practice after attendance. The whole class joined in, so Noah did not feel singled out. By Friday, Noah could show box breathing, balloon breathing, and 5-4-3-2-1 grounding from memory.
Also, teach the feelings scale with examples that are not about the child. For instance, “Losing a toy might be a 2. A fire drill might be a 4 for some people.” This helps children understand that feelings come in different sizes and that the right response depends on the size.
4. Build a personal calming toolkit with visual coping strategies
Once the child knows a few strategies, build a personal toolkit together. A toolkit is simply a small, portable set of visuals the child chooses as “mine.” Because the child helps make it, they are more likely to use it.
Steps for building the toolkit:
- Lay out the strategies the child has practiced.
- Ask the child to choose the two or three that felt best.
- Put them on a single personal strategy card or a small ring of cards.
- Add the feelings scale at the top so the child can match size to strategy.
- Decide together where the toolkit lives: on the desk, in a pencil box, or on a lanyard.
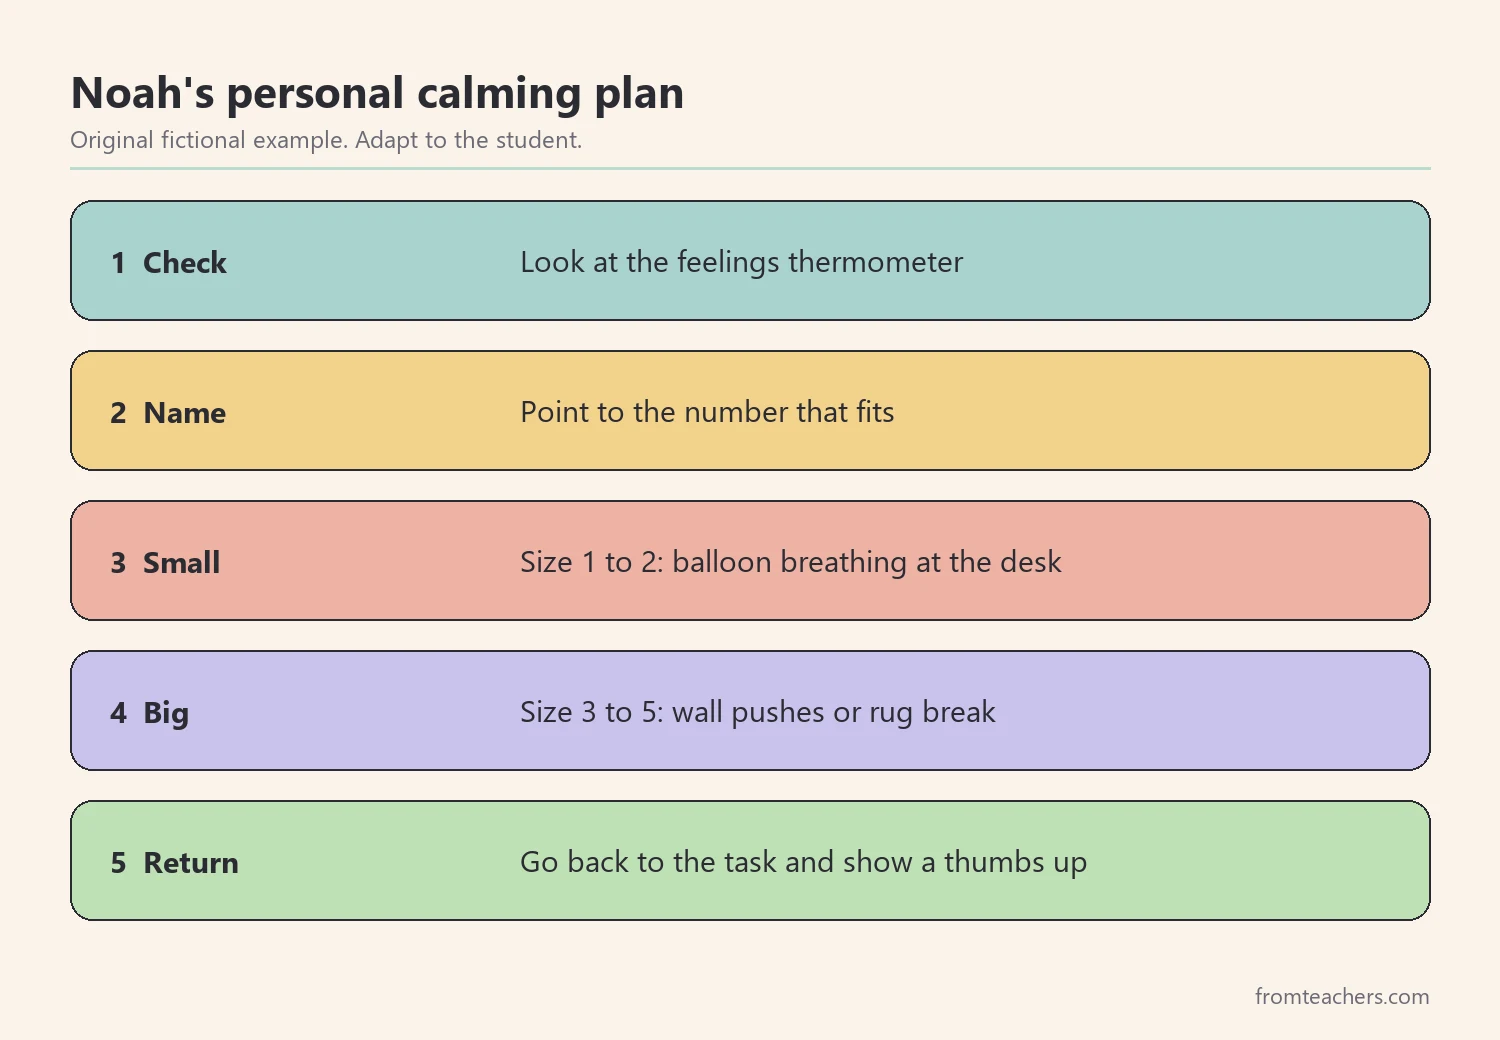
Noah chose balloon breathing, wall pushes, and a two-minute break at the reading rug. He wanted his card taped inside his desk lid so other students would not see it. Mr. Reed agreed, since privacy mattered to Noah.
Moreover, link strategies to feeling sizes. A size 2 might call for one breathing card at the desk. A size 4, however, might mean using the break card and going to the quiet spot. Matching the response to the size teaches the child that small feelings need small tools.
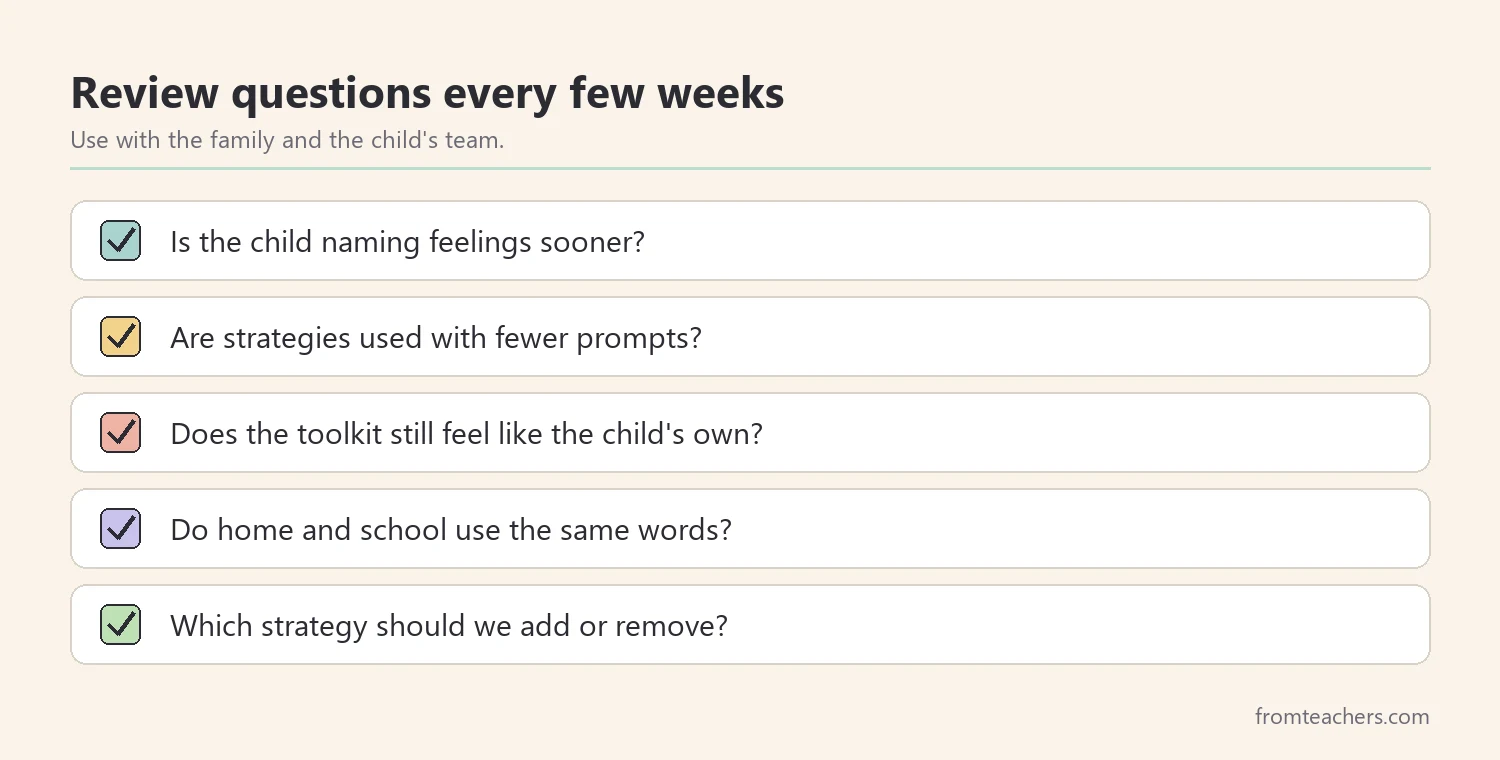
Finally, review the toolkit every few weeks. Children’s preferences change, and a strategy that worked in September may feel babyish by December.
5. Use visual coping strategies during hard moments
When a hard moment comes, the adult’s role is to point to the plan, not to teach it. Generally, fewer words work better. A calm voice, a gesture toward the card, and patience usually help more than reasoning.
Try this sequence:
- Move close and lower your voice.
- Point to the feelings thermometer: “What number?”
- Point to the matching strategies: “Which one?”
- Do the strategy alongside the child if helpful.
- Afterward, notice the effort: “You used your breathing card.”
For instance, during a surprise schedule change, Noah’s pencil started tapping hard and fast. Mr. Reed knelt beside him and pointed to the thermometer. Noah pointed to 3, then chose wall pushes. Five minutes later, he was back at his desk.
Similarly, plan for common triggers ahead of time. Transitions, peer conflict, unexpected changes, and sensory overload often cause the hardest moments. So, when you know a change is coming, show the child the plan in advance: “After lunch there’s an assembly. If it feels big, your card is in your pocket.”
After the moment passes, keep any talk short and positive. Later, at a calm time, you can review what happened and whether the toolkit needs a change.
6. Track progress and connect home and school
To see whether visual coping strategies are working, track one simple measure each week. For example, count the hard moments and how many of them the child handled by using a strategy, with or without a prompt.
Mr. Reed recorded, for each week, the total number of hard moments and how many ended with Noah using a strategy. The remaining moments needed adult support to settle.
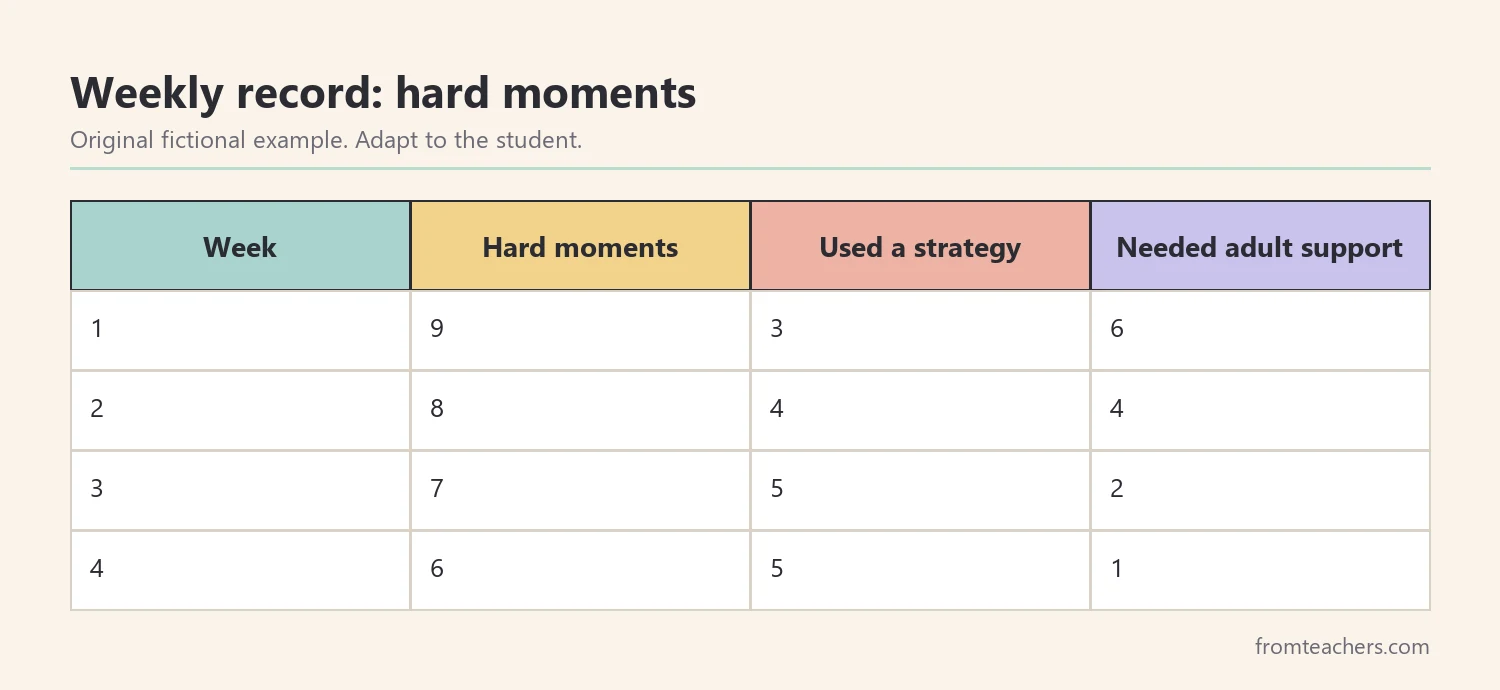
In this fictional record, the total number of hard moments dropped slowly, but the bigger change was in how they ended. By week 4, Noah used a strategy in five of six hard moments. That pattern suggests he is learning to notice feelings sooner.
Equally important, share the same visuals with the family. A home vocabulary card, with the same words for feelings and strategies, helps the child hear one consistent language. Families can also tell you which strategies work at home, which may help at school too.
Also, share your weekly numbers with the family in plain language. For example: “Noah had six hard moments this week and used his breathing card in five of them.” Short updates like this show families that visual coping strategies are building a skill, not just managing behavior. They also invite families to share what they see at home, which helps the team decide what to keep and what to change.
If hard moments stay frequent, intense, or unsafe, involve the school counselor, psychologist, or other members of the child’s team. They can look at the wider picture beyond everyday classroom tools.
Common mistakes and how to avoid them
- Introducing a strategy during a meltdown. Fix: teach and practice every strategy at calm times first.
- Offering too many choices. Fix: start with two or three strategies and add more slowly.
- Choosing tools for the child. Fix: let the child pick the strategies that feel best to them.
- Talking too much in the moment. Fix: point to the card and use only a few words.
- Using different words at home and school. Fix: share one vocabulary card with the family.
- Never updating the toolkit. Fix: review it with the child every few weeks.
Questions teachers and parents ask about visual coping strategies
Are visual coping strategies only for autistic children?
No. They are often used with autistic children and children with ADHD, but many learners benefit from clear, visual ways to name feelings. Whole-class use also helps the child who needs them most feel less singled out.
What age are these tools for?
Picture-based tools are common in preschool and the elementary grades. However, older students can use them too, especially when the design and language feel respectful of their age.
How long until a child uses a strategy alone?
It varies widely. Some children use a strategy on their own within a couple of weeks, while others need many weeks of practice and prompts. Weekly tracking helps you see small steps forward.
What if the child refuses to use the toolkit?
First, check whether the strategies are still the child’s choice and whether the toolkit is easy to reach. Then practice again at calm times. Sometimes changing one strategy or the toolkit’s location makes a big difference.
Should the whole class learn these strategies?
Often, yes. Teaching breathing or movement strategies to everyone normalizes them. Then the individual toolkit becomes a personal version of something the whole class already knows.
Related reading: Understanding Autism ADHD Meltdowns: Signs and Support Strategies, Meltdowns vs Tantrums: A Guide to Understanding and Responding, and ADHD in Children: A Guide to Effective Classroom and Home Support.
A companion resource for visual coping strategies:
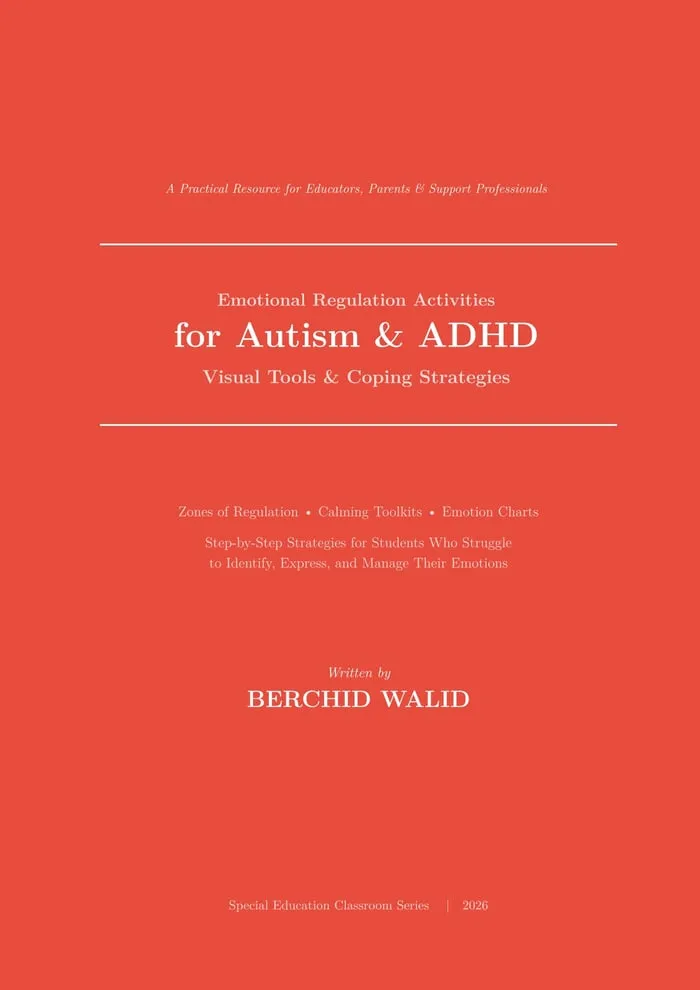

Emotional Regulation for Autism and ADHD: Visual Coping Strategies: a 39-page guide with more than 30 visual tools and calming strategies, including an emotion chart, feelings thermometer, body map, breathing and movement strategies, a step-by-step plan for a personal calming toolkit, a family partnership section, and four reproducible templates.
Sources and scope
- IRIS Center, Vanderbilt University: free modules on classroom behavior, social and emotional supports, and evidence-based practices.
- CASEL: a widely used framework for social and emotional learning, including self-awareness and self-management.
- CDC ADHD information: general background on ADHD in children and support at school and home.
- Understood.org: practical articles for families and teachers on emotions, ADHD, and learning differences.
This guide covers everyday classroom and home strategies for teaching children to name feelings and calm down using visuals. It does not cover diagnosis, therapy, or crisis response, which belong to qualified professionals and the child’s team.
Key takeaways
- Visual coping strategies make feelings and options visible when words are hard.
- Start small: one feelings scale and two or three calming tools.
- Teach every strategy at calm times before using it under stress.
- Build the toolkit with the child and match tools to feeling sizes.
- Track one measure and share the same visuals with the family.






Leave a Comment