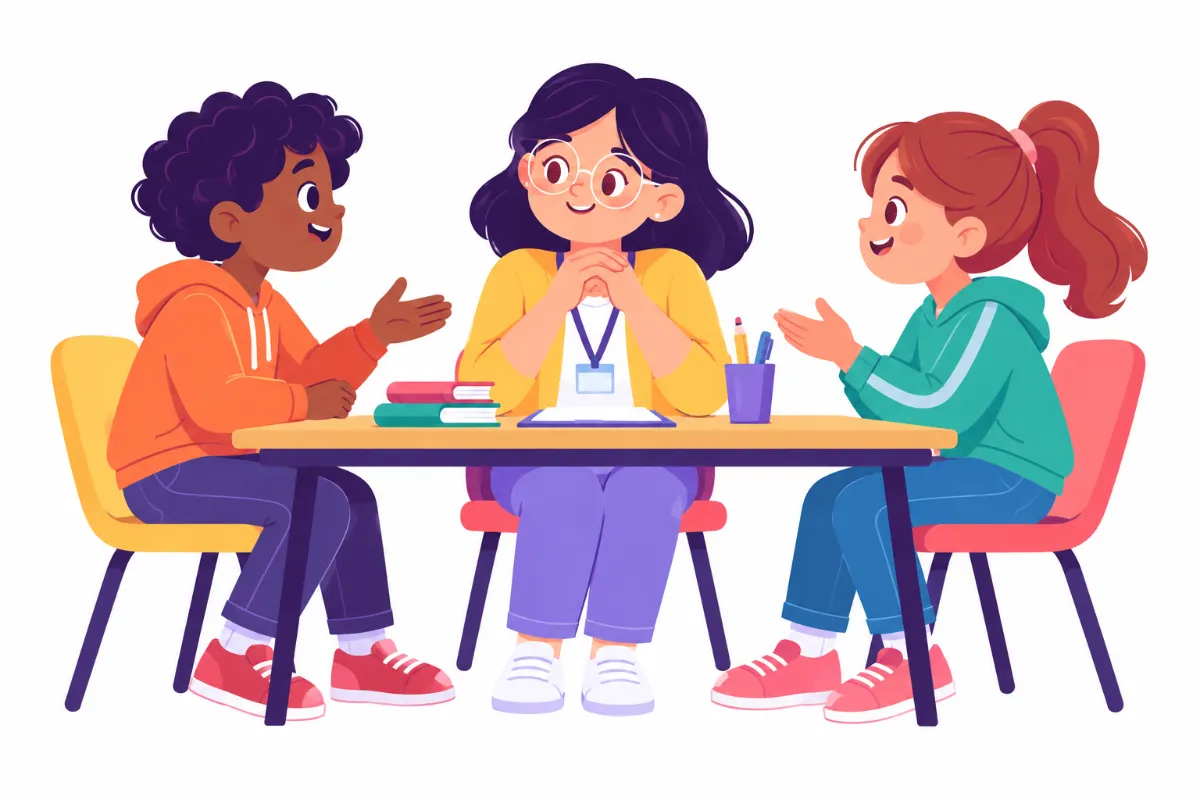

Peer mediation in schools gives students a structured way to solve everyday conflicts with the help of trained classmates, instead of waiting for an adult to decide who was right. Picture two fifth graders arguing over a soccer ball at recess. By the time a teacher arrives, both are shouting, and the real problem, who gets to choose the teams, is buried under hurt feelings.
This guide gives you a five-step plan for starting and running a peer mediation program. You will decide which conflicts fit, choose and train mediators, teach a clear mediation script, adapt the process so every student can take part, and track results. Each step follows the same fictional students so you can see the process from start to finish.
Examples are fictional. Adapt to the student’s goals and agreed supports. This is guidance, not a diagnosis.
At a glance
- Peer mediation fits everyday disagreements, not bullying, threats, or safety concerns.
- Choose a mix of mediators and train them in listening, neutrality, and I-statements.
- Use the same short script every time so the process feels predictable.
- Adapt with visuals, sentence starters, and extra time so every student can take part.
- Track agreements and follow-ups, then refine the program each term.
1. Decide what peer mediation in schools can handle
First, set clear boundaries. Peer mediation in schools works well for everyday conflicts between students of roughly equal power: arguments over games, rumors between friends, disputes about sharing materials, or misunderstandings during group work.
However, some situations do not belong in peer mediation. Bullying involves an imbalance of power, and putting the target face to face with the student who bullies them can cause more harm. Threats, violence, safety concerns, and anything that may require reporting must go to adults right away, following school policy.
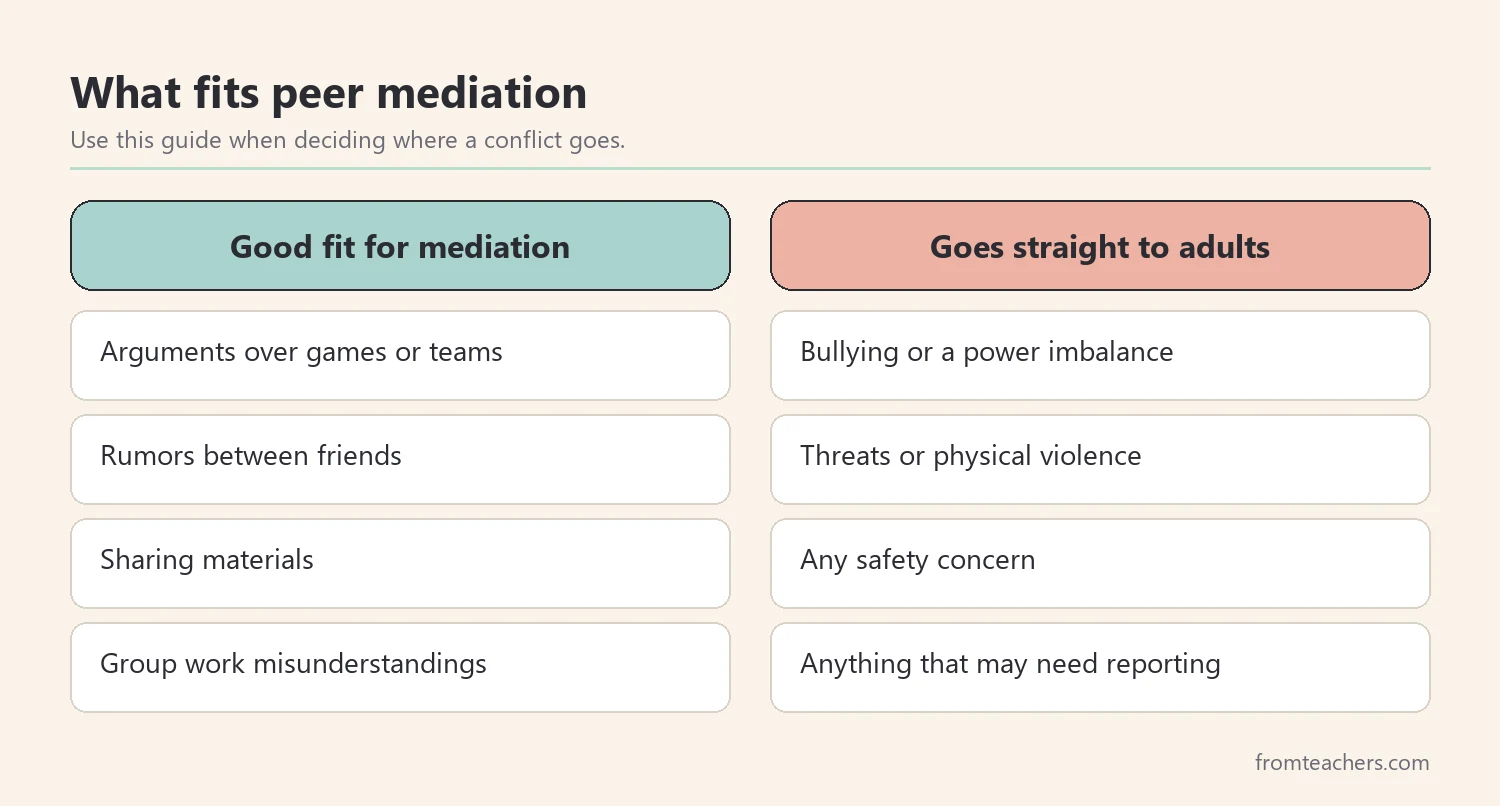
Next, write these boundaries down in a short referral guide for staff and mediators. When everyone uses the same guide, the right conflicts reach mediation and the wrong ones do not.
Also, make participation voluntary. Both students must agree to try mediation. Forced mediation rarely leads to honest agreements. If one student refuses, an adult can handle the conflict another way.
For example, at a fictional elementary school, two fifth graders, Theo and Sam, argue every recess about who picks the soccer teams. No one has been hurt, and neither student has more power than the other. Both agree to try mediation. This is exactly the kind of conflict peer mediation in schools is designed for.
Finally, decide where and when mediations happen. A quiet corner of the library or counselor’s office during lunch or recess works well. A supervising adult should always be nearby, even if they do not take part.
In addition, explain the program to the whole school before the first session. A short assembly or class lesson shows students what mediation looks like, who the mediators are, and how to ask for help. When everyone understands peer mediation in schools, students are more likely to try it.
2. Train mediators for peer mediation in schools
Strong mediators make a strong program. Choose a mix of students, not only the most confident or highest-achieving ones. Students from different friend groups, backgrounds, and abilities help the program feel fair to everyone.
A practical approach is to ask for volunteers and teacher nominations, then invite a group of about 8 to 12 students per grade band. Mediators usually work in pairs, so an even number is helpful.
Then train them in core skills. Active listening means hearing the whole story without interrupting. Restating means repeating what someone said in your own words. Neutrality means not taking sides. I-statements help disputants share feelings without blaming, for example “I felt left out when the teams were picked without me.”
| Skill | What mediators practice |
|---|---|
| Active listening | Eye contact or facing the speaker, no interrupting |
| Restating | “So you are saying…” |
| Neutrality | No blame, no taking sides |
| I-statements | “I felt… when… because…” |
| Brainstorming | Collecting ideas before choosing one |
Role-play is the heart of training. Mediators practice with made-up conflicts, taking turns as mediators and disputants. Afterward, the trainer gives specific feedback, such as “You restated well. Next time, wait a little longer before asking a question.”
For our example, two trained mediators, Lena and Omar, take Theo and Sam’s case. Both have practiced the script several times in role-plays, so they feel ready.
If you want ready training material, the tools for teaching conflict resolution skills include 12 strategy tables covering I-statements, role-playing, active listening, empathy, and implementing peer mediation programs.
Meanwhile, teach mediators about confidentiality. What is said in mediation stays there, except anything about safety, which must go to an adult. Clear rules like this help disputants trust the process and protect mediators from carrying worries alone.
3. Teach a clear mediation script
A consistent script makes peer mediation in schools feel safe and predictable. Students know what will happen, and mediators do not have to invent the process each time.
Here is a simple six-step script.
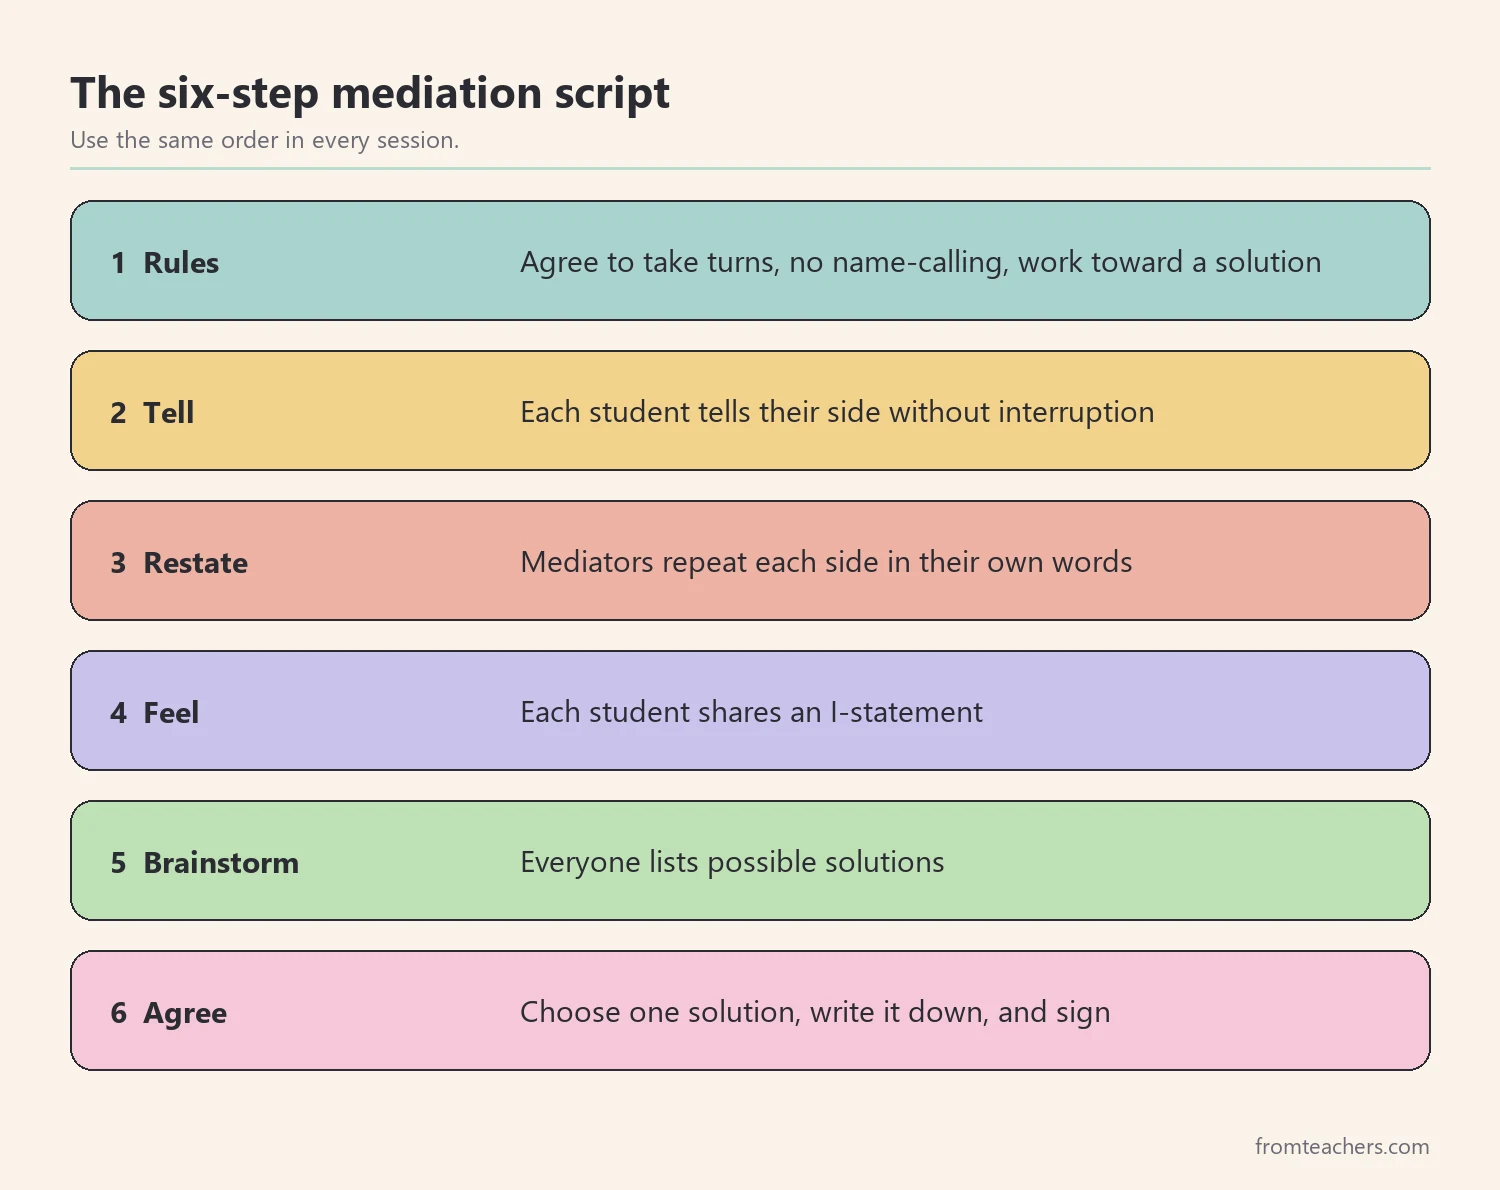
First, mediators introduce themselves and ask both students to agree to ground rules: take turns, no name-calling, and work toward a solution. Second, each student tells their side without interruption. Third, mediators restate each side. Fourth, each student shares how they felt, using an I-statement. Fifth, everyone brainstorms solutions. Sixth, the students choose a solution they both accept, and mediators write it down.
In our example, Theo says he feels left out because Sam always picks first. Sam says he picks first because he brings the ball. Lena restates both sides. Then the boys brainstorm: take turns picking, pick by number, or let a different student pick each day. They agree to take turns, starting with Theo on Monday.
Next, write the agreement on a simple form. Both students sign it, and the mediators sign as witnesses. A copy goes to the supervising adult.
Moreover, keep the agreement specific. “Be nicer” is hard to check. “Theo picks teams on Monday, Wednesday, and Friday, and Sam picks on Tuesday and Thursday” is clear to everyone. Specific agreements are easier to keep and easier to check at follow-up, which is why mediators should ask “Who will do what, and when?” before anyone signs.
Finally, schedule a follow-up. A quick check a few days later asks, “Is the agreement working?” Follow-ups are what turn one conversation into lasting change.
Then watch the first few sessions closely. A supervising adult can sit nearby and note what went well and where mediators hesitated. Short feedback after the session helps mediators grow, and it keeps peer mediation in schools running smoothly during the early weeks.
4. Adapt peer mediation in schools for every student
Every student deserves access to peer mediation, including students with disabilities, language differences, or communication needs. So adapt the process thoughtfully.
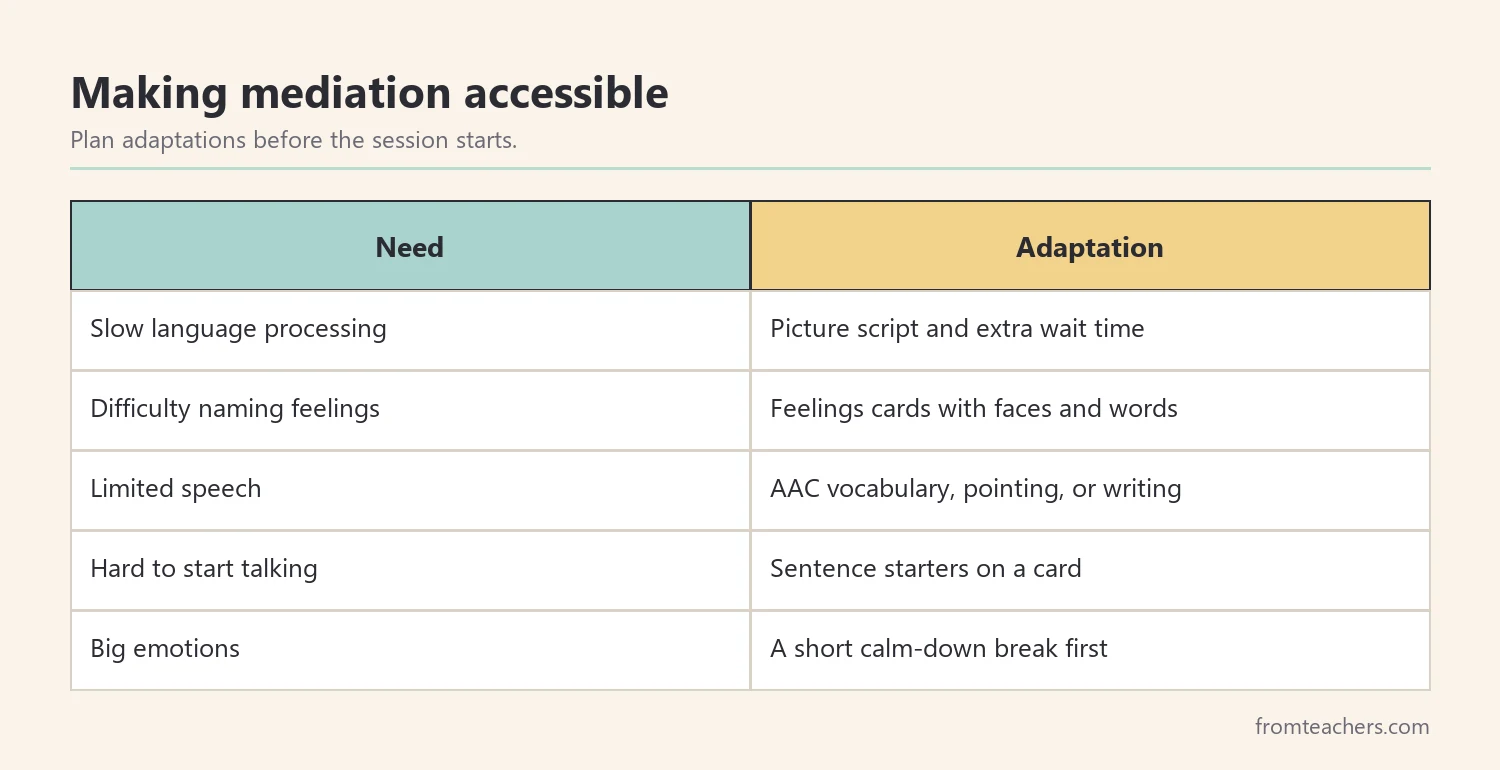
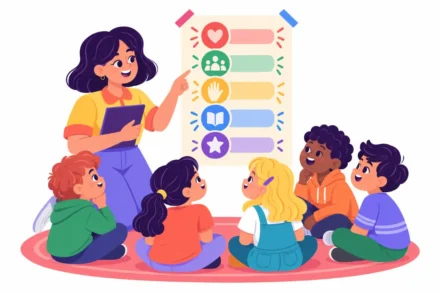
Start with visuals. A picture version of the six-step script helps students who process language slowly or who are learning English. Feelings cards with faces and words help students name emotions they might struggle to say.
Next, offer sentence starters. “I felt ___ when ___” and “One idea is ___” lower the language load. Some students may write or point instead of speaking. Students who use AAC devices should have the vocabulary they need programmed ahead of time.
| Need | Adaptation |
|---|---|
| Slow language processing | Picture script and extra wait time |
| Difficulty naming feelings | Feelings cards with faces |
| Limited speech | AAC vocabulary, pointing, or writing |
| Big emotions | A short calm-down break before starting |
Also, allow breaks. If a student becomes very upset, mediators can pause and let the student take a short break. Then they return when ready. Mediators should know they can always ask the supervising adult for help.
In addition, include diverse students as mediators. A student with a disability who serves as a mediator shows everyone that conflict resolution skills belong to all students. Peer mediation in schools is strongest when it reflects the whole school community.
Also, prepare mediators for students with different communication styles. A short training session on wait time, simple language, and using visuals helps mediators feel confident with every disputant. These skills make peer mediation in schools truly inclusive.
5. Track and refine peer mediation in schools
Finally, keep simple records so you know whether the program is working. You do not need complex data. A few counts per month tell you a lot.
Track how many mediations happened, how many reached an agreement, how many were referred to an adult, and how many agreements were still holding at follow-up.
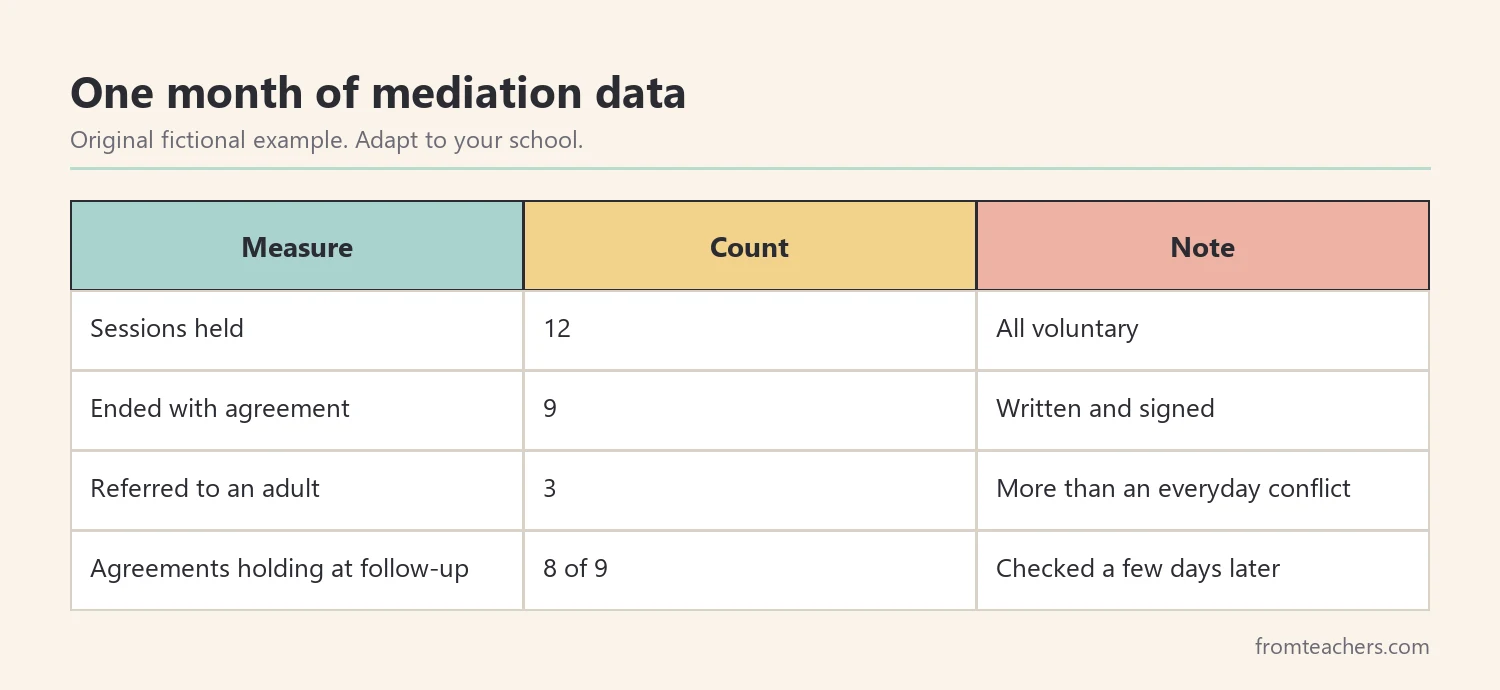
In this fictional month, mediators held 12 sessions. Nine ended with an agreement, and 3 were referred to an adult because they turned out to involve more than an everyday conflict. That accounts for all 12. At follow-up, 8 of the 9 agreements were still holding, including Theo and Sam’s.
Next, look for patterns. If many conflicts happen at the same place or time, such as the soccer field at recess, adults can add structure there, like a team-picking rotation. Mediation data can improve the whole school environment.
Then meet with mediators regularly. Ask what is going well and what feels hard. Refresher role-plays keep skills sharp, and recognition, like a certificate or a thank-you note, keeps mediators motivated.
Also, involve families. A short note home explaining peer mediation in schools, and how families can use I-statements at home, helps students practice the same skills in more places.
Over time, many schools find that conflict resolution skills spread beyond the mediation table. Students begin to use I-statements and take turns on their own. That ripple effect is one of the best signs that peer mediation in schools is taking root.
Common mistakes and how to avoid them
- Using mediation for bullying. This can harm the target. Fix: send bullying and safety concerns straight to adults.
- Choosing only “star” students as mediators. The program can feel unfair. Fix: choose a diverse mix of mediators.
- Skipping role-play training. Mediators freeze in real sessions. Fix: practice the script many times before going live.
- Forcing students to mediate. Agreements are not honest. Fix: make participation voluntary.
- No follow-up. Agreements fade quickly. Fix: check in a few days later.
- No adult nearby. Mediators have no backup. Fix: keep a supervising adult within reach.
Questions teachers and parents ask about peer mediation in schools
What age is right for peer mediation in schools?
Many programs start in upper elementary grades, around grades 4 and 5, and continue through middle and high school. Younger students can learn the same skills, like I-statements and taking turns, through simpler classroom routines.
Is peer mediation appropriate for bullying?
No. Bullying involves a power imbalance, so it should be handled by adults following school policy. Peer mediation is for everyday conflicts between students of roughly equal power.
How long does a mediation session take?
Most everyday conflicts can be mediated in about 15 to 20 minutes. Some take longer, especially when emotions run high. A follow-up check later is usually brief.
Can students with disabilities be mediators?
Yes. With training and any needed supports, students with disabilities can be excellent mediators. Diverse mediators make the program fairer and more welcoming.
How can parents support peer mediation in schools?
Parents can use I-statements and listening skills at home and ask their child about mediation skills. Families can also encourage children to try mediation for everyday conflicts at school.
Related reading: Autism Social Skills, School Counseling Programs, and Moving Beyond Shame and Behavior Charts.
A companion resource for peer mediation in schools:
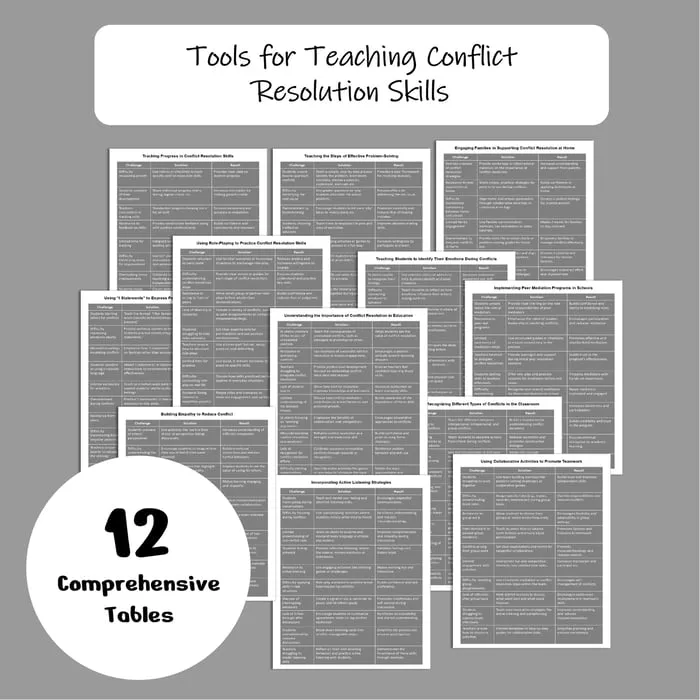
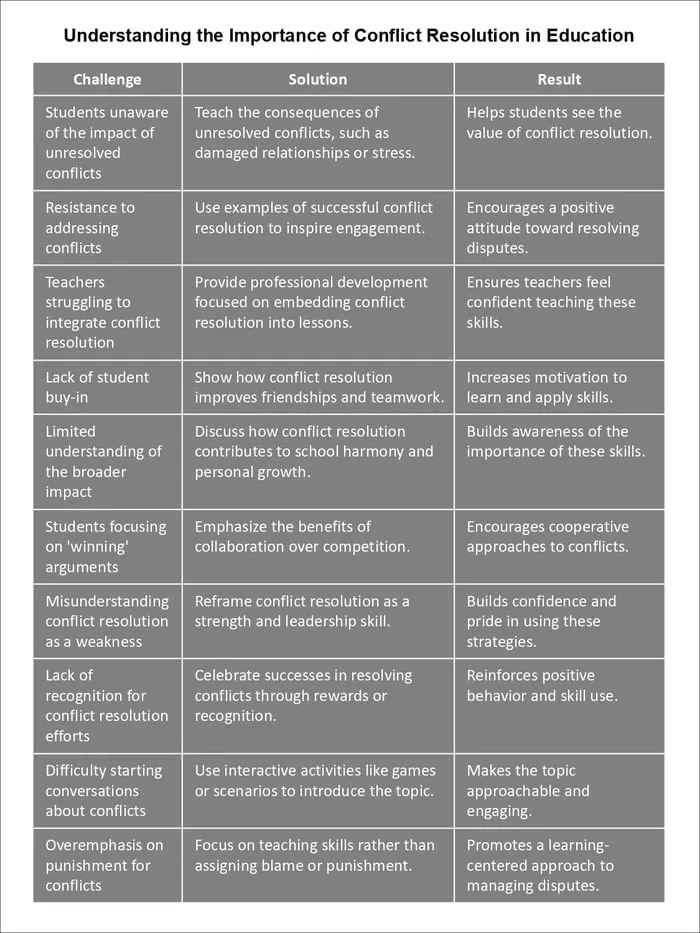
Tools for Teaching Conflict Resolution Skills: 12 strategy tables in a challenge, solution, result format, covering problem-solving steps, I-statements, role-playing, empathy, active listening, identifying emotions, types of conflict, peer mediation programs, family engagement, and tracking progress.
Sources and scope
- StopBullying.gov: federal information on bullying, including why bullying needs adult intervention.
- CASEL: a framework for social and emotional learning, including relationship skills.
- IRIS Center, Vanderbilt University: free modules on classroom behavior and social skills.
- American School Counselor Association (ASCA): resources for counselors who often lead mediation programs.
This guide covers starting and running a student peer mediation program for everyday conflicts. It does not cover bullying investigations, discipline procedures, or crisis response, which follow your school’s policies.
Key takeaways
- Peer mediation in schools fits everyday conflicts, not bullying or safety issues.
- Choose diverse mediators and train them through role-play.
- Use one clear script every time.
- Adapt with visuals, sentence starters, AAC, and breaks.
- Track agreements and follow-ups, then refine the program.


Leave a Comment