

A classroom layout audit helps you see your room the way your students experience it, not the way it looked on the first day of school. Picture a sixth grade room in November: the reading corner has become a storage zone, the walls are covered three layers deep, and a student who uses a wheelchair takes the long way around two desk clusters to reach the pencil sharpener. None of this was planned. It simply happened, one small change at a time.
This guide shows teachers how to run a short, structured audit of an existing classroom, find the barriers that matter most, and fix them in order of impact. By the end, you will have a simple scoring sheet, a priority list, and a way to check whether your changes actually helped students.
Examples are fictional. Adapt to your students’ needs and any accommodations in their plans. This is guidance, not a diagnosis.
At a glance
- Audit the room you have, mid-year, before buying anything new.
- Walk the room at student height and along real student routes.
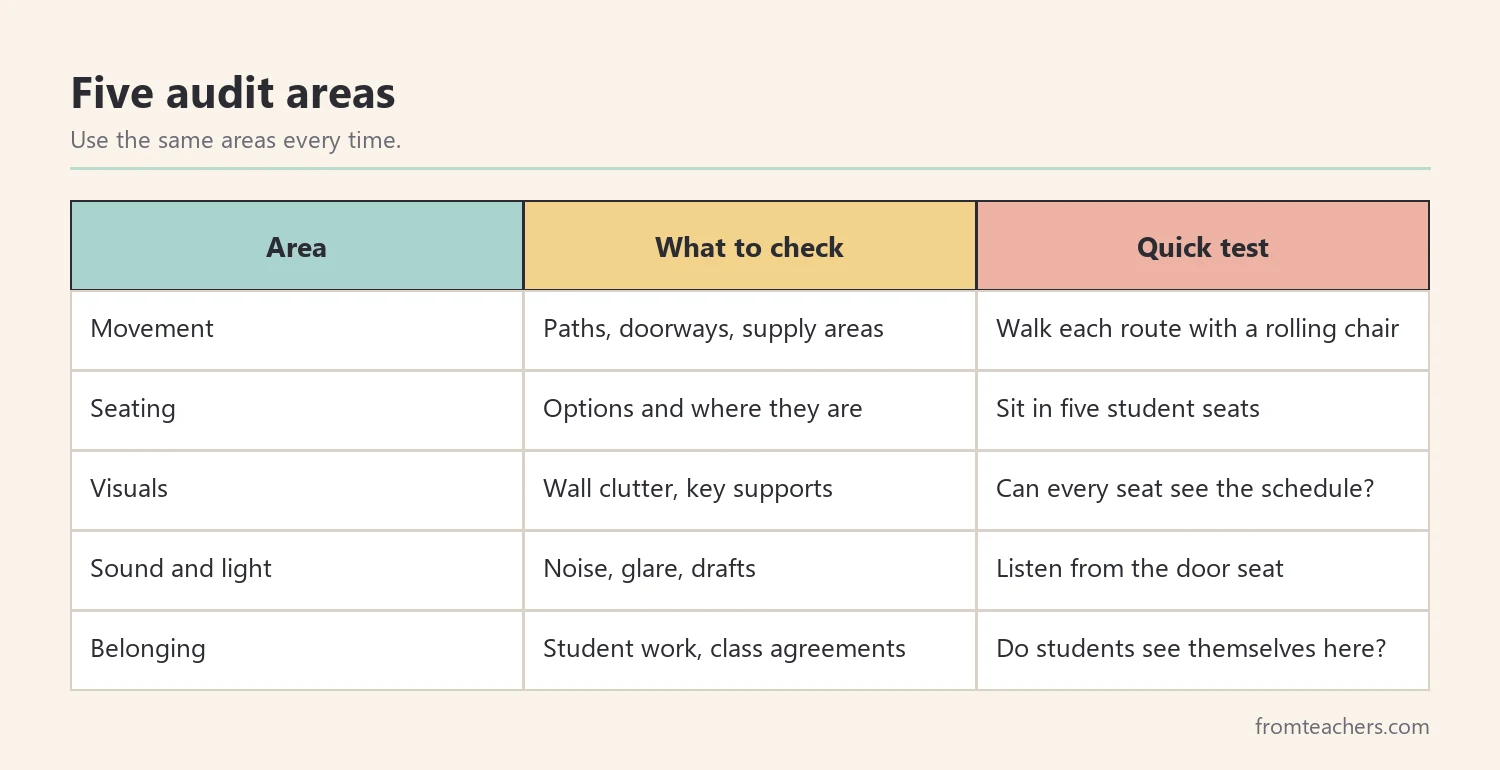
- Score five areas: movement, seating, visuals, sound and light, belonging.
- Fix high-impact, low-cost problems first.
- Check the result with student feedback and simple observations.
1. Plan your classroom layout audit
First, pick a quiet time when the room is empty, such as after school or during a planning period. A classroom layout audit takes about 30 to 45 minutes the first time. Bring a clipboard, a tape measure if you have one, your seating chart, and a list of the accommodations in your students’ plans.
Next, decide what you will look at. Inclusive design guides often group the classroom into a few big areas: physical space and layout, the visual environment, flexible seating and movement, access to learning (the Universal Design for Learning view), and belonging. Using the same five areas every time makes your audits comparable.
Then, gather what you already know. Which students have needs related to movement, vision, hearing, attention, or sensory sensitivity? Where do problems tend to happen, such as crowding at the supply shelf or noise near the door? Write these down before you start, so you can test them during the walk.
Mr. Okafor (fictional, grade 6) teaches 26 students. One student, Lina, uses a wheelchair. Several others have attention or sensory needs listed in their plans. He had arranged the room in August and had not looked at it critically since. In November, he set aside a Thursday afternoon for his first classroom layout audit.
2. Walk the room at student height
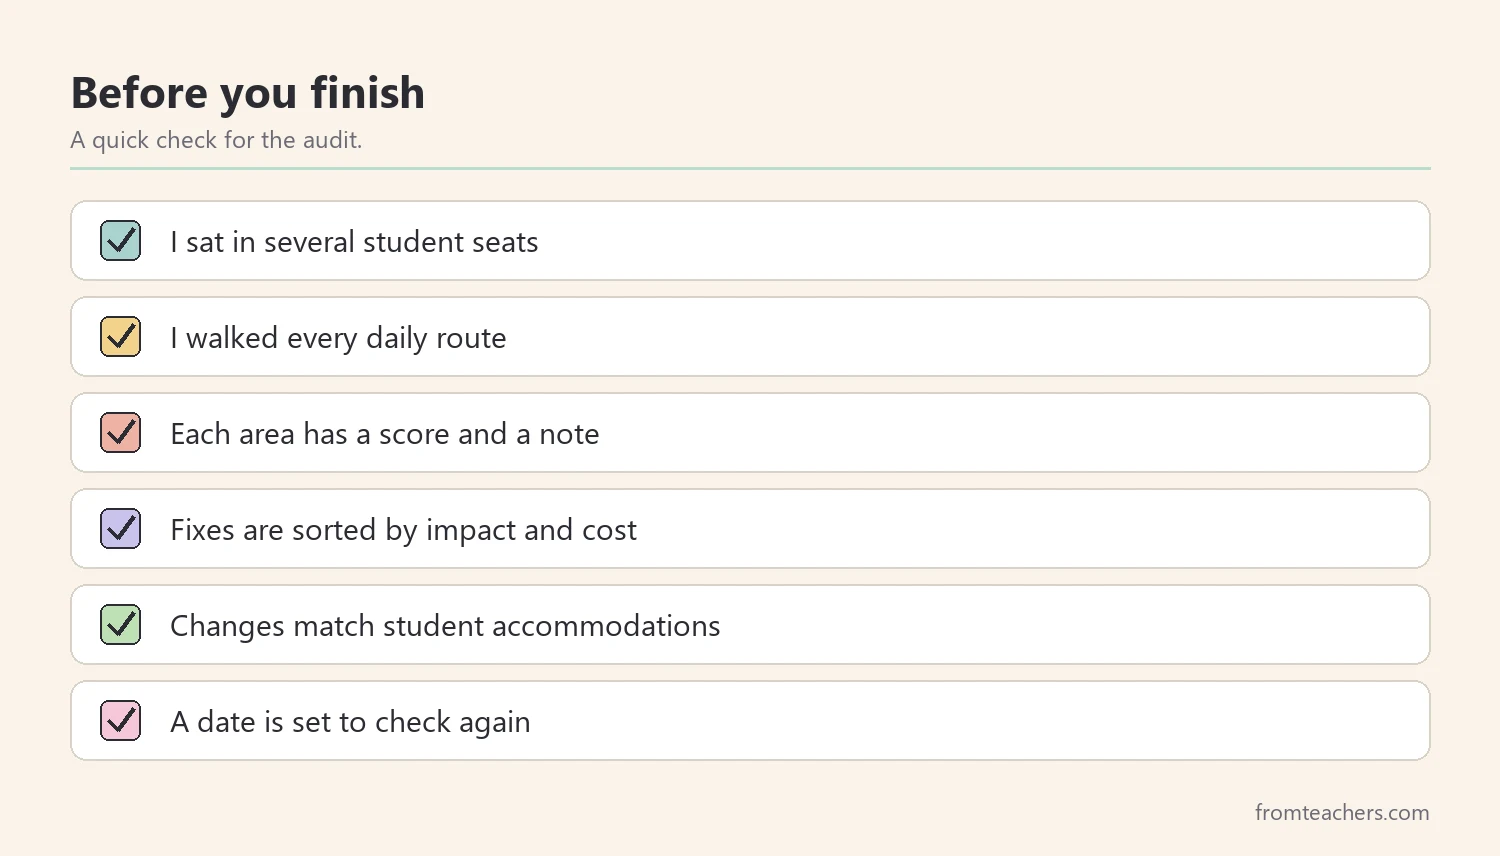
Next, walk the room the way students do. Sit in several student seats, including the ones at the back and by the door. What can you see? Can you read the board? Is there glare on the screen? Can you hear clearly from that spot, or is the hallway louder than the teacher?
Then, follow the real routes students take every day: from the door to their seat, from their seat to the supply area, to the sink, to the bin, to the reading corner, and out the door during a fire drill. Use a chair with wheels or imagine a wheelchair or walker if any student uses one. Note every place where the path narrows, bends sharply, or is blocked by bags.
In addition, look at the walls from a seated position. Busy walls with many colors and layers can be overwhelming for some students. On the other hand, essential visual supports such as the daily schedule or key vocabulary should be easy to see from every seat.
During his walk, Mr. Okafor noticed three things he had never seen from the front of the room. The path from Lina’s desk to the supply shelf was narrower than her chair in two places. The seat by the door got hallway noise and a draft. The daily schedule was hidden behind the open door for half the class.
| Seat or route | What he noticed (fictional) | Area |
|---|---|---|
| Lina’s route to supplies | Two narrow points between clusters | Movement |
| Seat by the door | Hallway noise and a draft | Sound and light |
| Back left seats | Schedule hidden behind the door | Visuals |
| Reading corner | Used as storage, no seating | Seating |
Look through the lens of specific needs
During a classroom layout audit, it helps to walk the room several times, each time imagining a different student. First, think about a student who uses a mobility device: are doorways, aisles, and shelves reachable? Next, think about a student with low vision: is key information large, high-contrast, and free of glare?
Then, imagine a student who is easily distracted or sensitive to noise. Which seats face the door, the window, or a busy corridor? Is there at least one calmer spot? Finally, imagine a student who is new to the class or learning English. Can they find the schedule, the supplies, and the rules without asking?
These short, focused walks often reveal problems that a single general walk misses. They also connect the classroom layout audit directly to the students on your roster, rather than to an ideal room in a catalog.
3. Score the room with a simple rubric
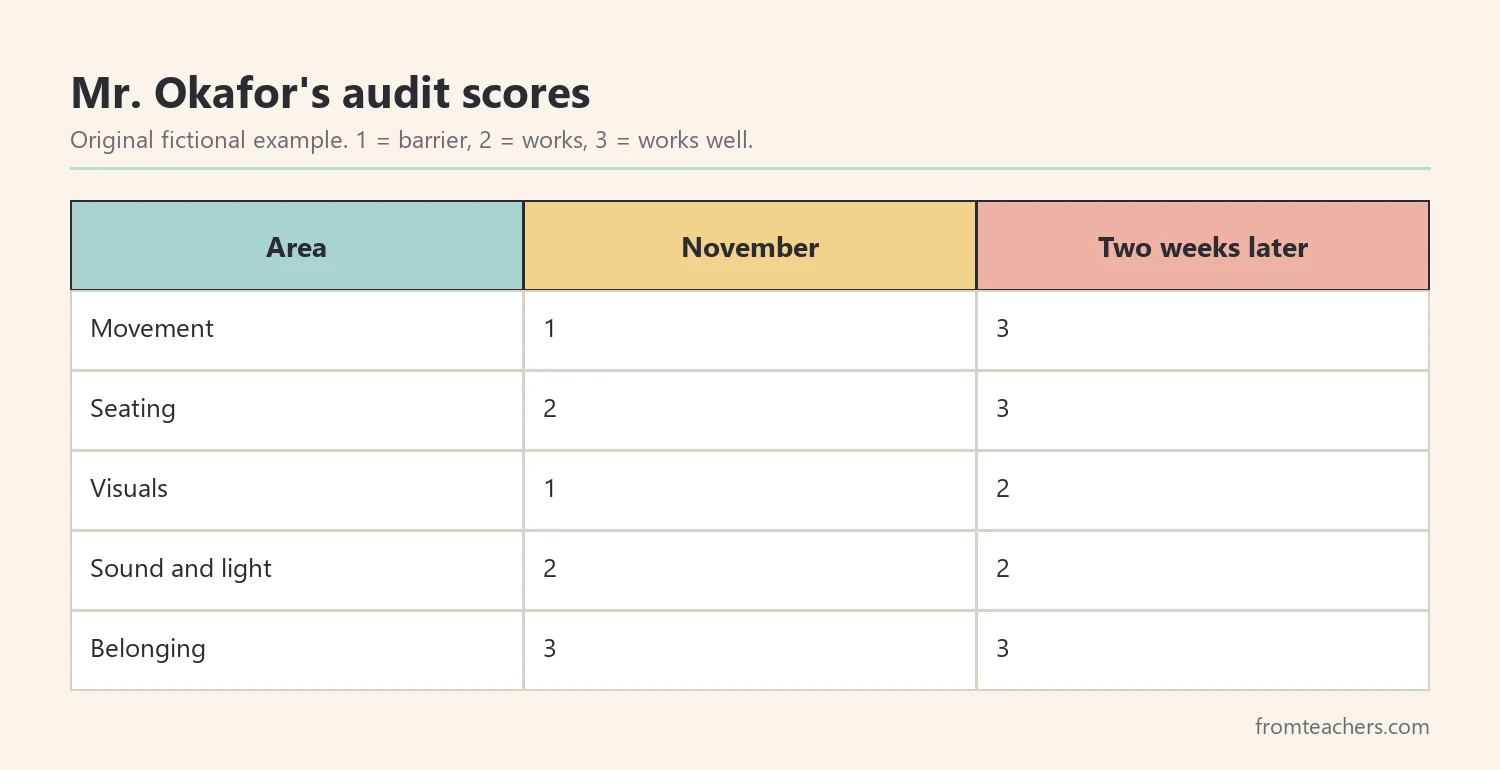
Once you have walked the room, give each of the five areas a simple score. A three-point scale works well: 1 means a real barrier for some students, 2 means it works but could be better, and 3 means it works well for everyone. The goal of a classroom layout audit is not a perfect score; it is a clear picture of where to act first.
Next, add one or two specific notes for each score. “Movement: 1, two narrow points on Lina’s route” is far more useful than “Movement: 1, crowded.” Specific notes turn directly into actions.
Then, ask a colleague to walk the room with you, if possible. A special education teacher, an occupational therapist, or a paraprofessional who works in your room will notice different things. Two sets of eyes make the audit fairer.
Mr. Okafor’s first scores looked like the table in Figure 2. Movement and visuals scored lowest. Seating was in the middle, because he had some flexible options but the reading corner had become storage. Belonging scored well, thanks to a student-made class agreement on the wall.
For deeper guidance on each area, Mr. Okafor used an inclusive classroom design guide covering layout, visual environment, flexible seating, UDL, and belonging. Its before-and-after comparisons helped him see what designing for inclusion from the start looks like, compared with adding fixes afterward.
4. Fix high-impact, low-cost problems first
Next, turn your notes into a short action list. For each problem, ask two questions: how many students does it affect, and how much does it cost in time or money? Problems that affect key students or many students, and cost little, go first.
Many of the best fixes from a classroom layout audit are free. Moving a desk cluster, clearing a path, relocating a schedule, or removing old displays can be done in an afternoon. More expensive changes, such as new seating, can wait until you know what students actually need.
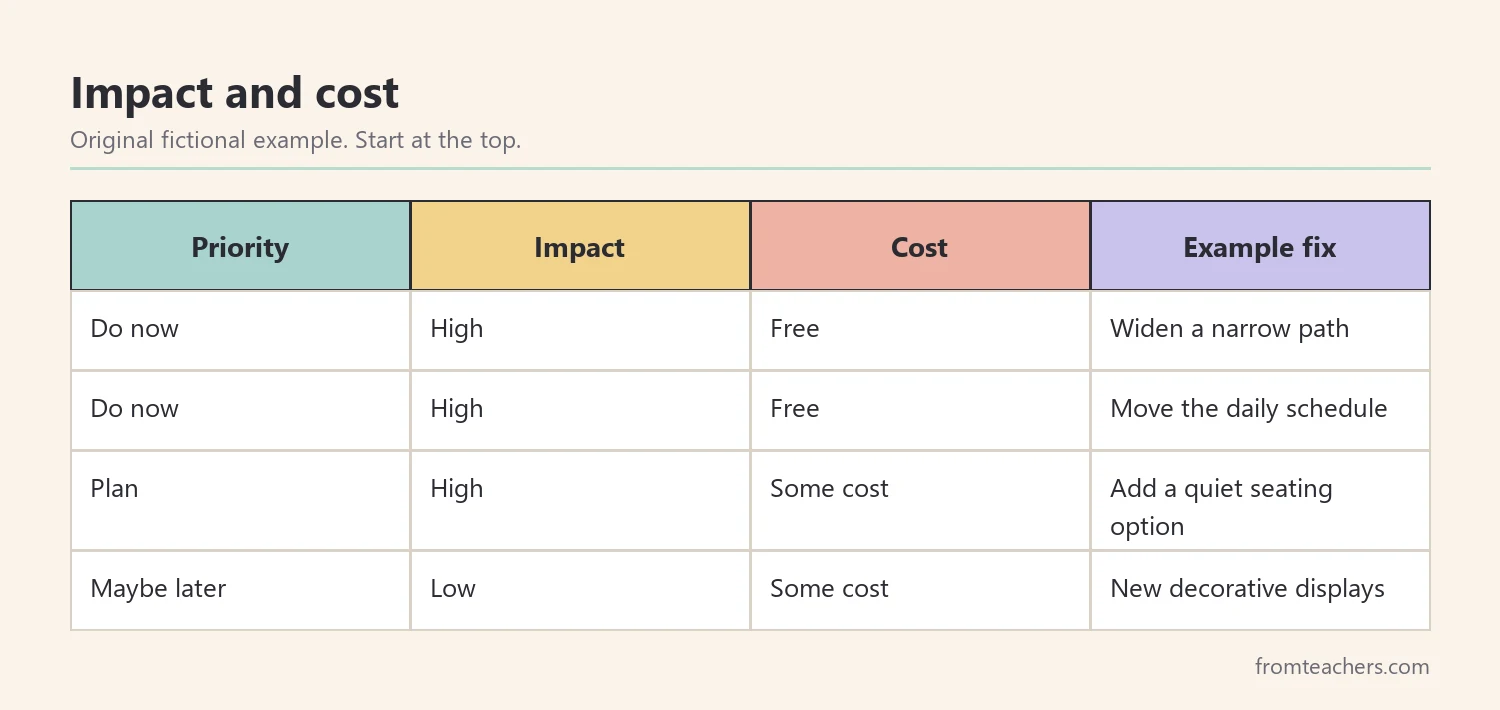
Mr. Okafor’s first-week actions were all free. He moved one desk cluster to widen Lina’s route, swapped the seat by the door for a storage shelf, moved the daily schedule to the wall opposite the door, and cleared the reading corner. He also took down about half of the older wall displays, keeping only what students used.
In addition, involve students in some fixes. Students can help decide which displays stay, suggest names for zones, or test a new route. When students help shape the room, they are more likely to care for it.
Moreover, check every change against students’ accommodations. If a student’s plan says “preferential seating near instruction,” make sure the new layout still provides that. Layout changes should support plans, not accidentally undo them.
Finally, write down what you changed and the date. This simple record makes the next audit easier and helps you explain your choices to colleagues, families, or administrators.
5. Check the result and repeat each term
A classroom layout audit is only useful if you check whether the changes helped. Two weeks after your changes, look again with the same five areas and the same scale. In addition, add two simple sources of evidence: student feedback and a few observations.
For student feedback, ask a few short questions. “Is it easy to get to the supplies?” “Can you see the schedule from your seat?” “Is there a place you can go when you need a quiet moment?” Younger students can answer with thumbs up or down; older students can write a sentence.
For observations, choose one or two things you can count. For example, how many times students bumped into furniture or blocked each other at the supply shelf during a transition, or how long it took the class to line up. Compare a few days before and after the change.
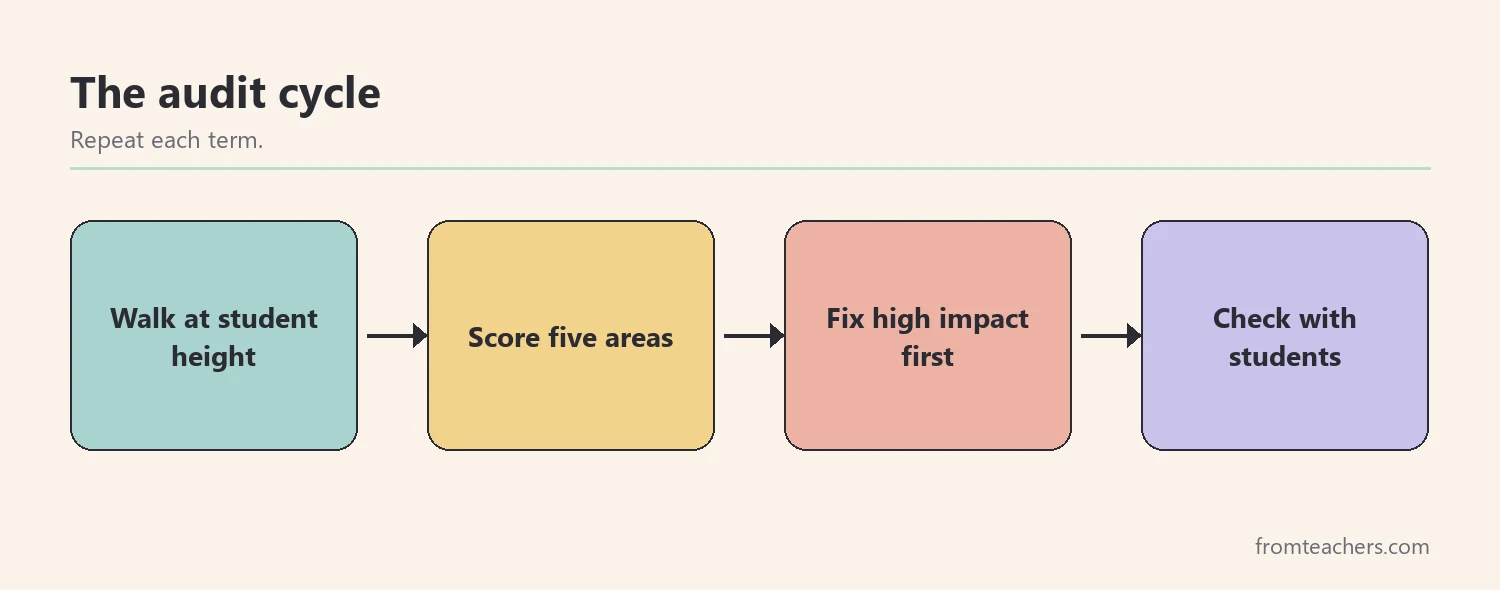
For Mr. Okafor, the second audit showed clear gains in movement and visuals, as Figure 2 shows. Lina said she could now reach the supplies “without asking people to move.” Several students mentioned that the reading corner felt calm again. However, sound near the window was still a problem, so he added that to his next list.
Then, plan to repeat the audit each term. Classrooms change gradually as the year goes on: new materials arrive, projects pile up, and student needs shift. A short audit in each term keeps the room working for the students you actually have.
Common mistakes and how to avoid them
- Auditing from the teacher’s desk. The view from the front hides most barriers. Fix: sit in student seats and walk student routes.
- Buying furniture first. New seating cannot fix a blocked path or a cluttered wall. Fix: do free fixes first, then decide what to buy.
- Changing everything at once. Students can lose routines they rely on. Fix: make a few changes, explain them, and check before the next round.
- Ignoring student plans. A new layout can accidentally remove an accommodation. Fix: check each change against students’ plans.
- Doing one audit and stopping. Rooms drift over the year. Fix: schedule a short classroom layout audit each term.
Questions teachers ask about a classroom layout audit
How long does a classroom layout audit take?
The first one usually takes 30 to 45 minutes, plus time for fixes. Later audits are faster because you already know the five areas and your room. A short follow-up check takes about 15 minutes.
Do I need special equipment?
No. A clipboard, your seating chart, and a list of student accommodations are enough. A tape measure helps with paths and doorways, and a rolling chair can help you test routes.
Should students take part?
Yes, in age-appropriate ways. Students can share what is hard to see, reach, or hear, and help choose displays. Their feedback is one of the best checks on whether changes worked.
What if my room is very small?
Small rooms benefit the most from an audit. Focus on clear paths, fewer wall layers, and one calm spot. Removing unused furniture often frees more space than any rearrangement.
Who else should see the results?
Share key findings with co-teachers, support staff, and, where relevant, the IEP team. Physical or occupational therapists may suggest further adjustments for students with specific needs.
Related reading: Accommodations vs Modifications in Special Education, Managing Sensory Overload: Practical Strategies for Autism and ADHD, and Special Education Strategies: 10 Powerful Ways Teachers Can Succeed.
You may also need: Special Education Classroom Setup Guide for Teachers & Autism Support.
A companion resource for a classroom layout audit:
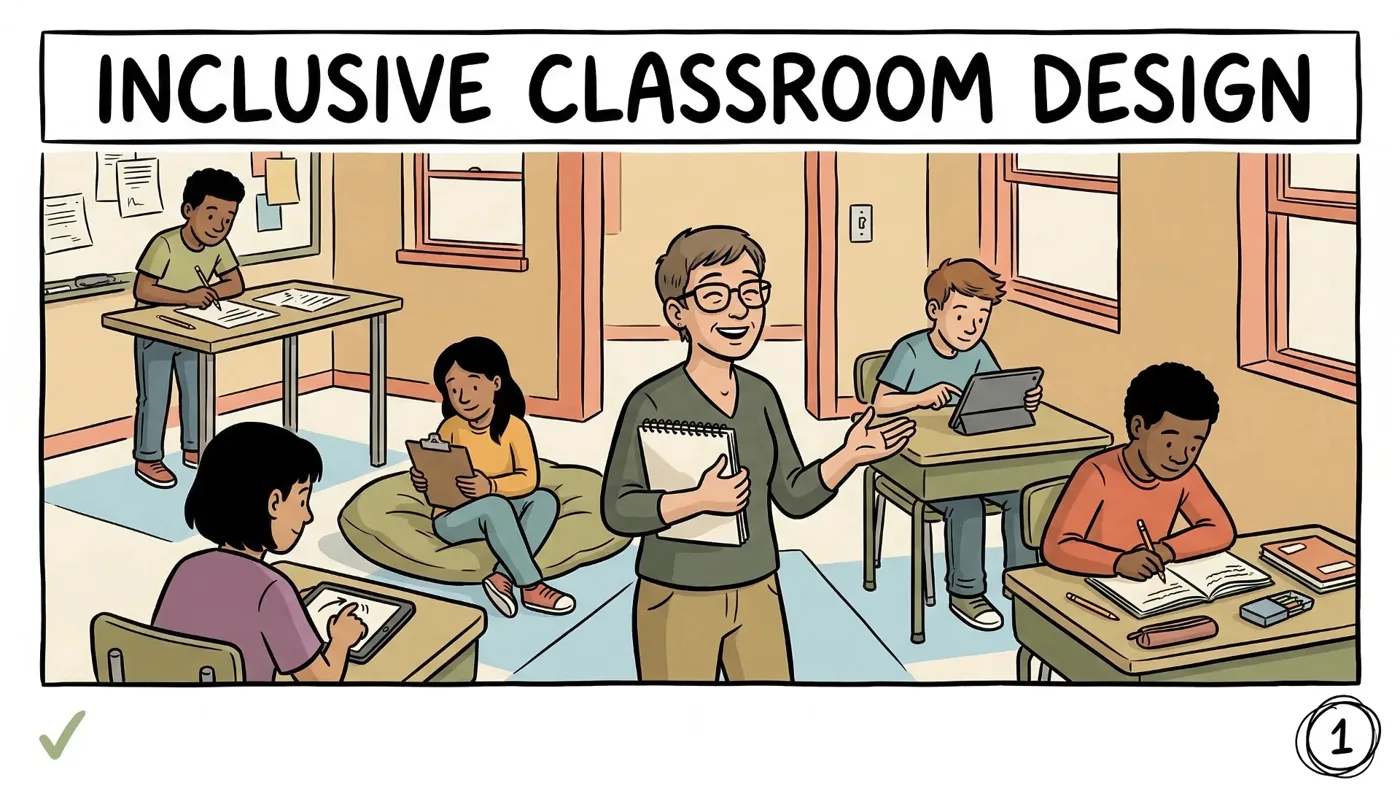
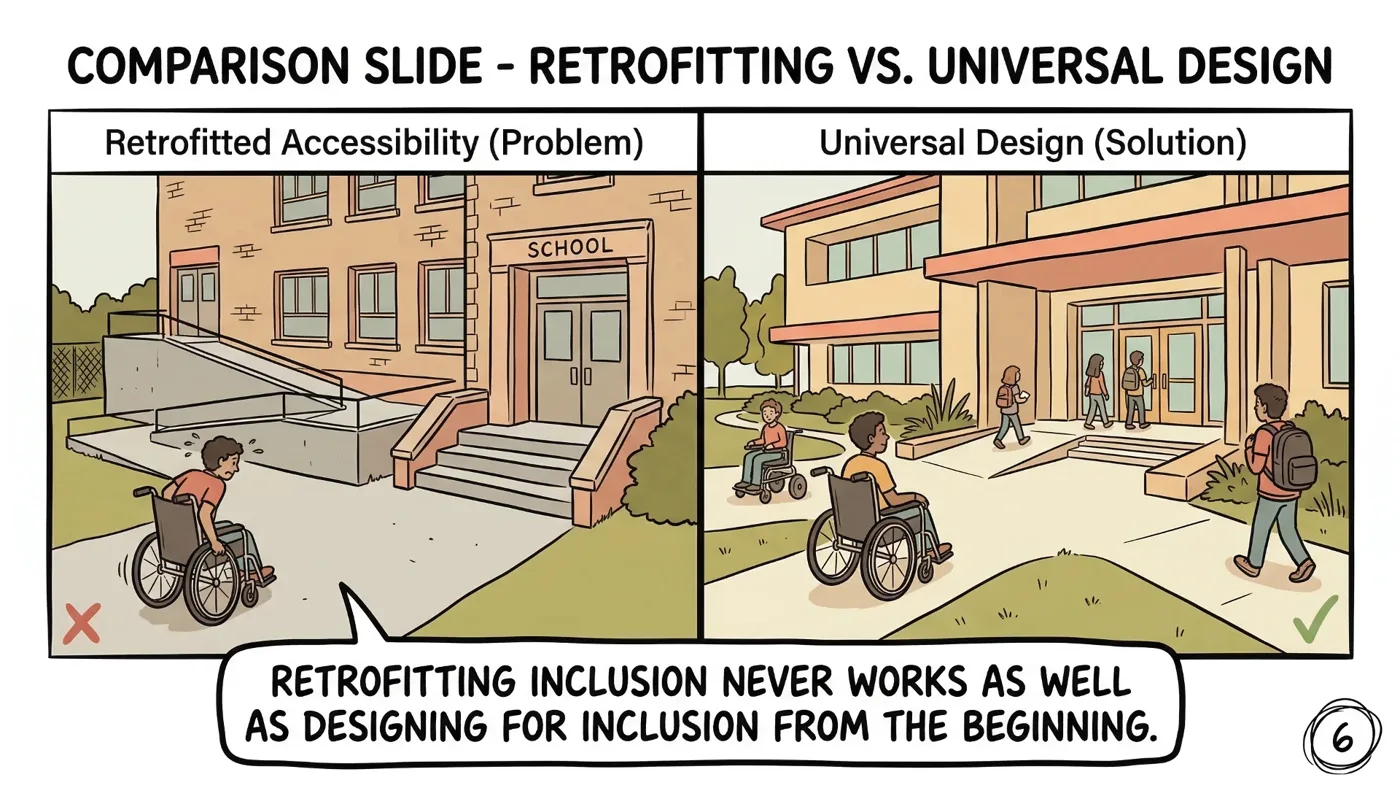
Inclusive Classroom Design Guide: UDL & Flexible Seating: a 53-page comic-style guide covering physical space and layout, visual environment, flexible seating and movement, Universal Design for Learning, and belonging, with before-and-after comparisons.
Sources and scope
- CAST UDL Guidelines: the framework for designing learning environments that work for a wide range of learners.
- IRIS Center, Vanderbilt University: free modules on classroom environment, accommodations, and UDL.
- Individuals with Disabilities Education Act (IDEA): federal information on accommodations and the least restrictive environment.
- Understood.org: practical articles on classroom supports for students who learn and think differently.
This guide covers informal audits of an existing classroom by teachers. It does not cover building codes, formal accessibility compliance reviews, or individual therapy recommendations, which belong to qualified professionals and your district.
Key takeaways
- A classroom layout audit shows the room the way students experience it.
- Walking student routes at student height reveals hidden barriers.
- A simple five-area score points to where to act first.
- Free, high-impact fixes usually come before new furniture.
- Student feedback and a repeat audit each term show what worked.










Leave a Comment