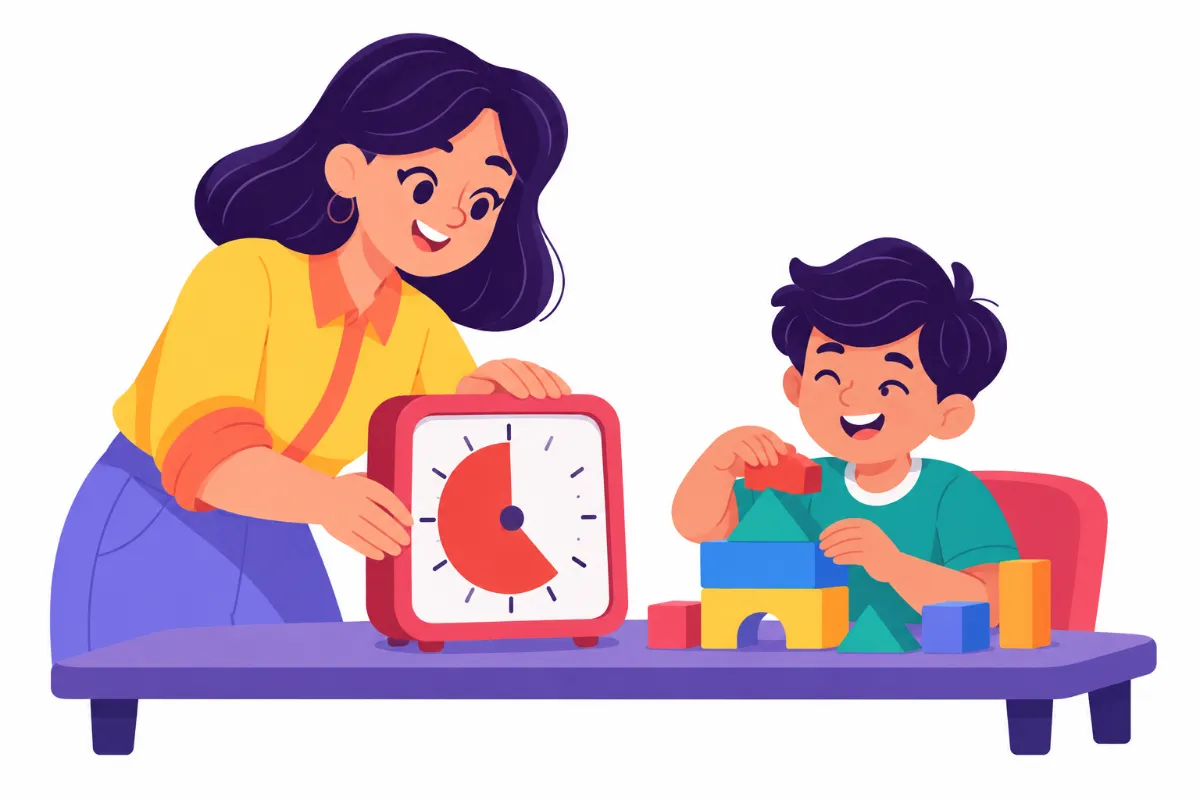

Transition timers for students show, in a clear and visual way, how much time is left before one activity ends and the next begins. Picture the end of free play in a second-grade classroom: the teacher says “Clean up,” and one student keeps building as if nothing was said. A minute later, the blocks are on the floor and the whole room is waiting.
After reading this guide, you will be able to pick a timer that fits the student, teach what it means, run a calm countdown routine, record how transitions go, and fade support over time. The steps work in general classrooms, special education settings, and at home.
Examples are fictional. Adapt to the student’s goals and agreed supports. This is guidance, not a diagnosis.
At a glance
- A visible timer makes the end of an activity predictable instead of sudden.
- Choose the timer type that matches how the student understands time.
- Teach the timer during calm, easy moments before using it for hard ones.
- Pair the timer with a “what comes next” picture and a short, consistent script.
- Track a few transitions each day, then fade the timer step by step.
1. Understand Why Transitions Are Hard
Stopping a preferred activity can feel like losing something important. Because of this, students may protest, freeze, or melt down when asked to switch. Often, the problem is not the next task. Instead, it is the surprise of the stop.
Unclear endings make it worse. When a student cannot see when time will be up, every request to stop feels sudden. In addition, many students with autism, ADHD, or anxiety need extra time to shift attention from one task to another.
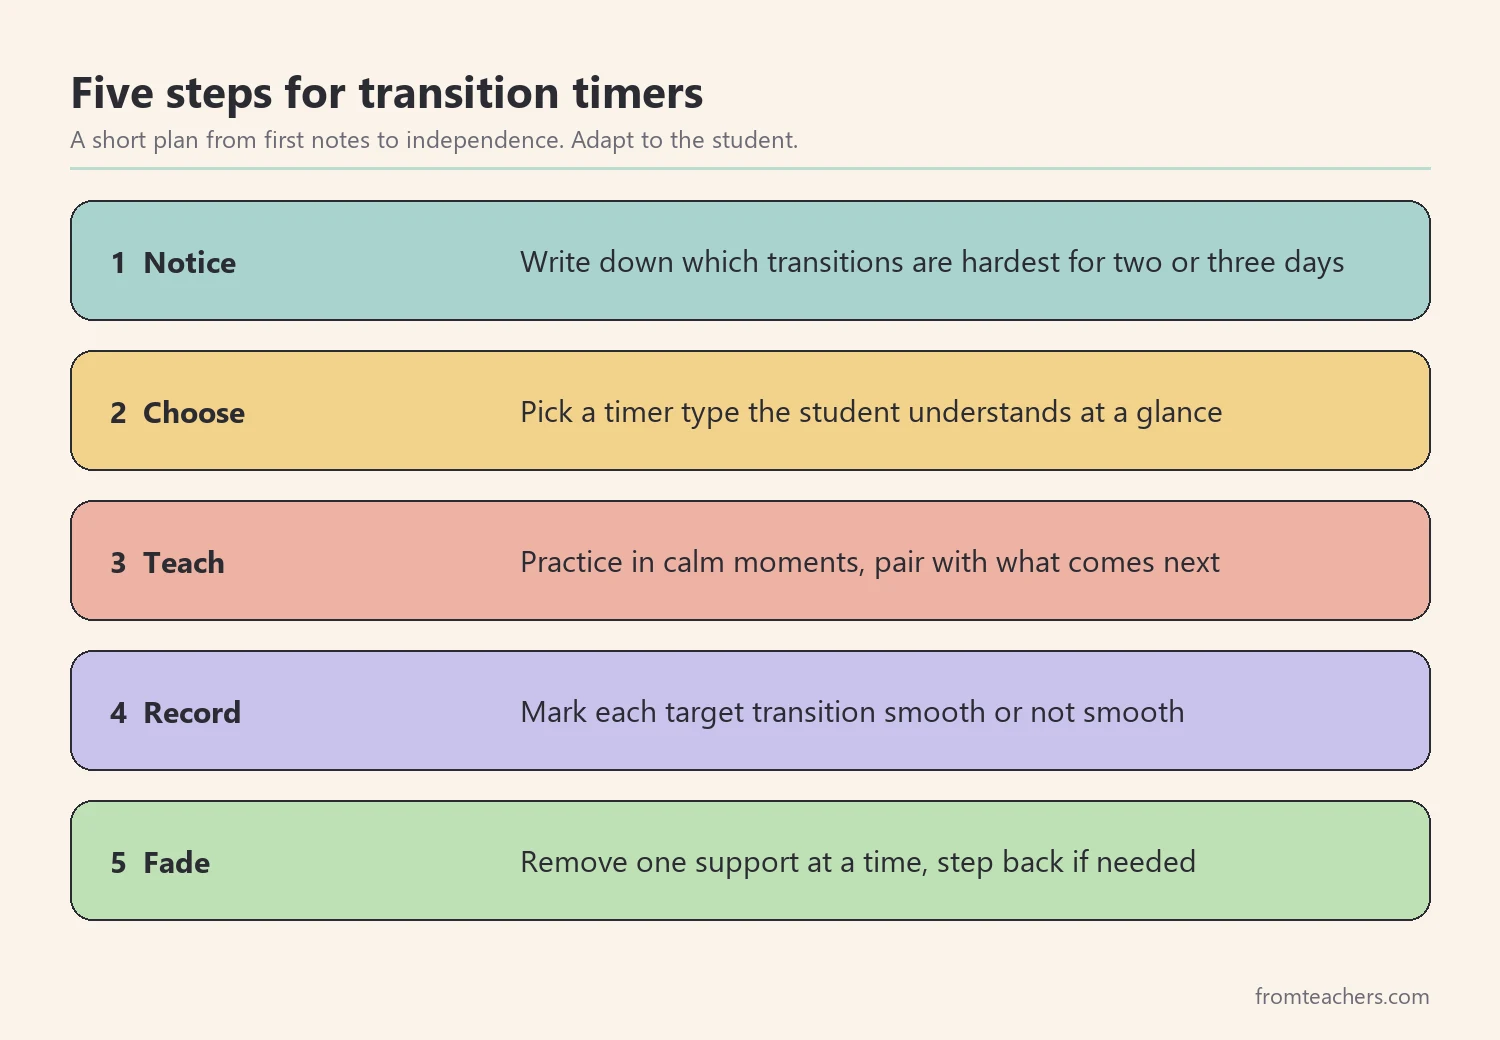
So, before buying any transition timers for students, notice where transitions break down. Watch for two or three days and write down which changes are hardest. For example, the move from recess to reading may be smooth, while the move from computer time to math is not.
Consider our fictional student, Maya, grade 2. Maya loves building with blocks and drawing. Her teacher, Mr. Okafor, notices that most of her difficult moments happen when a preferred activity ends.
| Transition | What Mr. Okafor sees | Hard? |
|---|---|---|
| Arrival to morning work | Settles quickly | No |
| Blocks to reading group | Keeps building, cries | Yes |
| Recess to classroom | Lines up with peers | No |
| Drawing to math | Hides paper, refuses | Yes |
As a result, Mr. Okafor knows where to start. He will use transition timers for students like Maya first at the two hard moments, not all day long.
2. Choose Transition Timers for Students That Fit
Different students respond to different transition timers for students. Therefore, try a few before settling on one. The best timer is the one the student can understand at a glance.
In addition, think about where the timer will live. A timer on the student’s desk works for seated tasks, while a timer on the wall works for group areas. Also, consider portability: a small timer can travel to the library, the gym, or the car, so the same signal follows the student through the day.
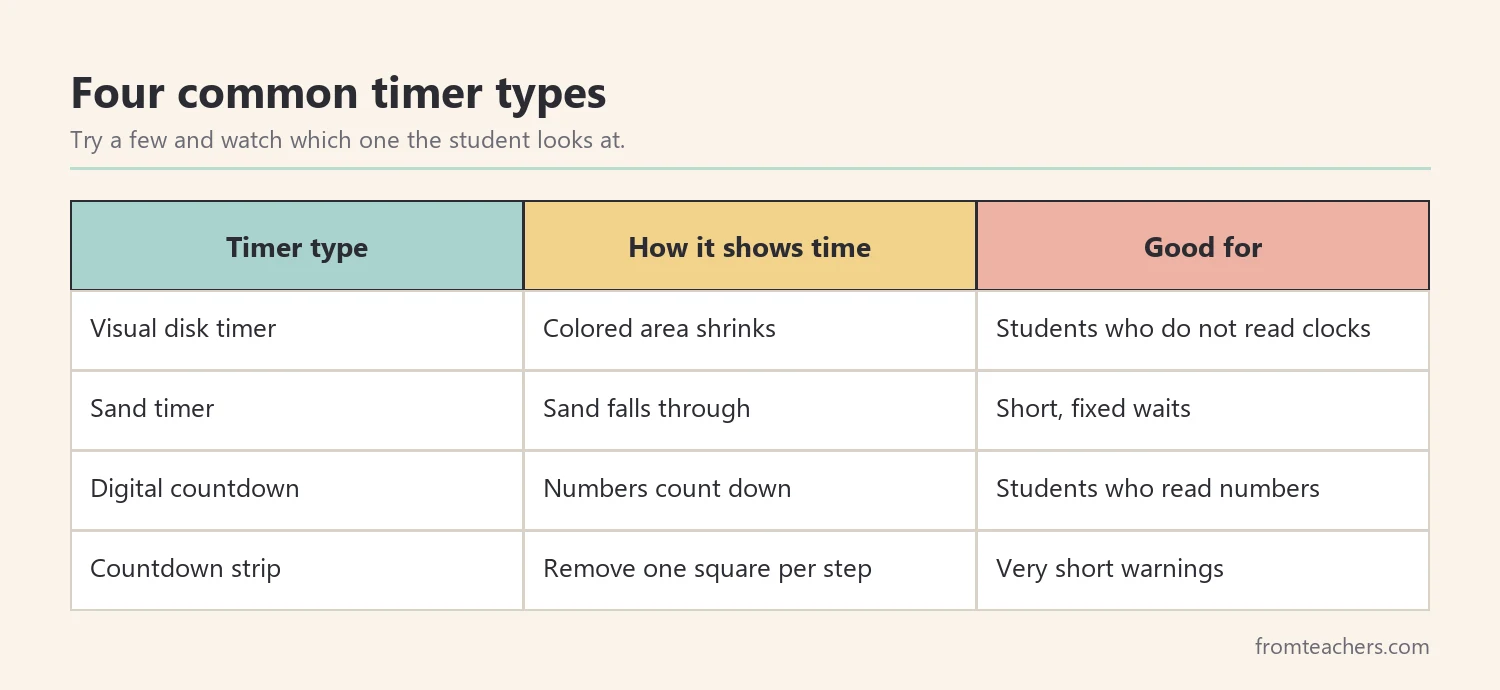
First, think about how the student reads time. Some students cannot yet tell time on a clock, yet they understand “less” and “more” very well. For them, a timer with a shrinking colored area works well. Others like to watch sand fall or hear a clear sound at the end.
| Timer type | How it shows time | Good for |
|---|---|---|
| Visual disk timer | Colored area shrinks | Students who do not read clocks |
| Sand timer | Sand falls through | Short, fixed waits |
| Digital countdown | Numbers count down | Students who read numbers |
| Countdown strip | Remove one square per step | Very short warnings |
Next, check the sound of your transition timers for students. Some students find a loud alarm upsetting. In that case, choose a silent timer or a soft tone. Also, place the timer where the student can see it without leaving the activity.
For Maya, Mr. Okafor tries a visual disk timer and a sand timer for three days each. Maya ignores the sand timer but watches the colored disk closely. So, he keeps the disk timer and sets it beside her block area.
Finally, keep the same timer for the same transitions. Consistent transition timers for students become a signal the student recognizes without words. Changing tools every week makes the signal harder to learn.
3. Teach What the Timer Means
Transition timers for students only help when the student knows what they mean. So, teach it during calm, easy moments first. Then, use it for harder transitions once the meaning is clear.
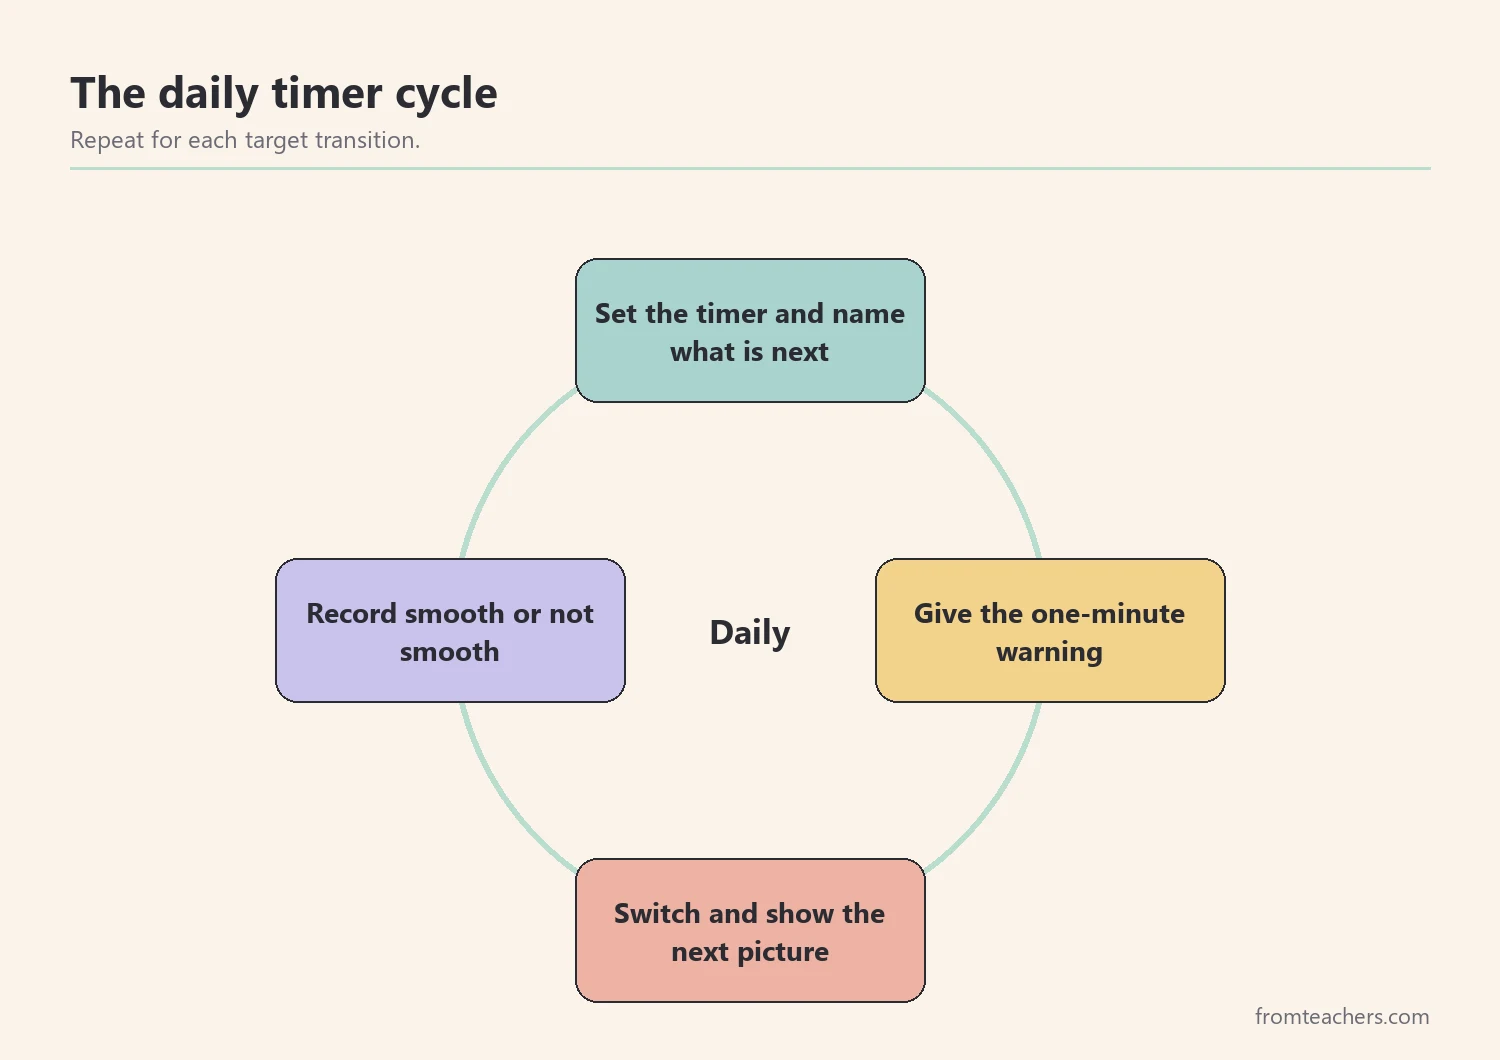
First, show the timer during an activity the student does not mind ending. For instance, set it for two minutes during a short worksheet. When the color is gone, say the same script every time: “Time is up. Next is snack.” Then, move to the next activity right away.
Next, pair the timer with a picture of what comes next. A “first, then” card or a picture on a daily schedule helps the student see where they are going, not only what they are leaving. In addition, keep your words short and the same each time.
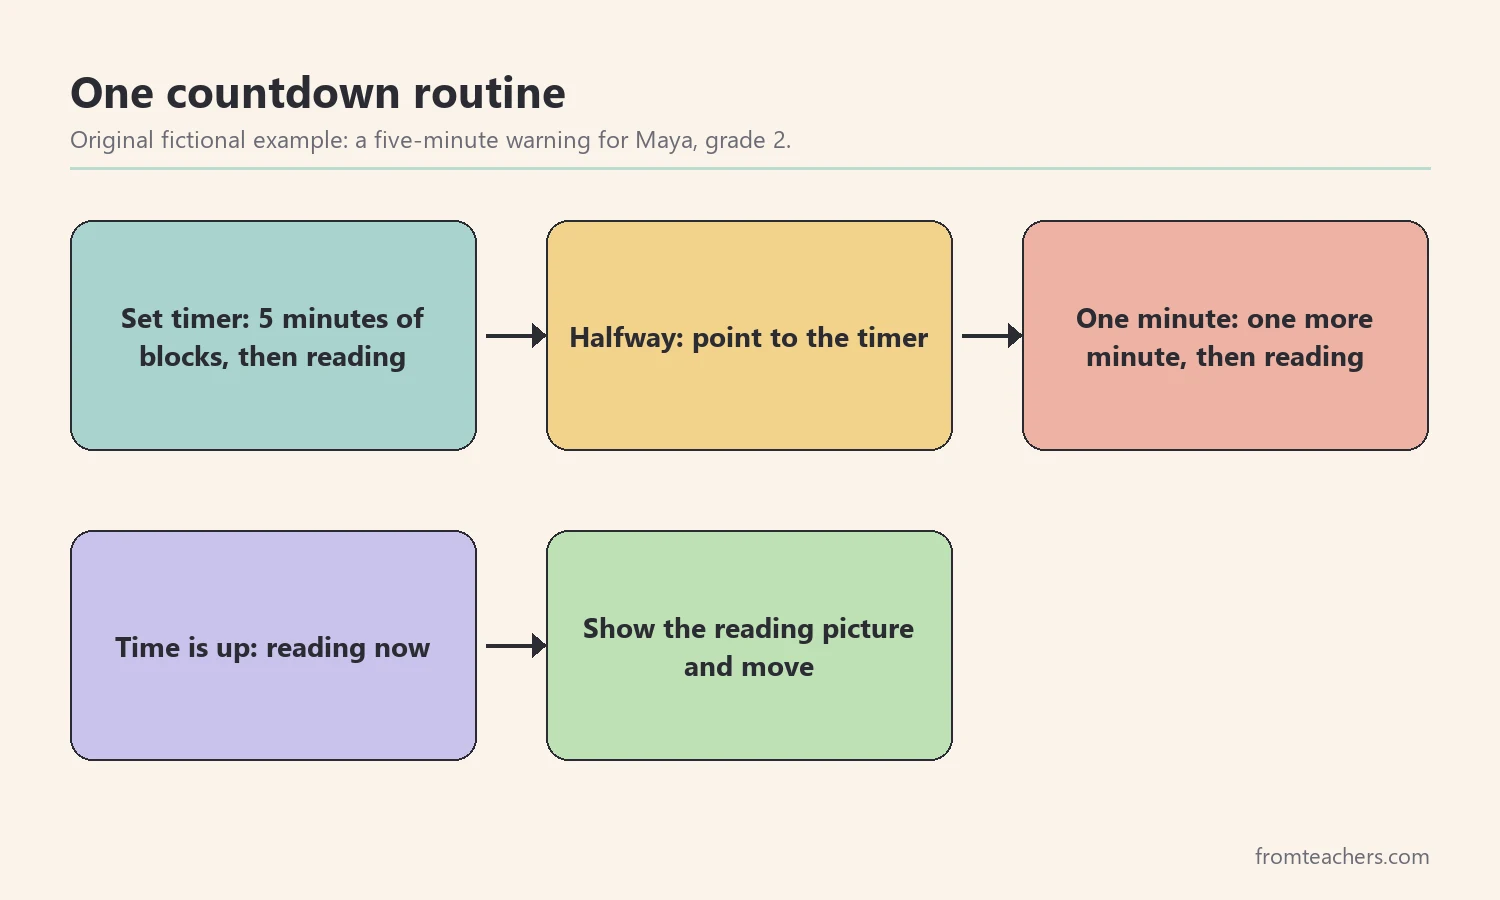
Here is the simple script Mr. Okafor uses with Maya:
- When he sets the timer: “Five minutes of blocks. Then reading.”
- Halfway: point to the timer without speaking.
- At one minute: “One more minute. Then reading.”
- At the end: “Time is up. Reading now,” and he shows the reading picture.
Above all, keep the promise. Transition timers for students work because they are reliable. If the timer says five minutes, do not stop the student after three. Likewise, do not add “just two more minutes” every time. When the countdown always ends as promised, the student learns that the timer can be trusted.
If you want a fuller plan around this step, the guide to creating predictable routines for special education students includes a chapter on transition routines that bridge activities smoothly, along with printable routine templates.
4. Record How Transition Timers for Students Are Working
Without a record, it is hard to tell whether transition timers for students are helping. A simple tally takes less than a minute a day. Also, it helps every adult describe progress in the same way.
First, decide what counts as a smooth transition. For example, “The student stops the activity and starts the next one within one minute of the timer ending, with no more than one verbal reminder.” Write that definition down so everyone uses it.
Then, record only the target transitions. Keep a small tally sheet or sticky note near the timer so it is easy to mark right after each change. For each one, mark smooth or not smooth. At the end of the week, count both.
For Maya, Mr. Okafor tracks her two hard transitions every school day. That makes 10 transitions each week.
| Week | Smooth | Not smooth | Total |
|---|---|---|---|
| Week 1 (no timer) | 2 | 8 | 10 |
| Week 2 (timer taught) | 5 | 5 | 10 |
| Week 3 (timer routine) | 7 | 3 | 10 |
As a result, Mr. Okafor can see a clear change: 2 smooth transitions out of 10 in week one, and 7 out of 10 in week three. However, he also notices that most of the hard moments left happen on Mondays. So, he adds a short preview of the schedule on Monday mornings.
In addition, share the record with families and the support team. A short note such as “Maya had 7 smooth transitions out of 10 this week” keeps everyone informed without long reports.
5. Fade the Timer and Build Independence
The long-term goal of transition timers for students is not a student who needs a timer forever. Instead, it is a student who can handle change with less adult help. Therefore, once transitions are mostly smooth, start to fade support slowly.
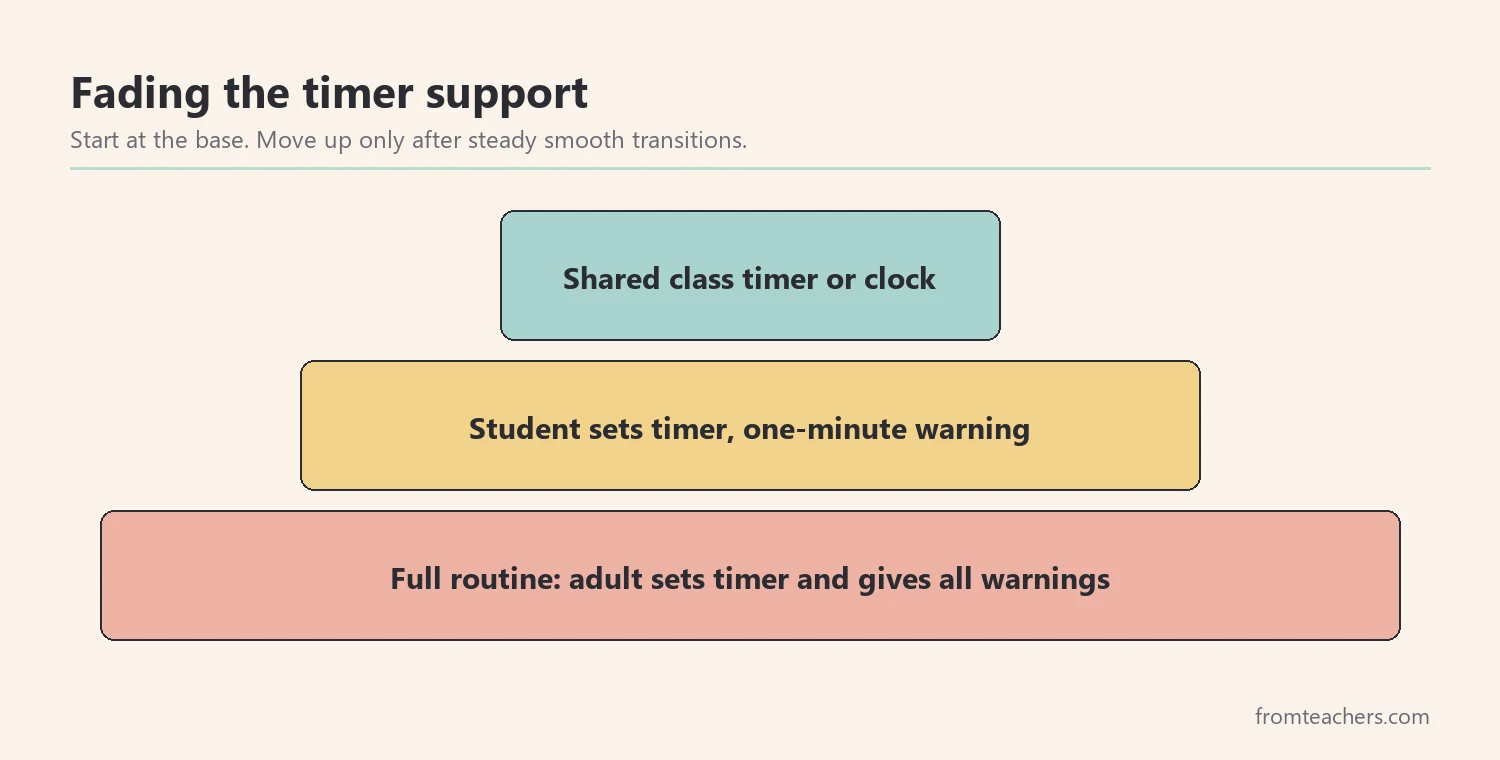
First, keep the timer but remove one verbal warning. For instance, drop the halfway point and keep only the one-minute warning. Next, let the student set the timer themselves. That small job builds ownership and confidence.
Then, move toward the classroom clock or a general class timer. At this stage, also invite the student to say what comes next before the timer ends, which builds their own planning skills. Some students will always benefit from a personal timer, and that is fine. The point is to match support to the student, not to remove it on a fixed date.
For Maya, Mr. Okafor waits until she has two weeks in a row with at least 7 smooth transitions out of 10. Then, he lets her set the disk timer for blocks. Later, he tries the shared class timer for drawing. If her tally drops, he returns to the earlier step for a week.
- Fade one support at a time, not all at once.
- Let the student set or start the timer.
- Keep the same words for the final warning.
- Go back one step if transitions become hard again.
Finally, use the same approach at home. Families can use transition timers for students during screen time, bath time, or leaving the park. Because the routine matches school, the student meets the same signal in both places.
Common mistakes and how to avoid them
- Adding extra time again and again. If “two more minutes” happens often, the timer loses meaning. Instead, keep the ending you promised.
- Using the timer only during hard moments. The student may then link the timer with stress. So, teach it first during easy, calm activities.
- No picture of what comes next. The student sees what is ending but not where they are going. Therefore, pair the timer with a “first, then” card or schedule.
- A loud or startling alarm. Some students find sudden sounds upsetting. Choose a silent timer or a soft tone.
- Too many timers at once. Using transition timers for students for every activity can feel like constant pressure. Start with the two or three hardest transitions.
- No record. Without data, it is hard to know when to fade. Track the target transitions daily and review weekly.
Questions teachers and parents ask about transition timers for students
What kind of timer works best for young students?
Many young students understand a visual disk timer or a sand timer better than numbers. The shrinking color or falling sand shows “less time” without needing to read a clock. Still, try a few types and watch which one the student actually looks at.
How long should the countdown be?
Start with a length that matches the activity and the student’s attention. Often, a five-minute warning with a one-minute reminder works well. However, some students need a shorter or longer warning, so adjust based on your records.
What if the student ignores the timer?
First, check that the student can see it and understands it. Then, go back to teaching during easy activities and pair the timer with a picture of what comes next. Also, make sure the ending is always kept, so the timer stays reliable.
Can transition timers for students be used at home?
Yes. They work well for screen time, bath time, and leaving a fun place. Use the same timer type and the same short words as school when you can, so the signal stays consistent.
When should I stop using the timer?
Fade it slowly once transitions are mostly smooth for a few weeks in a row. Remove one support at a time and watch the record. If transitions get harder again, return to the previous step for a while.
Related reading: Meltdowns vs Tantrums: A Guide to Understanding and Responding, Effective ADHD Classroom Strategies to Support Student Success, and The Power of Data Tracking in Special Education.
A companion resource for transition timers for students
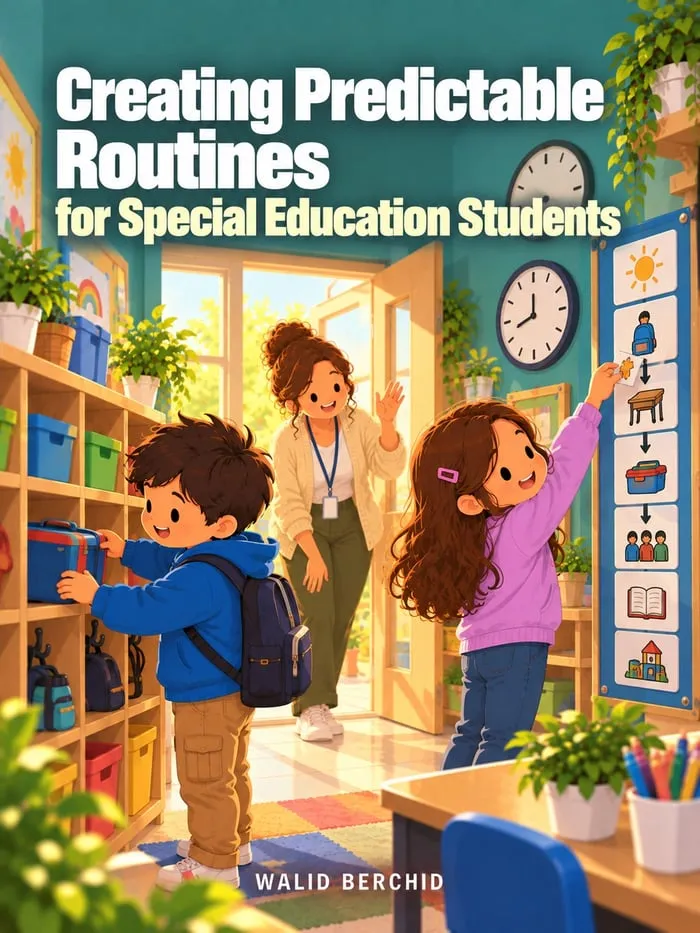
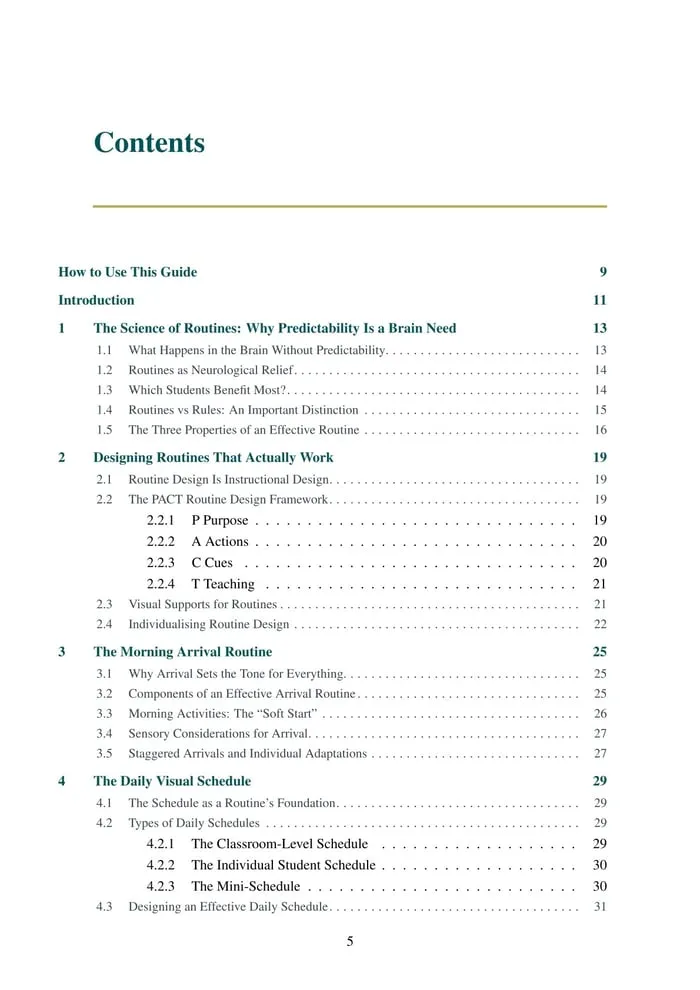
Creating Predictable Routines for Special Education Students | Home & School Guide: a 79-page PDF guide for teachers, paraprofessionals, and families. It covers daily visual schedules, transition routines, troubleshooting when routines break down, home routines, and printable routine templates.
Sources and scope
- IRIS Center at Vanderbilt University: free modules on classroom behavior, routines, and supports for students with disabilities.
- Understood.org: practical guidance for families and teachers on ADHD, transitions, and executive function.
- CDC: Autism Spectrum Disorder: general information on autism for families and educators.
- Individuals with Disabilities Education Act (IDEA): the federal law and resources on special education services.
This guide covers choosing, teaching, tracking, and fading visual timers for everyday transitions at school and at home. It does not replace an individualized behavior plan or advice from the student’s IEP team.
Key takeaways
- Transition timers for students make the end of an activity visible and predictable.
- Choose a timer type the student understands and keep it consistent.
- Teach the timer during calm moments and always keep the promised ending.
- Record target transitions daily so you can see real change.
- Fade support one step at a time and return a step when needed.










Leave a Comment