

Kitchen safety skills often get tested in a single quick moment: a child reaches for a hot pan handle, picks up a knife by the blade, or steps on a wet spot by the sink. Most kids want to help in the kitchen, and that eagerness is a gift. However, without clear routines, eagerness can turn into a burn, a cut, or a fall.
This guide gives you a step-by-step way to teach kitchen safety skills at school or at home. By the end, you will be able to name the main hazards, teach tool and heat rules, build clean habits, practice with real tasks, and check progress fairly. Examples are fictional. Adapt to the student’s goals and agreed supports. This is guidance, not a diagnosis.
At a glance
- Teach the five main hazard areas: sharp tools, heat, fire, germs, and slips.
- Turn each hazard into one short, visual rule the child can say and show.
- Model first, then practice with close support, then fade help gradually.
- Use real tasks in a real kitchen as soon as the child is ready.
- Track each skill with a simple checklist and review it together.
1. Map the hazards before teaching kitchen safety skills
Before you teach anything, look at the kitchen through a child’s eyes. What is at eye level? What can they reach? Where does water collect? This short walk-through helps you decide which kitchen safety skills matter most for this child in this space.
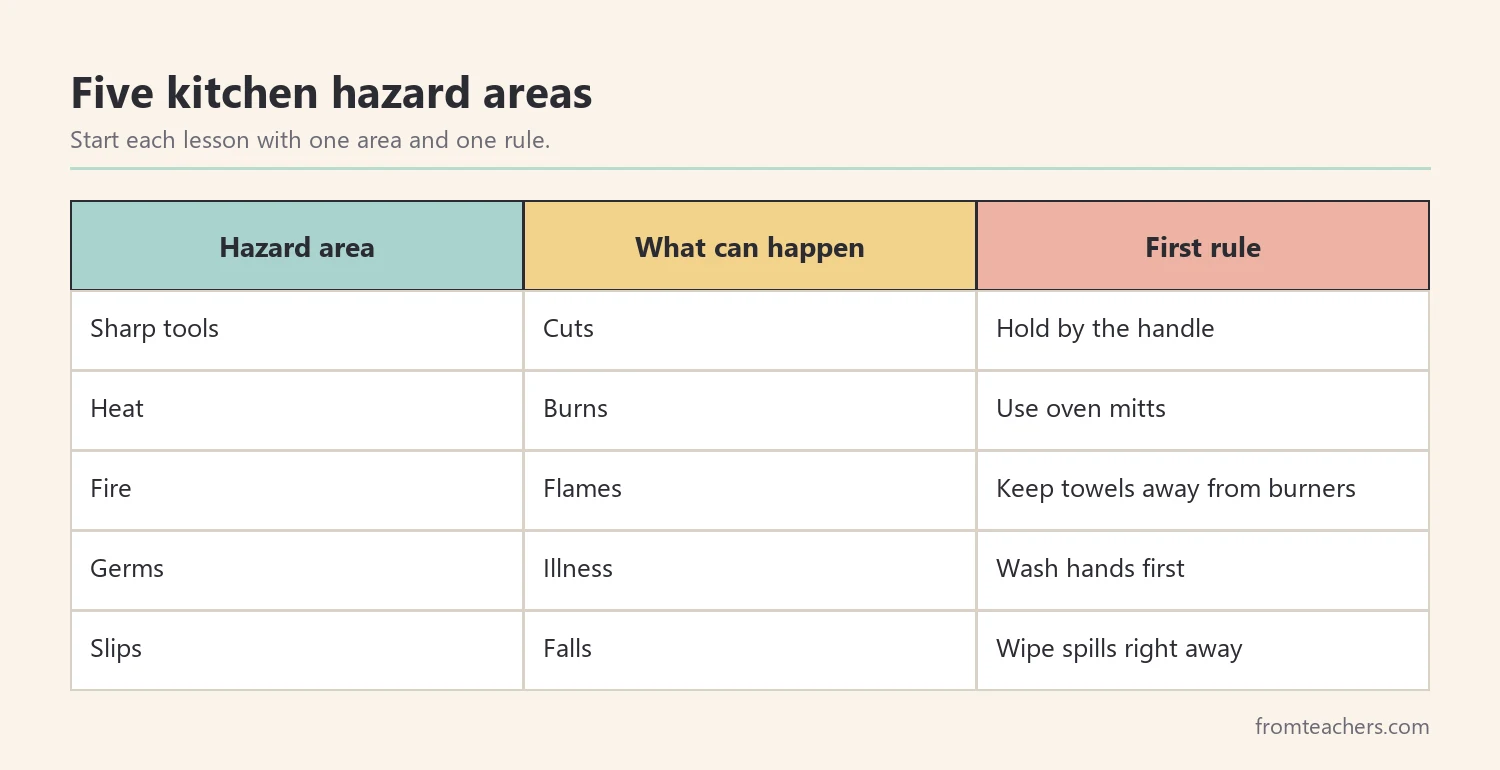
Most kitchen dangers, and the kitchen safety skills that prevent them, fall into five groups. Sharp tools can cut. Heat from the stove, oven, kettle, and microwave can burn. Grease and towels near a burner can start a fire. Germs from raw food and unwashed hands can make people sick. Finally, spills and clutter on the floor can cause slips and falls.
Next, walk through the kitchen together and play “spot the hazard.” Point to a knife on the counter edge, a pot handle sticking out, or a towel draped near the stove. Ask the child what could happen and how to fix it. This turns safety into an observation game rather than a list of warnings.
Let’s meet our fictional student, Maya, age 12, in a middle school life skills class. During the first walk-through, Maya spotted the wet floor and the knife on the edge, but she did not notice the pot handle turned outward. Her teacher wrote that down as a starting point for the lessons ahead.
| Hazard area | What can happen | First rule |
|---|---|---|
| Sharp tools | Cuts | Hold by the handle |
| Heat | Burns | Use oven mitts |
| Fire | Flames | Keep towels away from burners |
| Germs | Illness | Wash hands first |
| Slips | Falls | Wipe spills right away |
2. Teach sharp tool rules
Knives, peelers, graters, and can openers are useful, and they are also the most common source of small kitchen cuts. Therefore, start tool lessons with the least sharp tools and build up slowly. A butter knife and soft foods, such as bananas, make a good first step.
Keep the rules short and physical, because kitchen safety skills live in the hands. The child should be able to say each rule and show it with their hands:
- Hold the tool by the handle, never the blade.
- Cut on a cutting board, never in your hand.
- Curl your fingertips away from the blade.
- Cut away from your body.
- Never try to catch a falling knife. Step back and let it drop.
- Put sharp tools in a set spot, not in a sink full of soapy water.
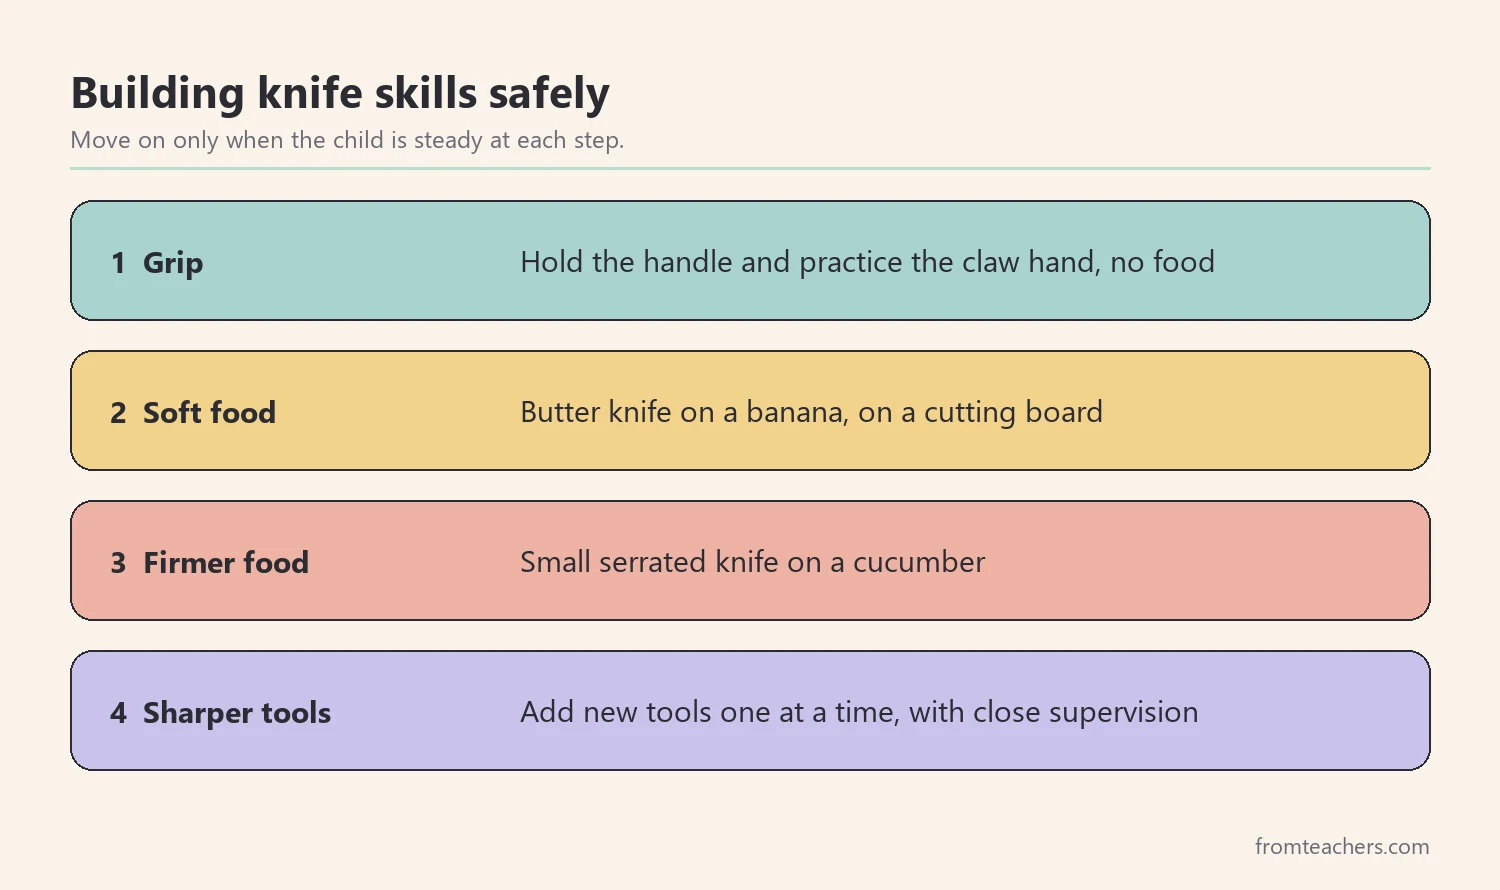
Model each rule slowly while you say it out loud. Then let the child practice the grip and the “claw” hand without cutting anything. Once they are steady, add a soft food. Only after that should you move to firmer foods and sharper tools.
In Maya’s case, her teacher began with a butter knife and a banana. Maya practiced the claw grip for three short sessions before trying a cucumber with a small serrated knife. Because she learned each rule in her hands first, these kitchen safety skills felt natural instead of scary.
For students who benefit from pictures, the Kitchen Safety 101 visual guide to hazards and tools includes a full section on sharp tools and cuts that you can use before hands-on practice.
3. Teach heat and fire kitchen safety skills
Burns can happen fast, so heat rules deserve their own kitchen safety skills lessons. Begin with what is hot: burners, oven racks, pot handles, steam, boiling water, and food straight out of the microwave. Many children do not realize that steam and microwaved containers can burn, so point these out directly.
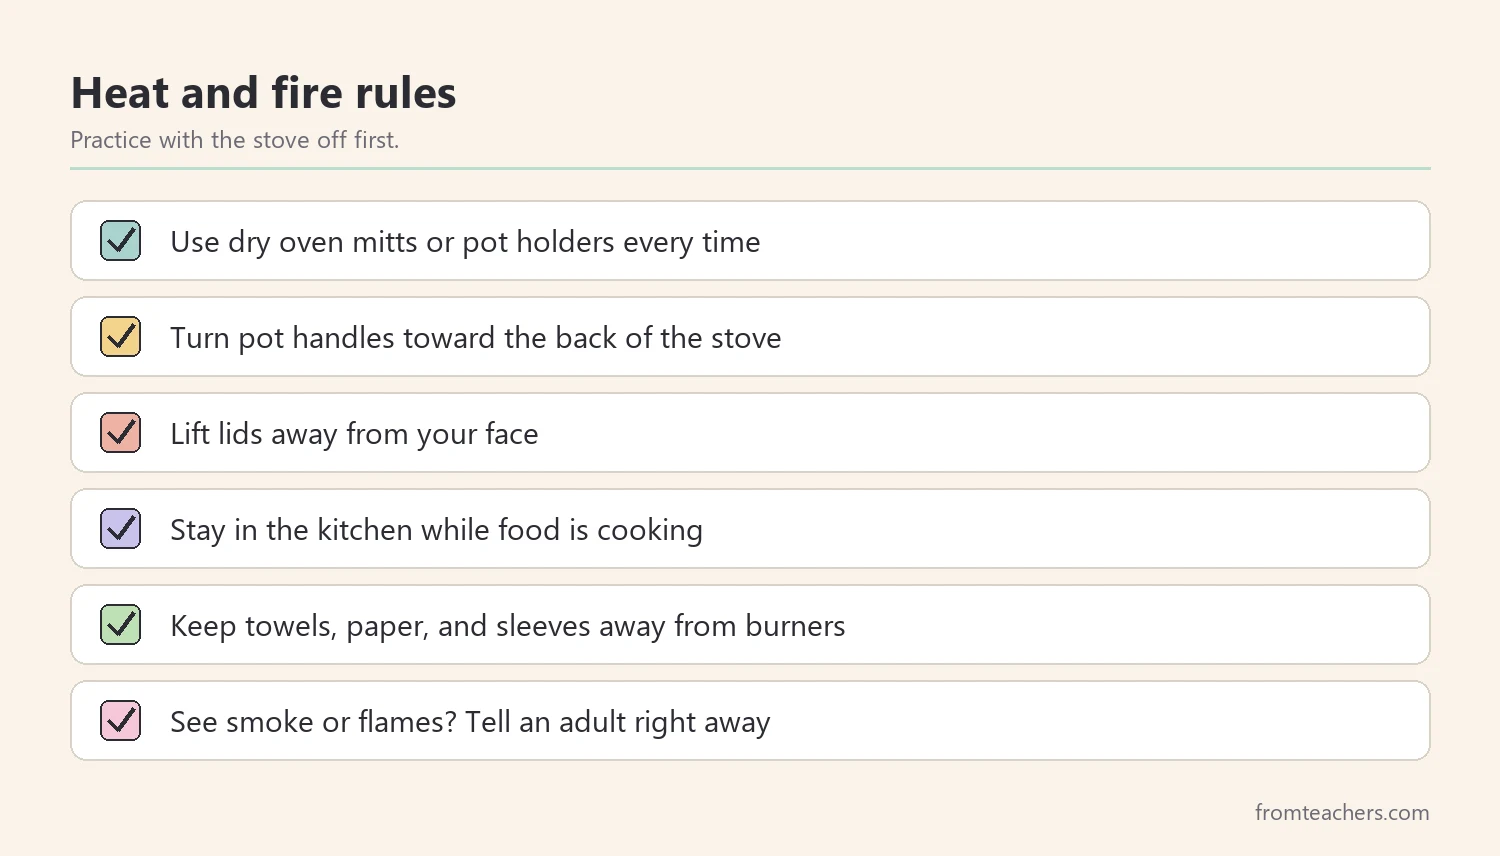
Next, teach a small set of heat rules and practice them with the stove off:
- Use dry oven mitts or pot holders every time.
- Turn pot handles toward the back of the stove.
- Lift lids away from your face so steam escapes away from you.
- Stay in the kitchen while something is cooking.
- Keep towels, paper, and sleeves away from burners.
Fire safety needs its own clear message. Children should know to tell an adult right away if they see smoke or flames, and they should never pour water on a grease fire. In addition, show them where the exit is and talk about getting out first. Let adults handle extinguishers and follow your school’s emergency procedures.
For Maya, her teacher practiced “handle in, mitt on, lid away” with a cold pot ten times before any cooking. When Maya later heated soup, she turned the handle inward without a reminder. That small habit is exactly what kitchen safety skills look like in action.
4. Build clean habits and germ awareness
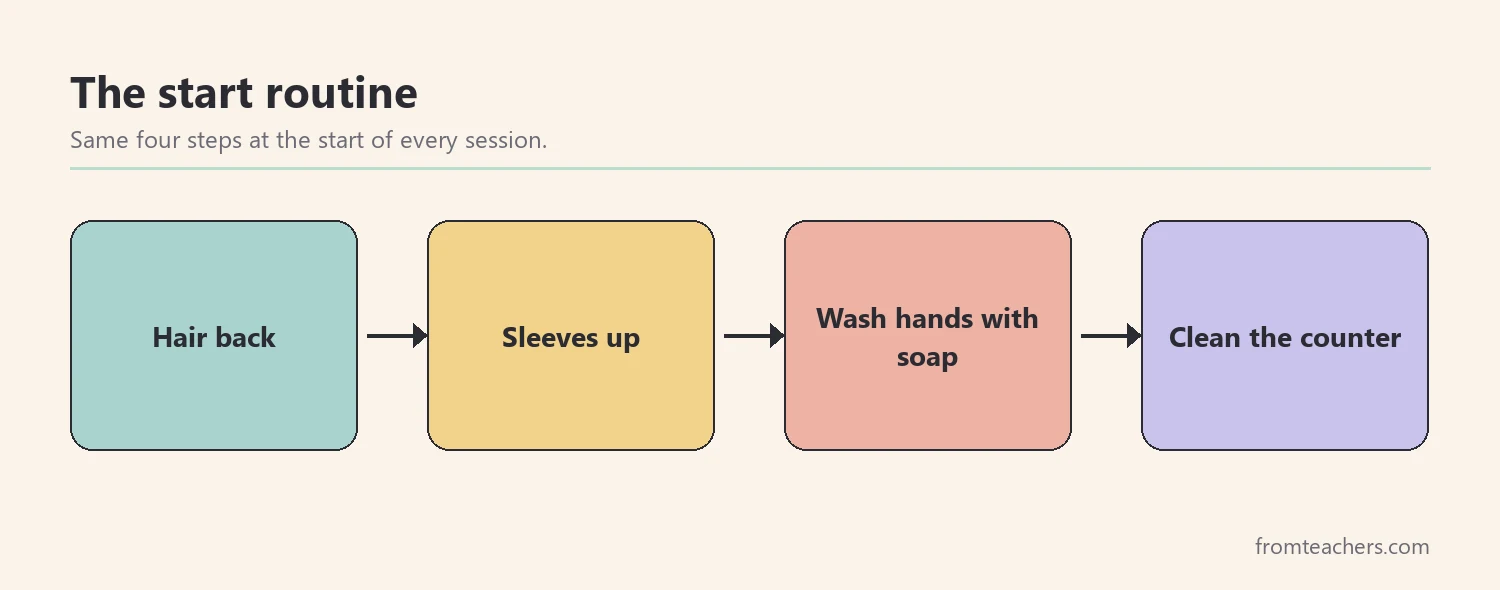
Germs are invisible, which makes these kitchen safety skills harder to teach than knives or heat. As a result, it helps to make clean routines concrete and repeatable. Start every kitchen session the same way: hair back, sleeves up, hands washed with soap and water, and a clean counter.
Handwashing is the anchor habit. Teach wetting, soaping, scrubbing all parts of the hands, rinsing, and drying with a clean towel. A song or a visual timer helps children scrub long enough. In addition, teach when to wash again: after touching raw meat or eggs, after touching the face or hair, and after using the bathroom.
Next, introduce simple food safety rules that match the child’s level:
| Habit | Why it matters |
|---|---|
| Wash hands before and during cooking | Keeps germs off food |
| Separate raw meat from ready-to-eat food | Stops germs from spreading |
| Use a clean board for each food type | Prevents cross contact |
| Put leftovers in the fridge | Slows germ growth |
| Wipe counters when done | Leaves the space clean |
Slips and falls belong here too, since cleanup is part of the routine. Teach children to wipe spills right away, keep the floor clear of bags and toys, and use a sturdy step stool rather than a chair. These kitchen safety skills protect everyone who uses the space after them.
Maya used a picture card with four steps: hair, sleeves, hands, counter. After two weeks, she started the routine without the card on most days, so her teacher moved the card to the back of the cabinet as a backup.
5. Practice kitchen safety skills with real tasks
Kitchen safety skills stick when children use them in real situations. So, once a child can say and show the rules, plan short, real tasks that use one or two skills at a time. A simple snack, a sandwich, or a fruit salad gives plenty of practice without too many hazards at once.
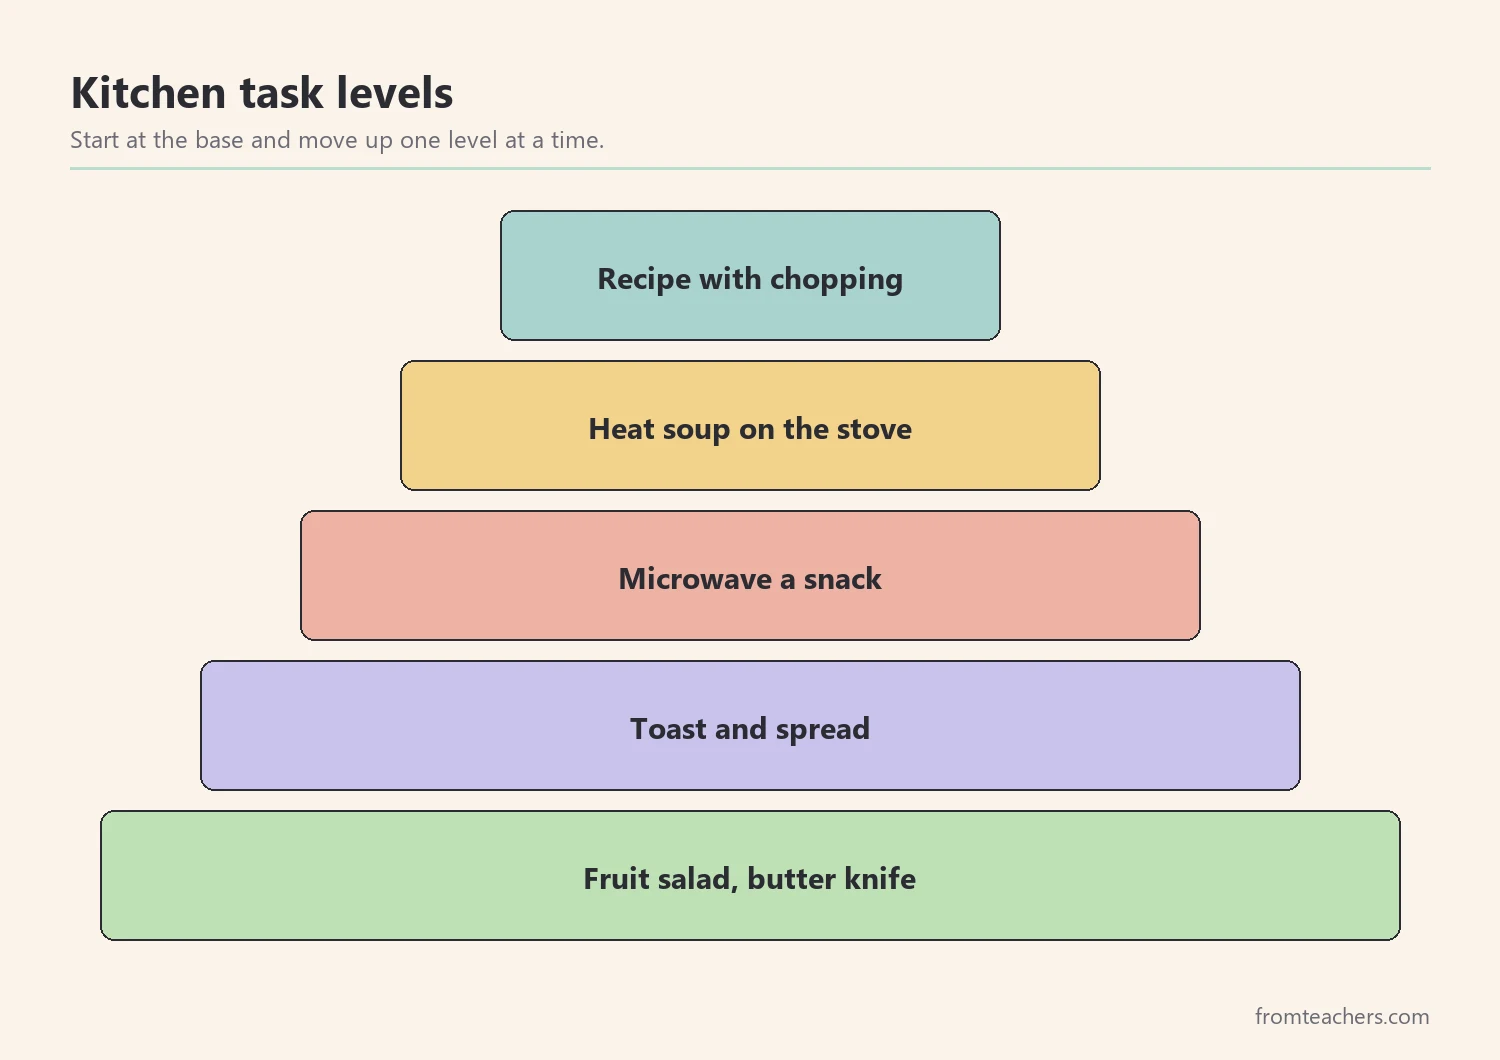
Use a “model, guide, fade” approach. First, you do the task while narrating the safety steps. Then, the child does it with you right beside them, giving prompts only when needed. Finally, step back gradually while still staying in the room. Move to the next level only when the child is steady at the current one.
Here is how tasks can build up over time:
| Level | Example task | Main skills |
|---|---|---|
| 1 | Fruit salad with a butter knife | Handwashing, tool grip |
| 2 | Toast and spread | Small appliance, crumbs cleanup |
| 3 | Microwave a snack | Steam, mitts, safe containers |
| 4 | Heat soup on the stove | Handle in, stay present |
| 5 | Simple recipe with chopping | Claw grip, board, cleanup |
Above all, keep sessions short and positive. Praise the safe action specifically: “You turned the handle in before you stirred. That is exactly right.” Specific praise tells the child which part of the routine to repeat.
Maya moved from level 1 to level 4 over about six weeks of weekly practice. Her teacher kept level 5 as the goal for the next term, because chopping firmer foods still needed more support.
6. Check progress and review regularly
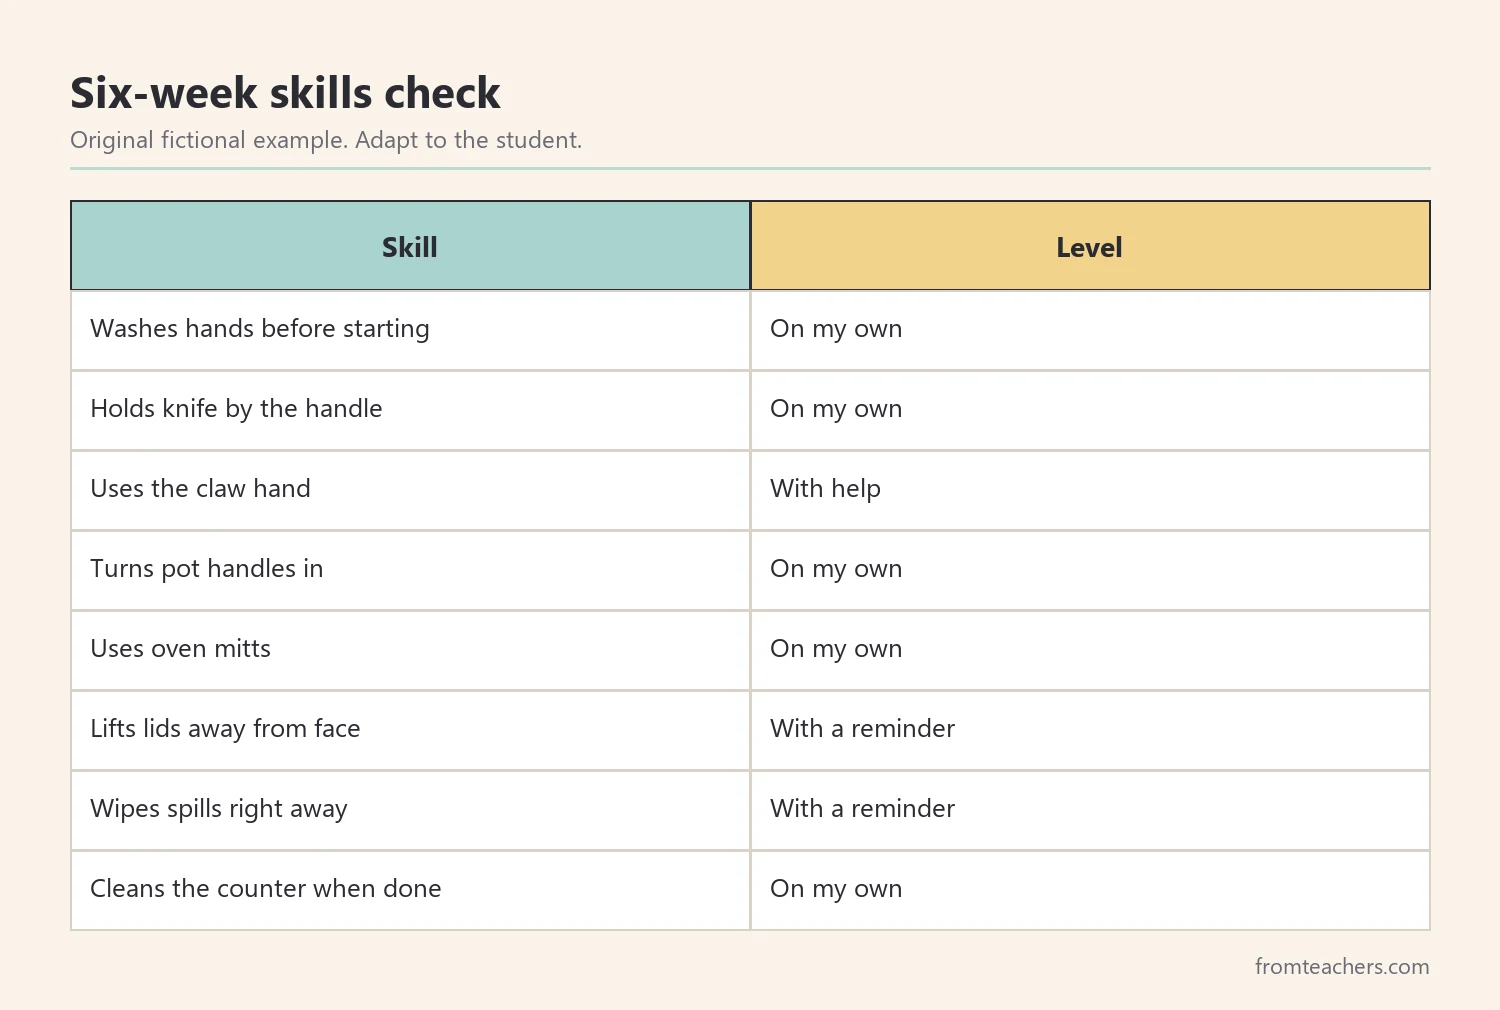
Progress in kitchen safety skills is easier to see when you write it down. A simple checklist lets you mark each skill as “with help,” “with a reminder,” or “on my own.” Review it with the child, because seeing their own growth builds confidence and motivation.
Keep the checklist short and observable. For example, list skills such as “washes hands before starting,” “holds knife by the handle,” “turns pot handles in,” “uses oven mitts,” and “wipes spills right away.” Avoid vague items like “is careful,” since nobody can measure that fairly.
Next, review regularly, even after a skill looks solid. Habits can slip during a busy day or in a new kitchen. A quick “spot the hazard” walk at the start of a session keeps kitchen safety skills fresh. In addition, practice in new settings when possible, such as the school kitchen and the home kitchen, so the skills transfer.
At Maya’s six-week review, her checklist had eight skills. She did five on her own, two with a reminder, and one with help, which adds up to all eight. Her teacher shared the checklist with Maya’s family so they could practice the same rules at home on weekends.
Common mistakes and how to avoid them
Even careful adults make a few predictable errors when teaching kitchen safety skills.
- Teaching too many rules at once. Fix: focus on one hazard area per lesson and practice it before adding more.
- Starting with sharp knives or the stove. Fix: begin with butter knives, cold pots, and soft foods.
- Talking instead of showing. Fix: model each rule with your hands and have the child copy it.
- Using fear as the main message. Fix: frame rules as skills that let the child do more on their own.
- Leaving too early. Fix: fade support gradually and stay in the room while cooking.
- Skipping review. Fix: start sessions with a quick hazard spot and keep a skills checklist.
Questions teachers and parents ask about kitchen safety skills
At what age can kids start learning kitchen safety skills?
Young children can start with simple jobs like washing fruit and wiping the table. The right starting point depends on the child’s attention, motor skills, and experience, not just age. Always match the task to what the child can do safely with support.
Should children use real knives?
Many children can learn with real tools when they start with blunt or small serrated knives and soft foods, under close supervision. Build up slowly and only move to sharper tools once the grip and claw hand are steady.
How do I adapt these lessons for students with disabilities?
Use visual rule cards, short steps, and lots of repetition. Adaptive tools, such as cutting boards with edges or easy-grip utensils, may help. Align kitchen safety skills with the student’s IEP or transition goals where they apply.
What should a child do if there is a fire?
The child should tell an adult right away and get out of the kitchen if told to. Never let a child pour water on a grease fire or use an extinguisher on their own. Follow your school’s and family’s emergency plans.
How can parents reinforce what is taught at school?
Parents can use the same short rules and words at home, such as “handle in” and “claw hand.” Inviting the child to help with one safe task each week keeps practice steady and builds confidence.
Related reading: Navigating the Path to Adulthood: Building Essential Life Skills, Building Workplace Readiness: Essential Skills for Career Success, and Bridging Gaps in Special Education: Practical Strategies for Teachers.
A companion resource for teaching kitchen safety:
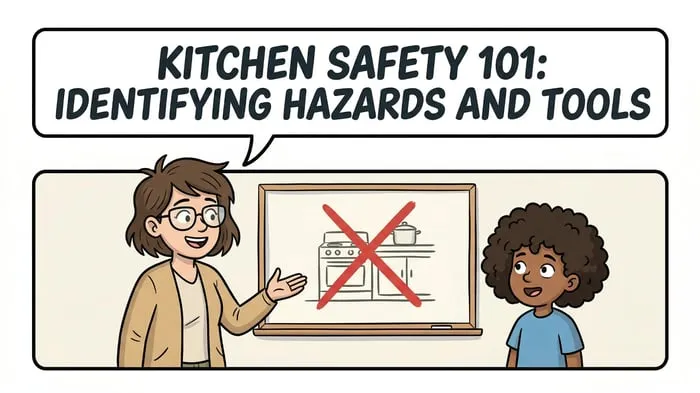
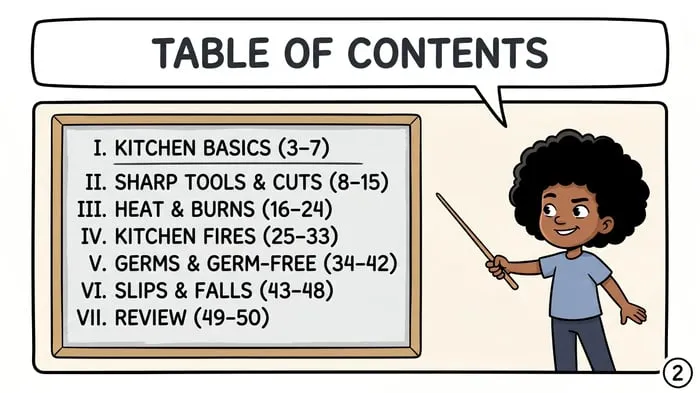
Kitchen Safety 101: Identifying Hazards & Tools for Kids: a 50 page visual guide covering kitchen basics, sharp tools and cuts, heat and burns, kitchen fires, germs, and slips and falls, with a review at the end. It fits life skills, transition, and independent living instruction.
Sources and scope
These organizations offer reliable background for teaching kitchen safety skills.
- CDC Clean Hands: guidance on when and how to wash hands.
- FoodSafety.gov: U.S. government information on safe food handling at home.
- National Fire Protection Association (NFPA): cooking fire safety and education materials.
- Safe Kids Worldwide: injury prevention tips for families, including burns and home safety.
This guide covers everyday kitchen safety teaching for children at school and home. It does not replace first aid training, medical advice, or your school’s emergency procedures.
Key takeaways
- Map the five hazard areas first: sharp tools, heat, fire, germs, and slips.
- Teach short, physical rules the child can say and show.
- Use model, guide, fade, and stay in the room while cooking.
- Build from simple snacks to real recipes one level at a time.
- Track kitchen safety skills with a checklist and review them often.






Leave a Comment