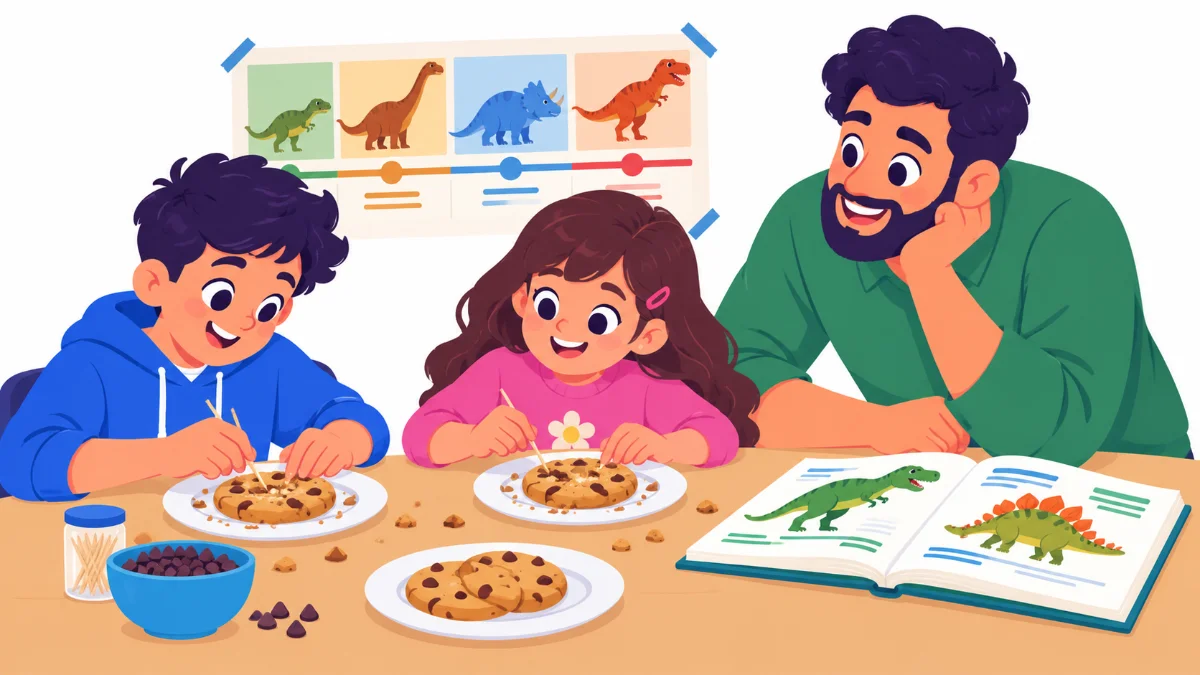

Paleontology activities for kids turn a love of dinosaurs into real science skills: observing, measuring, comparing, and asking how we know. Picture a homeschool morning. Lucas, age 12, can name every dinosaur in his books, but when his mom asks “How do scientists know T. rex had a strong bite?”, he shrugs. His sister Ava, age 10, just wants to dig something up.
This list gives homeschool families eight hands-on activities, ranked from the ones that need only household items to the ones that need some planning or a trip. Each activity explains what it is, why it works, how to run it at the kitchen table, and a short example. By the end, you will be able to plan a few weeks of paleontology learning that feels like real fieldwork.
Examples are fictional. Adapt to your children’s ages, interests and needs. Follow local rules about collecting fossils on public or private land.
At a glance
- Ask “How do we know?” after every dinosaur fact.
- A paper timeline and chalk outlines need only household items.
- Cookie digs, molds and trackways show how fossils form and what they reveal.
- Comparing birds and theropods makes evolution concrete.
- Always check rules before collecting real fossils.
How we ranked these activities
We ranked the eight paleontology activities for kids by one simple rule: how much material and planning each one needs. Activities at the top use paper, pencils, and things already in most kitchens. Activities near the bottom need clay, plaster, or a planned outing.
All eight suit roughly ages 9 to 13, and they work well alongside a reference book or field guide. Younger siblings can join most of them with simpler tasks.
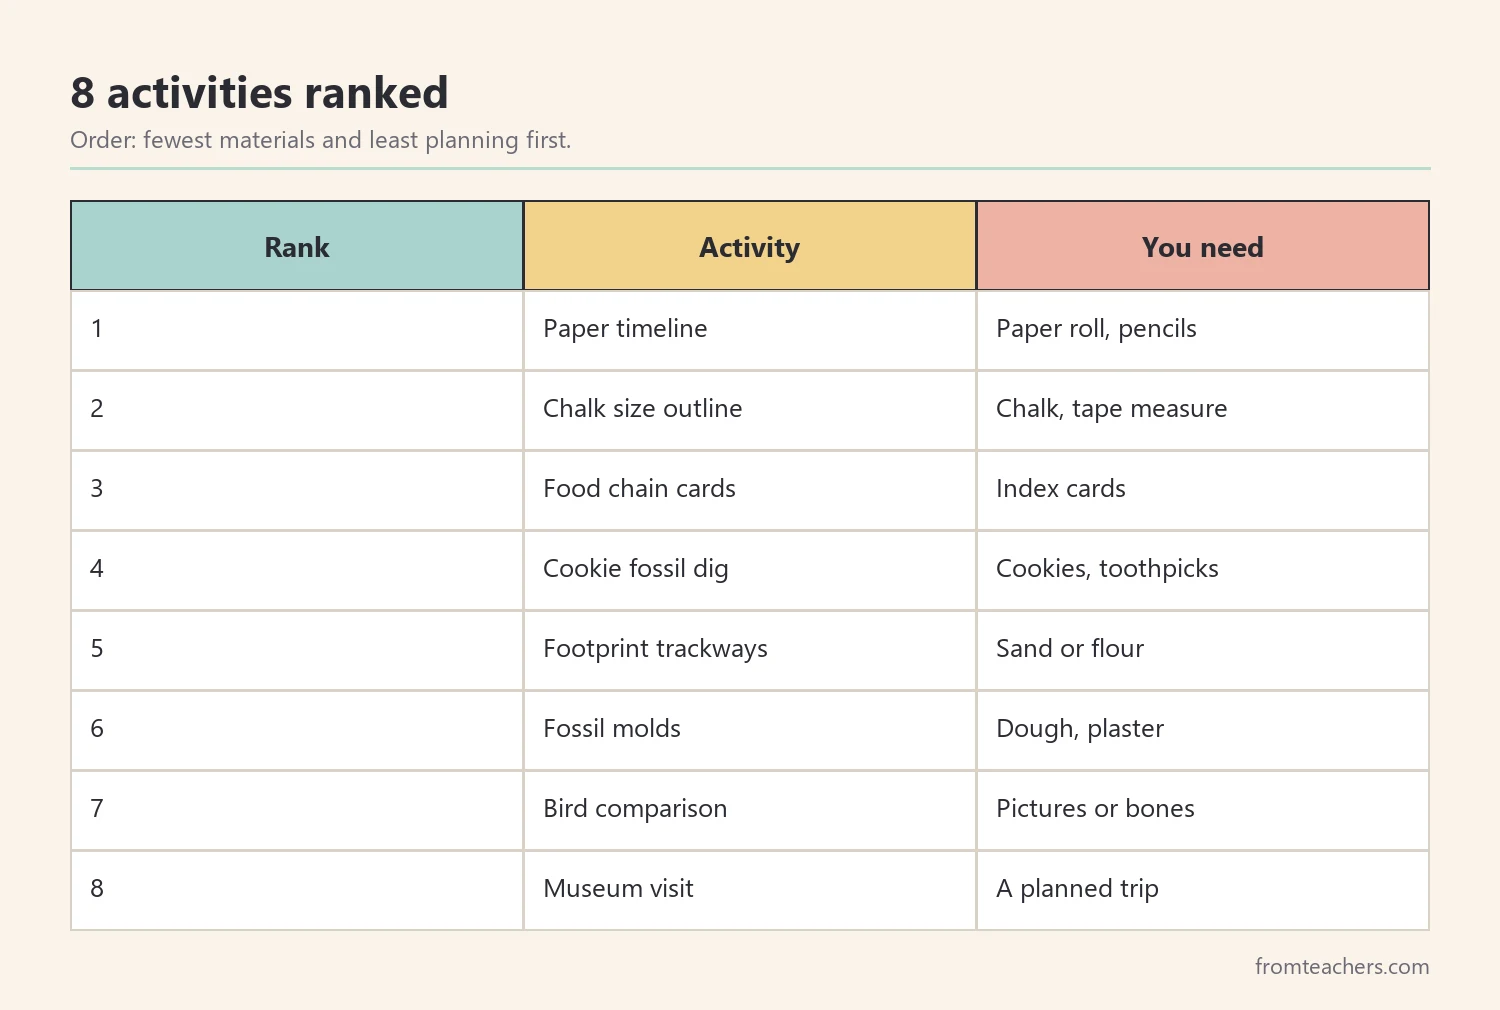
The ready-made option: an illustrated dinosaur field guide
Hands-on activities work best when children have a reliable reference to check their ideas. The Dinosaurs: The Complete Student Field Guide offers 122 illustrated pages on what dinosaurs were, the Triassic, Jurassic, and Cretaceous periods, in-depth profiles of T. rex, Velociraptor, Triceratops, Brachiosaurus, Stegosaurus, and Ankylosaurus with size comparisons, habitats and food chains, a paleontology and extinction section, a knowledge quiz, and a glossary. It is written for students ages 11 to 13.
As a result, your children can compare what they discover in each activity with an organized, illustrated source.
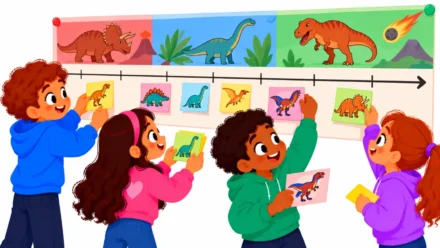
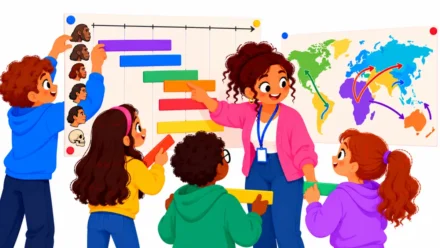
1. Timeline on a roll of paper
What it is: a long paper strip showing the Triassic, Jurassic, and Cretaceous periods, with dinosaurs placed where they lived.
Why it works: many children think all dinosaurs lived at the same time. A scaled timeline shows how long the Mesozoic Era lasted and how far apart some species were.
How to use it: mark the three periods with approximate dates from your reference book. Children draw or write each dinosaur in its period.
Example: Ava was surprised to see that Stegosaurus and T. rex were far apart on the timeline. “They never met?” she asked, which led to a great discussion.
2. Size comparison chalk outline
What it is: measuring and drawing a dinosaur’s approximate length on a driveway or sidewalk with chalk.
Why it works: numbers in a book are abstract. Walking the length of a large dinosaur makes size real and practices measurement.
How to use it: look up an approximate length in your guide, measure with a tape measure, and lie down next to it for a photo.
Example: Lucas measured a T. rex length estimate along the sidewalk and counted how many of his own body lengths fit inside.
3. Dinosaur food chain cards
What it is: cards showing plants, plant eaters, and meat eaters, arranged into food chains.
Why it works: it connects dinosaurs to ecosystems, a key science idea.
How to use it: make cards from index cards. Arrange them into chains with arrows showing the direction energy flows.
4. Cookie fossil dig
For younger siblings, this is often the favorite activity of the whole unit.
What it is: children “excavate” chocolate chips from a cookie using toothpicks, without breaking the chips.
Why it works: it shows, in a fun way, why paleontologists dig slowly and carefully. Children quickly see how easy it is to damage a find.
How to use it: give each child a cookie, toothpicks, and a paper “map.” They record each chip’s location and condition.
Example: Ava broke two chips in the first minute. She slowed down for the rest and recorded every chip on her map.
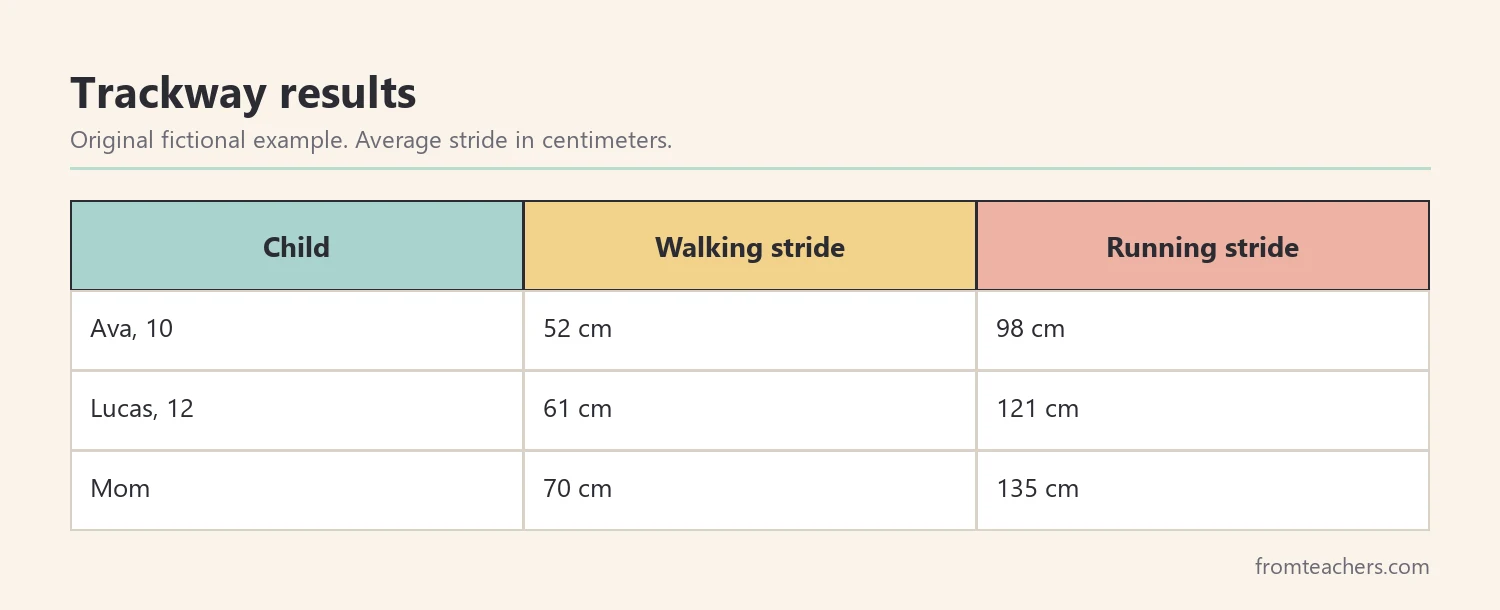
5. Footprint track investigation
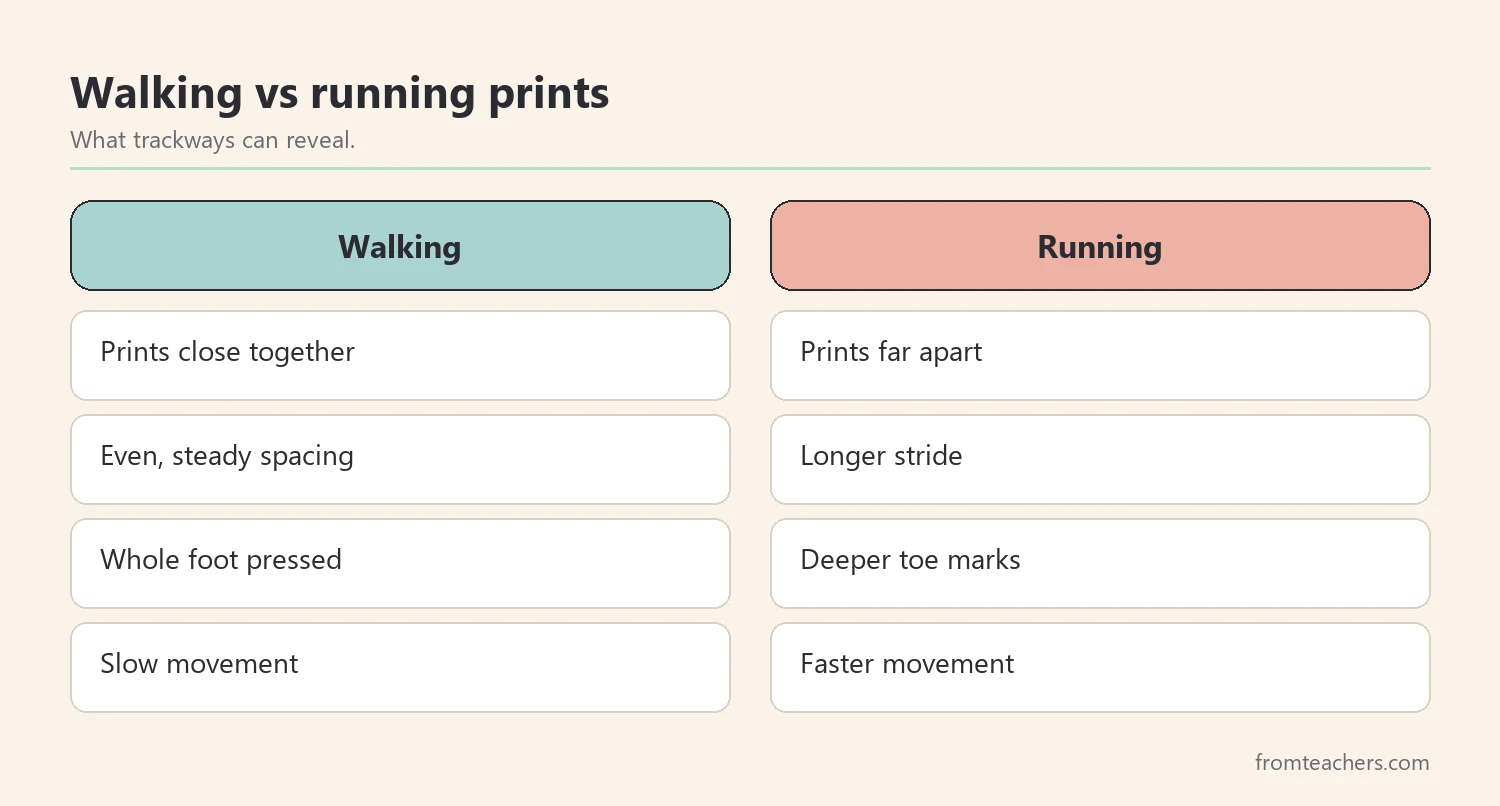
What it is: children make footprints in damp sand or flour and measure stride length at walking and running speeds.
Why it works: scientists study fossil trackways to learn how dinosaurs moved. This activity shows how footprint spacing changes with speed.
How to use it: walk, then run, across the sand. Measure the distance between prints and compare.
Example: Lucas noticed his running prints were much farther apart. He asked if trackways could show whether a dinosaur was running, which his field guide helped answer.
6. Salt dough or clay fossil molds
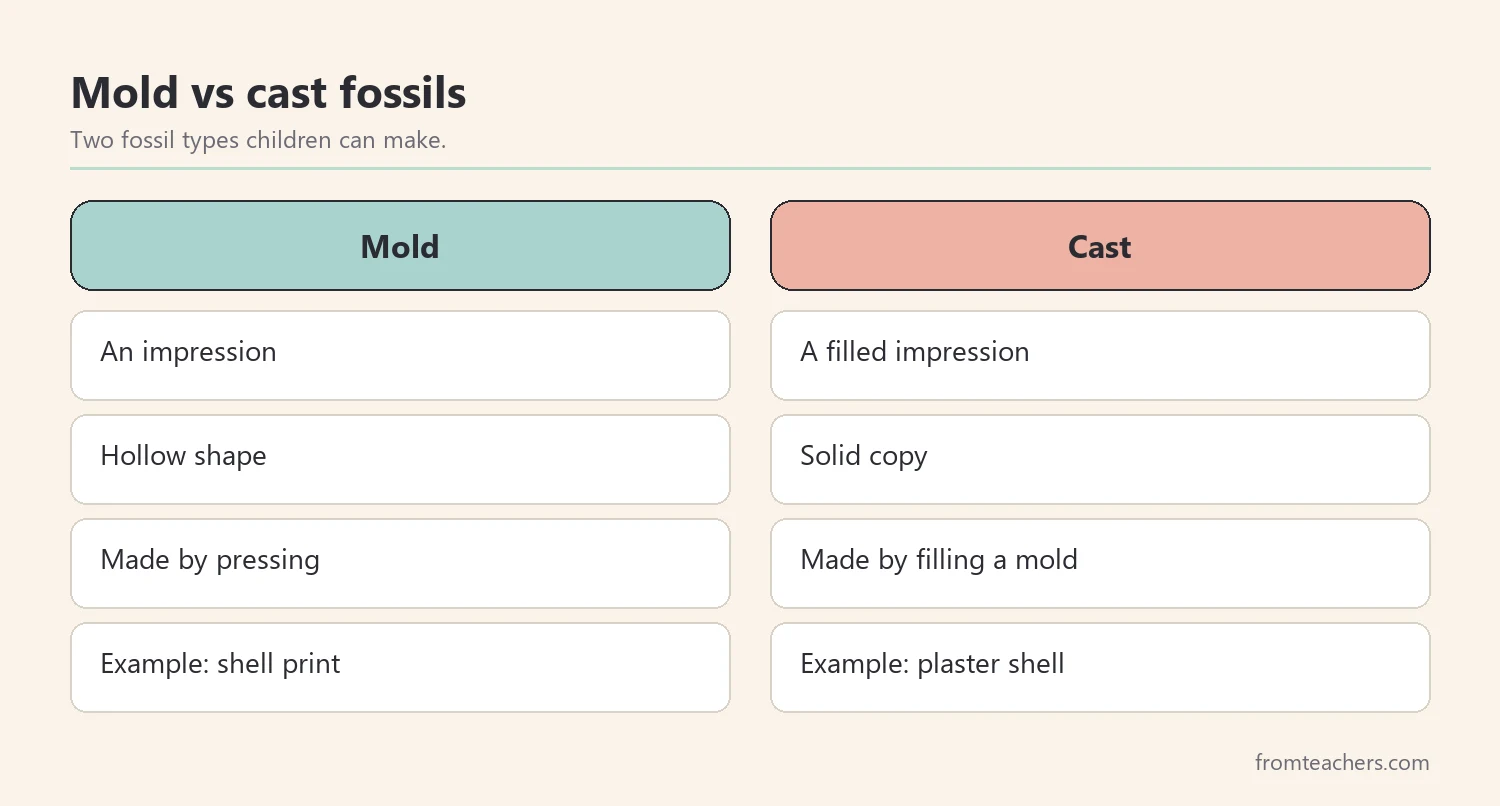
What it is: pressing shells, leaves, or toy bones into dough to make mold and cast fossils.
Why it works: it shows two kinds of fossils: molds (impressions) and casts (filled impressions).
How to use it: press objects into dough to make molds. For casts, fill molds with plaster under adult supervision.
7. Bird and dinosaur comparison
What it is: comparing features of a chicken or other bird with pictures of theropod dinosaurs.
Why it works: scientists widely agree that birds are descended from dinosaurs. Comparing features like feet, wishbones, and feathers makes this idea concrete.
How to use it: use pictures, or examine clean, cooked chicken bones with adult help. List similarities in a two-column table.
Example: Lucas compared a chicken foot photo with a Velociraptor drawing and counted toes on each.
8. Museum or fossil site visit
What it is: a trip to a natural history museum, university collection, or a public fossil site.
Why it works: seeing real fossils connects everything children have learned at home.
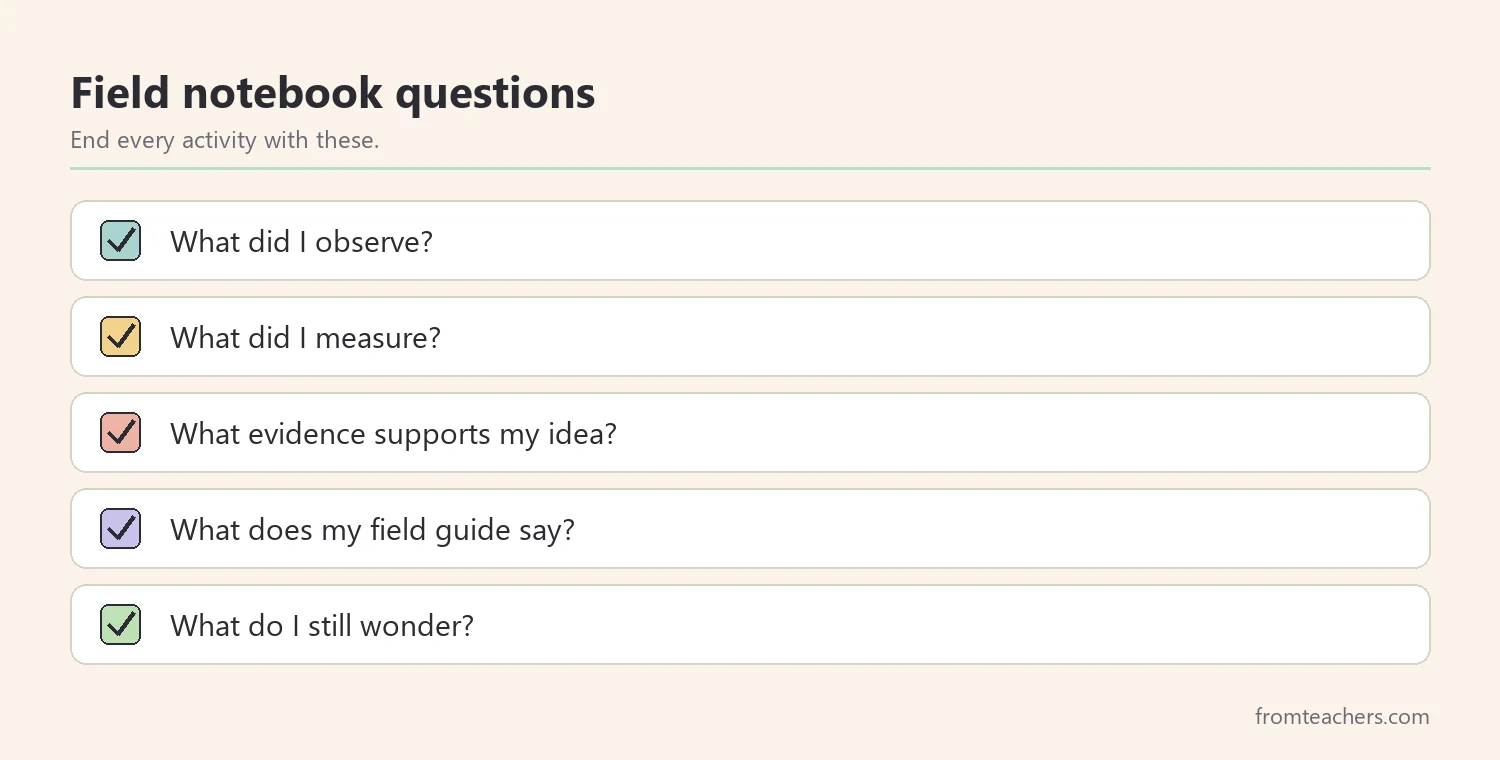
How to use it: give each child a short field notebook with three questions to answer during the visit. Check rules before collecting anything; many parks, including U.S. national parks, do not allow fossil collecting.
Example: at a museum, Ava sketched a fossil skull and later found the same dinosaur in her field guide.
Planning a month of paleontology activities for kids
You do not need to do everything at once. A simple four-week plan keeps learning steady and connected.
| Week | Focus | Activities |
|---|---|---|
| 1 | Time | Timeline, size outline |
| 2 | Ecosystems | Food chain cards, field guide reading |
| 3 | How fossils form | Cookie dig, fossil molds |
| 4 | Evidence and birds | Trackways, bird comparison, visit |
In addition, finish each week with a short notebook entry: “What did I learn? What evidence supports it? What do I still wonder?” These three questions build real scientific thinking.
Building real scientific thinking
Many children know dinosaur facts, yet few can explain where those facts come from. Paleontology is a great way to teach the difference between a claim and evidence, which is a skill children use in every subject.
First, model the language of evidence. Instead of “T. rex was fast,” say “Some scientists estimate how fast it moved from its leg bones and size, and they do not all agree.” That one sentence shows that science involves estimates, evidence, and debate.
Next, encourage children to ask questions they cannot answer yet. Write them on a “wonder wall” or in the back of the notebook. Some questions will be answered later in the field guide. Others are still open questions for scientists, which is exciting in itself.
Then practice comparing sources. If two books give different lengths for the same dinosaur, talk about why. Estimates can change as new fossils are found, and different specimens can be different sizes.
Finally, let children be the experts. A short family presentation at the end of each week, where a child teaches what they learned and shows their evidence, builds confidence and memory. Lucas presented his trackway results to his grandparents on a video call, and he explained stride length better than he could have a month earlier.
These habits matter beyond dinosaurs. A child who learns to ask “How do we know?” about fossils is more likely to ask the same question about news, ads, and claims online.
Adapting for different ages
Homeschool families often teach several ages together. The same activity can work for everyone with small changes.
First, younger children can focus on drawing, sorting, and hands-on digging. Next, children around 10 to 11 can add measurement and short written notes. Then older children, around 12 to 13, can research questions, compare sources, and present findings to the family.
For example, during the trackway activity, Ava measured and recorded footprint distances, while Lucas calculated an average stride and compared it with what his guide said about dinosaur trackways. Both learned from the same twenty minutes.
Common mistakes and how to avoid them
- Only memorizing names: ask “How do we know?” after every fact.
- Mixing up time periods: keep the paper timeline visible and add to it.
- Rushing digs: set a slow pace and record finds, like real paleontologists.
- Collecting fossils without checking rules: always check land and park rules first.
- Skipping reflection: end each activity with a short notebook entry.
Questions parents ask about paleontology activities for kids
What age is best for these activities?
Most work for roughly ages 9 to 13. Younger children can join with simpler roles, such as digging or drawing.
Do I need special materials?
Most activities use household items like paper, chalk, cookies, flour, and dough. Plaster and a museum visit are optional extras.
Is it true that birds are dinosaurs?
Scientists widely agree that birds descended from a group of theropod dinosaurs. Many museums explain this connection in their exhibits and websites.
Can my children collect real fossils?
Sometimes, on land where it is allowed. Rules differ by place. Many public parks do not allow collecting, so always check first.
How do I assess learning at home?
Use notebook entries, a short quiz from a field guide, or a family presentation. Look for accurate facts and evidence-based explanations.
Related reading: special education: a complete guide for parents and educators, supporting children with ADHD at home.
A companion resource for paleontology activities for kids:
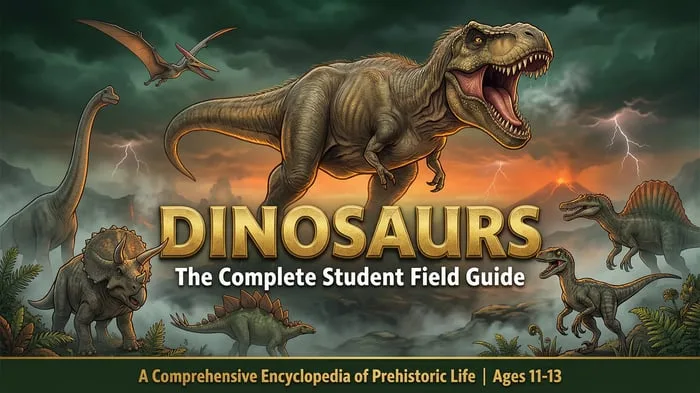
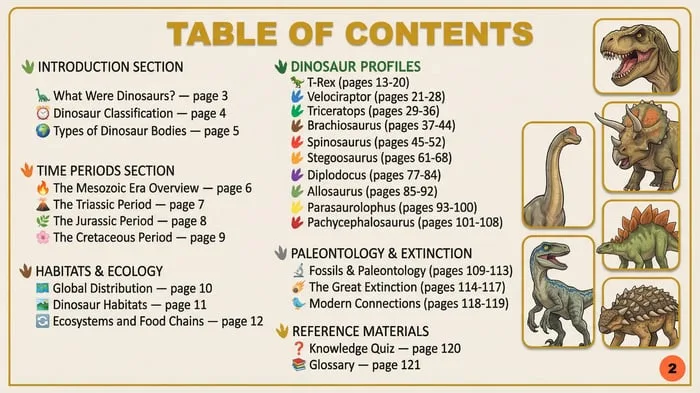
Dinosaurs: The Complete Student Field Guide: 122 illustrated pages on what dinosaurs were, the Triassic, Jurassic and Cretaceous periods, detailed profiles of major species with size comparisons, habitats and food chains, paleontology and extinction, a knowledge quiz and a glossary, for ages 11 to 13.
You may also need: Human Evolution: The Complete Scientific Guide.
Sources and scope
- National Park Service: Fossils and Paleontology: information on fossils in U.S. parks and collecting rules.
- University of California Museum of Paleontology: educational resources on fossils and the history of life.
- National Science Teaching Association: resources for science teaching, including earth and life science.
- Natural History Museum, London: Discover: articles on dinosaurs, fossils and evolution.
This list covers home and homeschool activities for children about ages 9 to 13. It does not cover fossil collecting law in detail; check local and park rules before collecting.
Key takeaways
- The best paleontology activities for kids teach how scientists know, not only what they know.
- Start with a paper timeline and size outlines using household items.
- Digs, molds, and trackways show how fossils form and what they reveal.
- Bird comparisons connect dinosaurs to animals children see every day.
- Check collecting rules before any fossil hunt, and reflect after each activity.
Leave a Comment