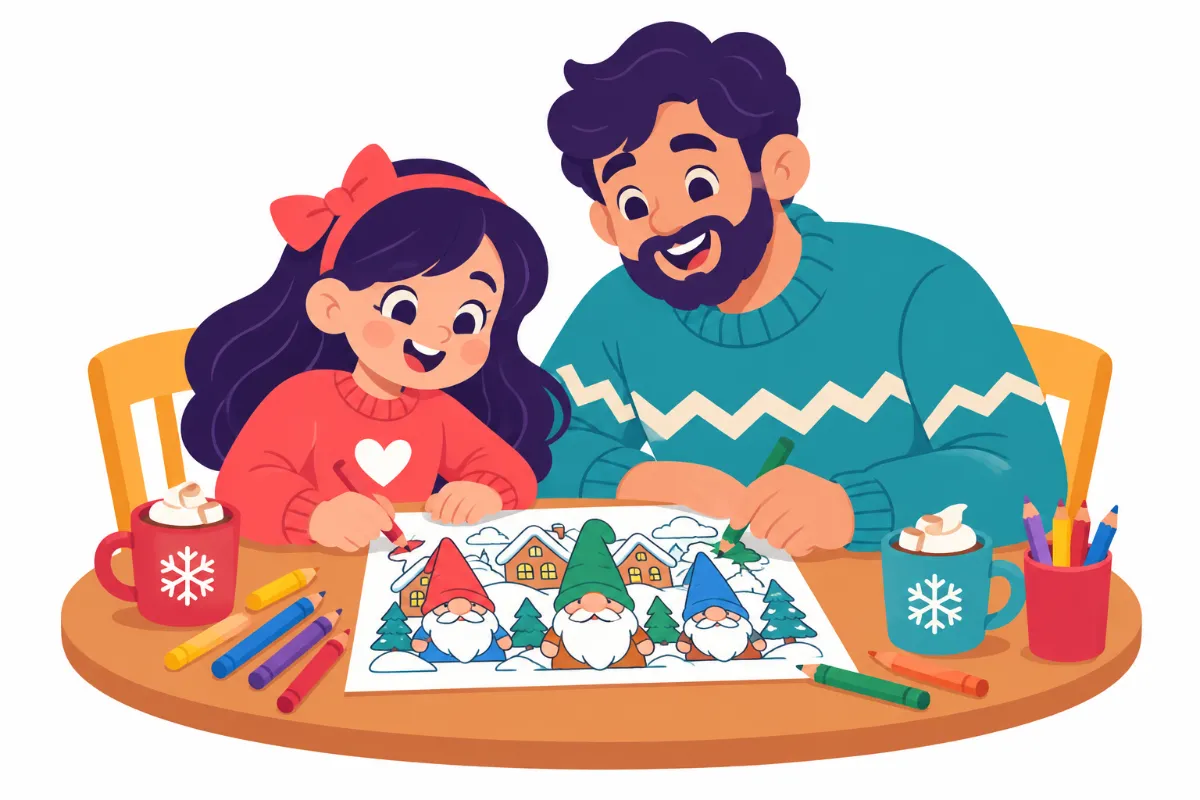

Gnome coloring pages can turn a restless winter afternoon into twenty quiet minutes of focused work. Picture a second grader who rushes every worksheet, presses so hard the crayon snaps, and then scribbles over the whole page in frustration. Yet hand that same child a snowy gnome cottage with big, clear shapes, a short plan, and a calm table, and the picture often comes back finished and proud.
This guide gives you a five-step process for using coloring time on purpose, at home or in the classroom. By the end, you will know how to choose the right page, set up a calm station, coach grip and stroke control, add simple language and math talk, and track progress without turning fun into a chore.
Examples are fictional. Adapt to the student’s goals and agreed supports. This is guidance, not a diagnosis.
At a glance
- Match the level of detail on the page to the child, not to the age on the box.
- Prepare a calm, predictable station before coloring starts.
- Coach one small motor skill at a time, such as staying near the line.
- Use each picture for short conversations about words, stories, and counting.
- Track minutes and finished sections so progress is easy to see and celebrate.
1. Choose gnome coloring pages that fit the child
First, look closely at the picture before you print it. Gnome coloring pages vary a lot, even within one set. Some show one large gnome with a hat and a beard. Others show a whole village with cottages, pine trees, gifts, and snowflakes packed into every corner.
Next, think about the child in front of you. A child who is still learning to hold a crayon needs large shapes and thick lines. Meanwhile, a child who loves detail may get bored with a simple page and enjoy a busy scene with many small areas to fill.
Then, check three features on every page: the size of the spaces, the thickness of the lines, and how many separate parts the picture has. Smaller spaces need more control. Thin lines make it harder to see the edge. More parts mean a longer task, which can be fine if you split it up.
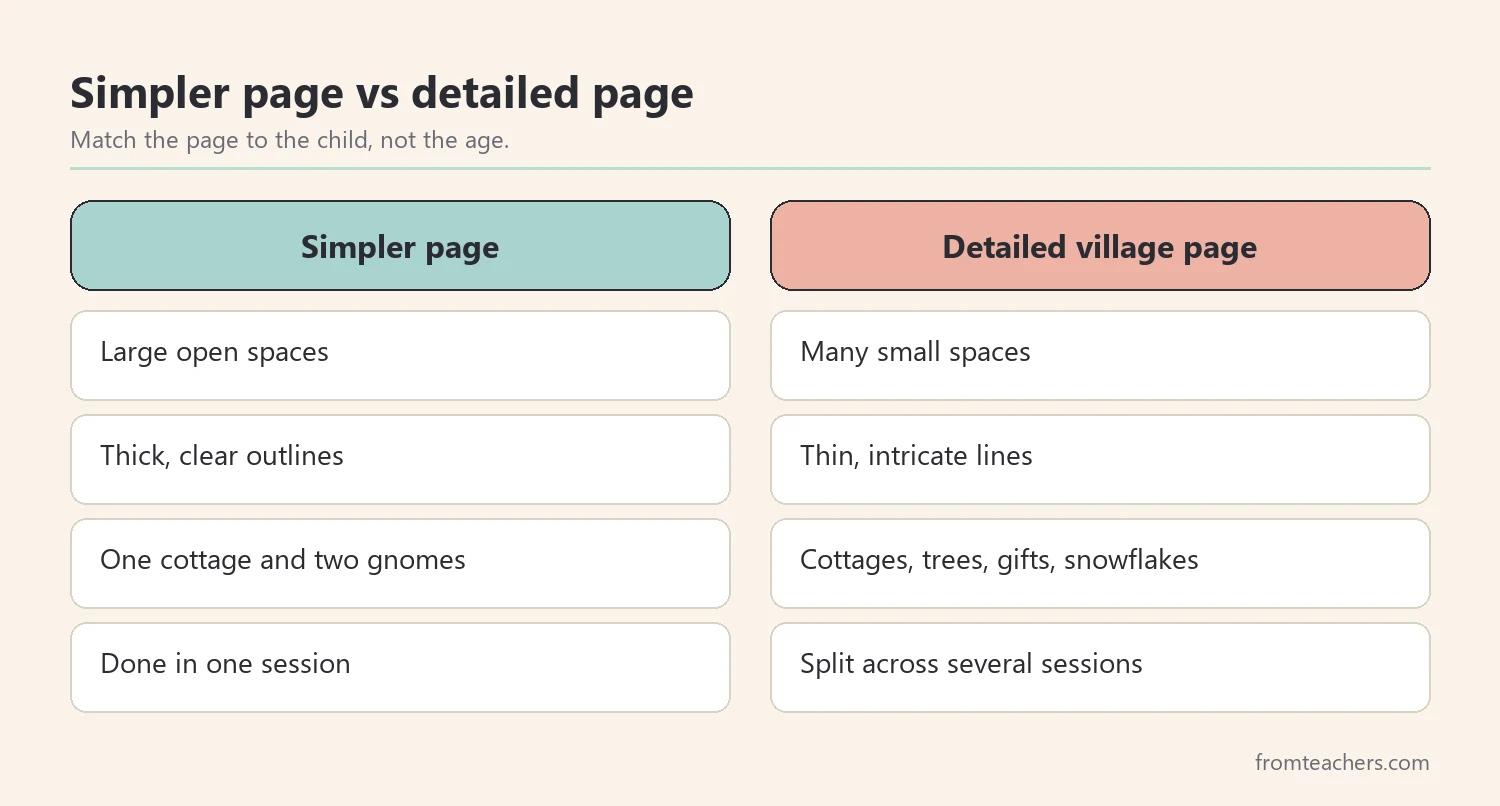
For example, meet Nora, a fictional second grader. Nora enjoys gnomes, but she gives up quickly on pages with tiny spaces. Her teacher, Ms. Park, starts her on a page with one large cottage and two gnomes. Later, once Nora finishes pages like that with ease, Ms. Park offers a busier village scene.
Also, keep in mind that one detailed page can serve many levels. A set of winter gnome village coloring pages with many scenes lets you pick a simpler cottage for one child and a busy village for another. You can cut a full village scene into quarters, enlarge one quarter on the copier, or circle just the cottage and say, “Today, we color only this part.” In short, the page should stretch the child a little, not overwhelm them.
| If the child… | Try this page |
|---|---|
| Is new to coloring | One large gnome, thick outlines |
| Colors outside often | Medium spaces, enlarged copy |
| Loves detail | Full village scene, fine-tip tools |
| Tires quickly | One section circled per session |
2. Set up a calm coloring station
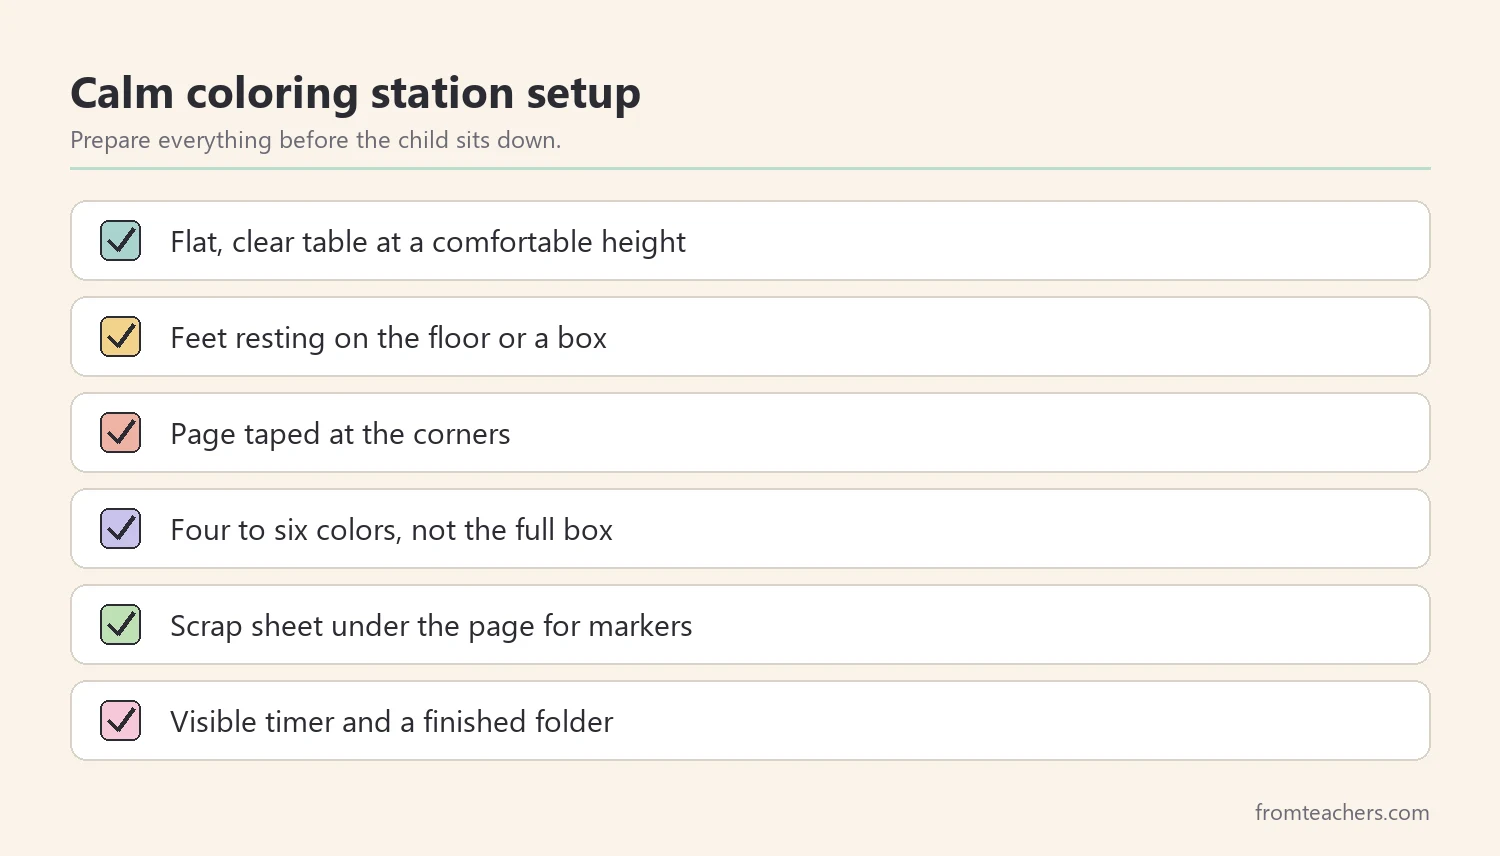
Before the first crayon touches paper, set up the space. Gnome coloring pages work best when the station is ready before the child sits down. A predictable station helps children start faster and stay longer. In addition, it saves you from the usual hunt for a sharpener in the middle of the activity.
Start with the surface. A flat, clear table at a comfortable height works best. Ideally, the child’s feet rest flat on the floor or on a box, and their forearms rest on the table. If the paper slides, a small piece of tape at each corner keeps it still.
Then, choose the tools. Chunky crayons are easier for small hands. Colored pencils give more control for older children. Markers give bright color quickly, but they can bleed through thin paper, so place a scrap sheet underneath. Finally, offer a short palette of four to six colors instead of a full box, since too many choices can slow some children down.
After that, add a few calm touches. Soft background music, a timer the child can see, and a small tray for tools all help. Similarly, a “finished” folder gives each completed page a home, which matters more to many children than adults expect.
In Nora’s classroom, Ms. Park keeps a tray of gnome coloring pages and tools by the window. It holds four crayons, two colored pencils, a pencil sharpener, and a sand timer. Nora knows exactly where everything is, so she spends her time coloring rather than searching.
At home, the same idea works on a kitchen table. For instance, a parent can clear one corner, put down a placemat, and lay out the page and tools before calling the child over. As a result, the activity begins with a clear, ready space instead of a negotiation.
3. Coach grip and stroke control with gnome coloring pages
Now the real practice begins, and the pictures themselves do much of the teaching. Gnome coloring pages are full of shapes that invite different strokes: round hats, curved beards, straight cottage walls, and tiny window panes. Each shape is a chance to practice one small motor skill.
First, watch how the child holds the tool. You are not looking for a perfect grip on day one. Instead, notice whether the child holds the crayon with the fingertips or squeezes it in a fist, and whether they press so hard that the crayon breaks. Then give one gentle cue, such as “Pinch near the tip” or “Light pressure, like petting a cat.”
Next, teach a simple outline-then-fill routine. The child traces just inside the line of one shape, then fills the middle with short back-and-forth strokes. This routine helps many children stay closer to the edge. Furthermore, it breaks a big picture into small, doable moves.
After that, vary the strokes on purpose. Short up-and-down strokes work for a cottage wall. Small circles fill a round hat. Light, feathery strokes suit a fluffy beard. Talking about each stroke makes the practice feel like an art lesson rather than a correction.
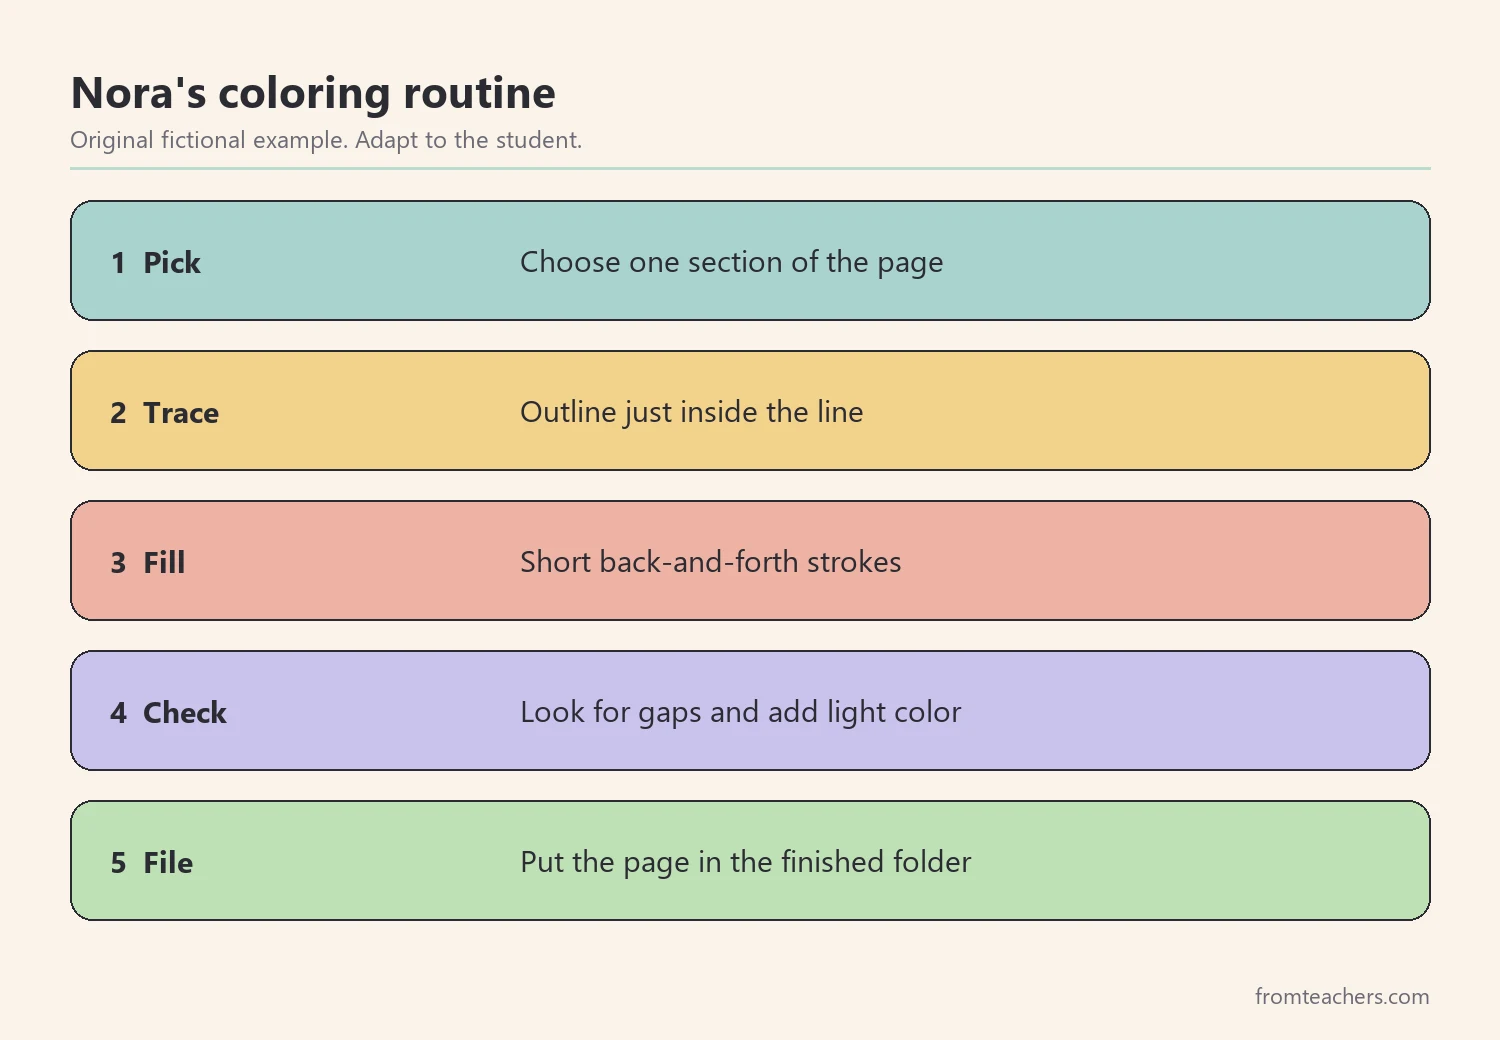
For Nora, Ms. Park picks one goal per week. In week one, the goal is light pressure. In week two, it is tracing inside the line before filling. Consequently, Nora is never trying to fix everything at once, and each small success is easy to notice.
If a child finds gnome coloring pages frustrating, lower the demand rather than pushing through. Offer a larger copy, a thicker crayon, or a single section to finish. Also, if you notice ongoing difficulty with grip, hand fatigue, or tool use, share what you see with the school team or an occupational therapist, who can look more closely.
4. Turn each picture into language and counting talk
Coloring is quiet work, yet gnome coloring pages also open the door to rich conversation. A busy winter village is full of things to name, describe, and count. In fact, many children talk more freely when their hands are busy.
Start with describing words. Ask, “What does the roof look like?” and accept answers such as “snowy,” “round,” or “like a mushroom.” Next, model new words: arched door, chimney, wreath, pine tree. Afterward, write two or three of the child’s words at the bottom of the page.
Then, invite a story. Ask who lives in the cottage, where the gnome is carrying the gift, or what happens when the snow stops. Younger children can tell the story aloud. Older children can write one or two sentences on the back of the page. As a result, one coloring page becomes a short writing prompt as well.
Finally, add a little counting. Gnome scenes often include repeated items, such as snowflakes, gifts, windows, or trees, which are easy to count and compare. Keep it light: one or two questions per page are plenty.
For example, on Monday, Nora colors a village page. She counts 3 gnomes in front of the cottage and 2 gnomes by the pine tree, then says, “That makes 5 gnomes.” Later, she counts 6 snowflakes on the left side and 4 on the right side, so 10 snowflakes in all. Ms. Park writes “5 gnomes” and “10 snowflakes” in the corner, and Nora adds the word “cozy” under the cottage.
| Talk type | Sample question |
|---|---|
| Describe | What does the roof look like? |
| Story | Where is the gnome taking the gift? |
| Count | How many windows can you find? |
| Compare | Are there more trees or more gifts? |
Above all, keep the talk about gnome coloring pages optional. Some children want to color in silence, and that is fine. Coloring can be a calm break as well as a lesson, so let the child signal which kind of session it is today.
5. Track progress and celebrate finished gnome coloring pages
Progress with gnome coloring pages is easy to miss because it happens slowly. A simple weekly record makes it visible. You only need two numbers: how many minutes the child colored before taking a break, and how many sections they finished.
First, decide what counts as a section. On gnome coloring pages with a cottage, a section might be the roof, the door, one gnome, or one tree. Then, at the end of each session, jot down the minutes and the number of sections on a sticky note or a small chart.
Next, look at the pattern once a week, not every day. Day-to-day results vary with mood, sleep, and schedule. A weekly view shows the trend, which is what you care about.
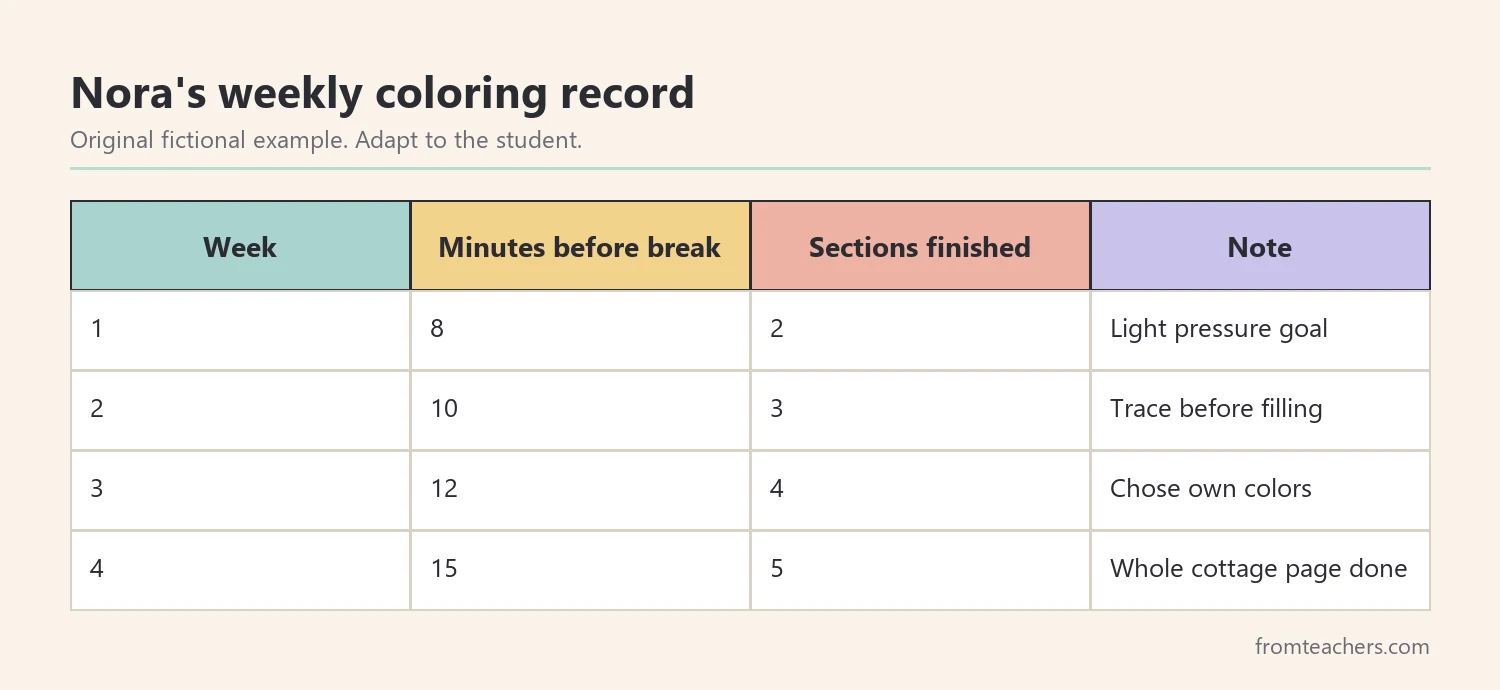
Look at Nora’s record. In week 1, she colored for about 8 minutes before a break and finished 2 sections. By week 2, she reached 10 minutes and 3 sections. In week 3, she managed 12 minutes and 4 sections. By week 4, she colored for 15 minutes and finished 5 sections, which completed her whole cottage page for the first time.
Then, celebrate in ways that matter to the child. Hang finished gnome coloring pages on a “winter village” wall, let the child choose the next scene, or send a page home with a short note. Also, invite the child to look back at an early page and a recent page side by side. Children often notice their own growth when they can see it.
Finally, share the record with the family or the school team when it helps. A short note such as “Nora now colors for 15 minutes and finishes a full page” gives everyone a clear, positive update.
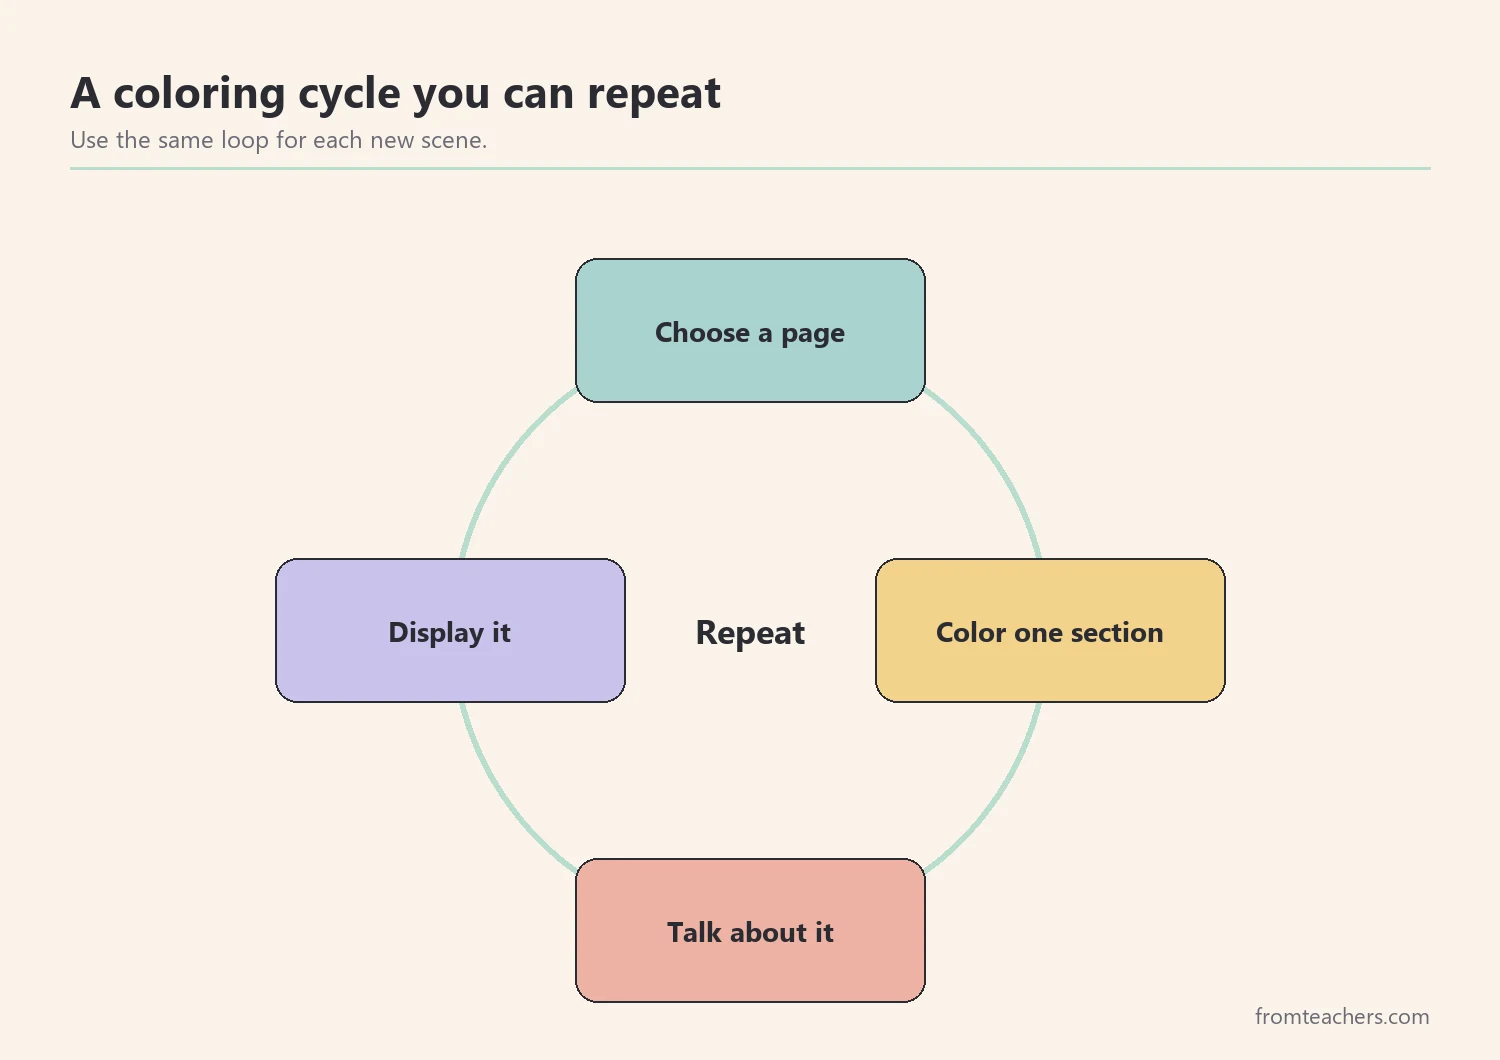
Common mistakes and how to avoid them
- Choosing pages by age alone. Fix: choose by space size, line thickness, and number of parts, then adjust after one session.
- Offering a full box of colors. Fix: start with four to six colors so the child spends time coloring, not choosing.
- Correcting everything at once. Fix: pick one motor goal per week, such as light pressure or tracing first.
- Turning every page into a test. Fix: limit questions to one or two per page, and allow silent coloring days.
- Expecting a finished page every time. Fix: count finished sections, and celebrate partial progress.
- Ignoring signs of ongoing difficulty. Fix: share observations about grip, fatigue, or frustration with the school team or a therapist.
Questions teachers and parents ask about gnome coloring pages
What age are gnome coloring pages best for?
They work for a wide range of ages because the level of detail varies. Younger children do well with large, simple shapes. Older children and adults often enjoy detailed village scenes with many small areas to fill.
Do gnome coloring pages really help fine motor skills?
Coloring gives children repeated practice holding a tool, controlling pressure, and moving the hand in small, planned strokes. It is one helpful activity among many, alongside cutting, building, drawing, and play. If you have concerns about a child’s motor development, talk with the school team or a qualified professional.
How long should a coloring session last?
Start with what the child can manage comfortably, often five to ten minutes for younger children. Then, extend the time slowly as focus grows. A visible timer and a clear “stop here” section make the end easy to see.
Which tools work best for detailed gnome pages?
Colored pencils and fine-tip markers give more control in small spaces. Chunky crayons suit younger children and larger shapes. Whatever you choose, place a scrap sheet under the page if you use markers.
How can I use gnome coloring pages in a classroom center?
Set up a tray with pages, a short color palette, a timer, and a finished folder. Add a small card with one or two talk questions. As a result, students can work independently while you teach a small group nearby.
Related reading: 5 Practical Teaching Tips to Boost Classroom Focus and Learning, Managing Sensory Overload: Practical Strategies for Autism and ADHD, and Learning Styles Student Success Guide.
A companion resource for gnome coloring pages:
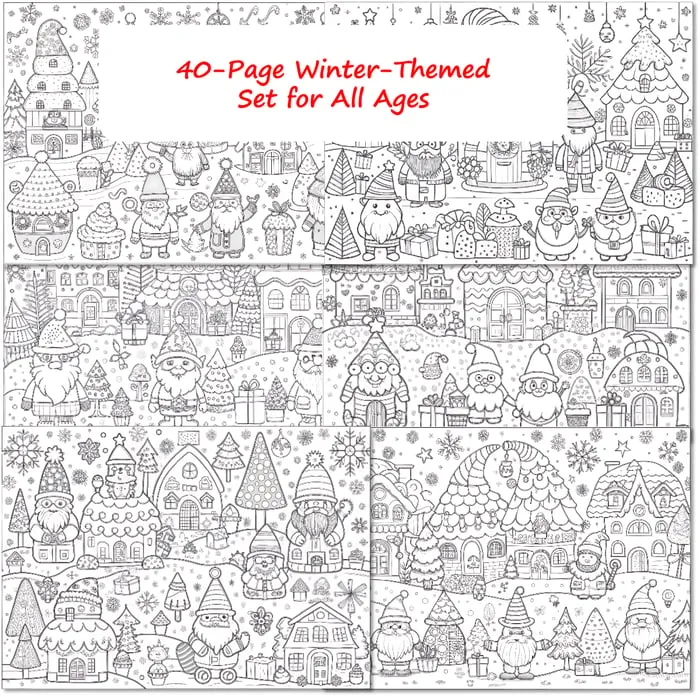
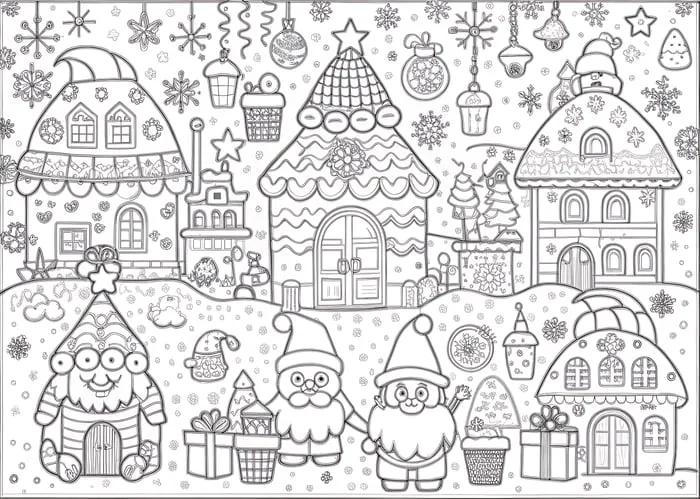
Whimsical Gnome Village Coloring Pages: a 40-page winter set of black-and-white scenes with mushroom-roofed cottages, cheerful gnomes, gifts, pine trees, and snowflakes, printable for markers, colored pencils, or fine-tip pens.
Sources and scope
- National Association for the Education of Young Children (NAEYC): guidance for families and educators on play, art, and early learning.
- American Occupational Therapy Association (AOTA): information on occupational therapy and everyday skills such as hand use.
- National Art Education Association (NAEA): resources for art teaching in schools.
- PBS KIDS for Parents: everyday learning and creativity ideas for families.
This guide covers practical ways to use coloring pages for calm, focus, and fine motor practice at home and in class. It does not cover motor assessment or therapy, which belong to qualified professionals and the child’s team.
Key takeaways
- Choose gnome coloring pages by space size, line thickness, and number of parts.
- A calm station for gnome coloring pages helps children start quickly and stay longer.
- Coach one motor skill at a time with an outline-then-fill routine.
- Use each page for a little describing, storytelling, and counting.
- Track minutes and finished sections, and celebrate gnome coloring pages that show growth.

Leave a Comment